
Hi Everyone,
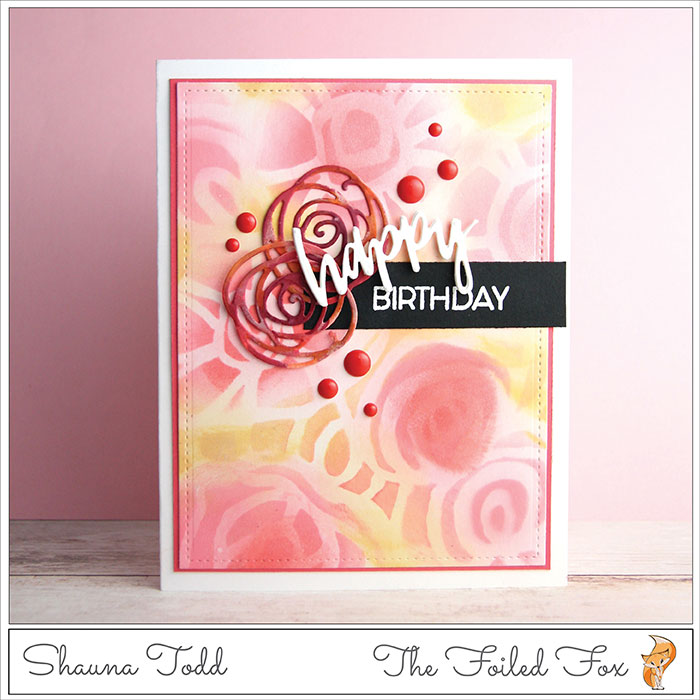
It’s all about stenciling today! We have created a floral background using yummy colors of distress oxide inks and the Stencil Girl Garden Dreams stencil.
As you would have guessed, I start out with taping the stencil over a piece of Bristol paper. I love Bristol paper for blending!! I don’t know if you are like me, but I struggle to get an even blending on regular cardstock. Bristol paper has a slicker, harder surface so the ink doesn’t absorb into the paper as much. Instead, the ink glides over the top, allowing for better and easier blending.
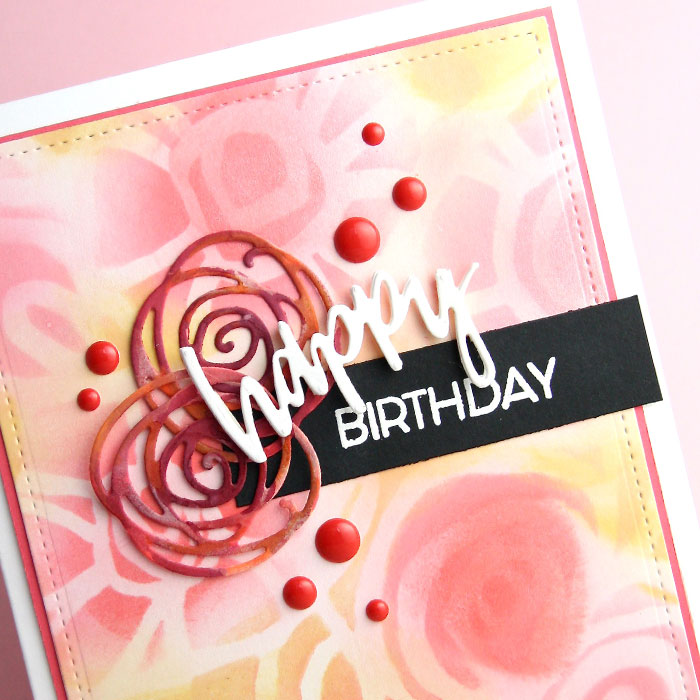
So, to get back to the stenciling… I started with Wild Honey distress oxide ink and randomly added color to the panel through the stencil, next added random bits of Worn Lipstick distress oxide ink, then ending with Picked Raspberry distress oxide ink. FYI- you don’t have to use the oxide inks, any inks will work so let your creativity go wild!
When I removed the stencil, it revealed the white outlines of the flowers. I really debated to leave it a stark white, but in the end, I decided to VERY lightly blend color onto the white outlines. I didn’t add color to achieve this effect. I merely pulled color from the already colored floral design using my blending tool. Once I was satisfied with the look, I trimmed up the panel using the largest die in the Lawn Fawn Large Rectangle Stitched Die Set.
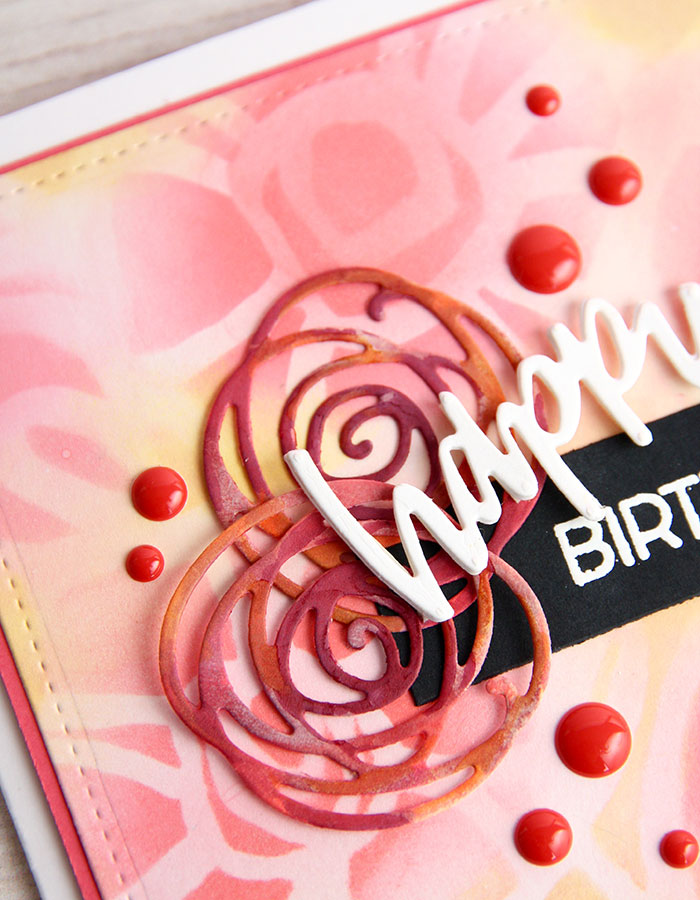
Next, with a piece of heavy white card stock, I cut out a few flowers using the CottageCutz Doodle Flower die. I applied the same inks onto the die cut flowers, making sure bits of all three colors were present.
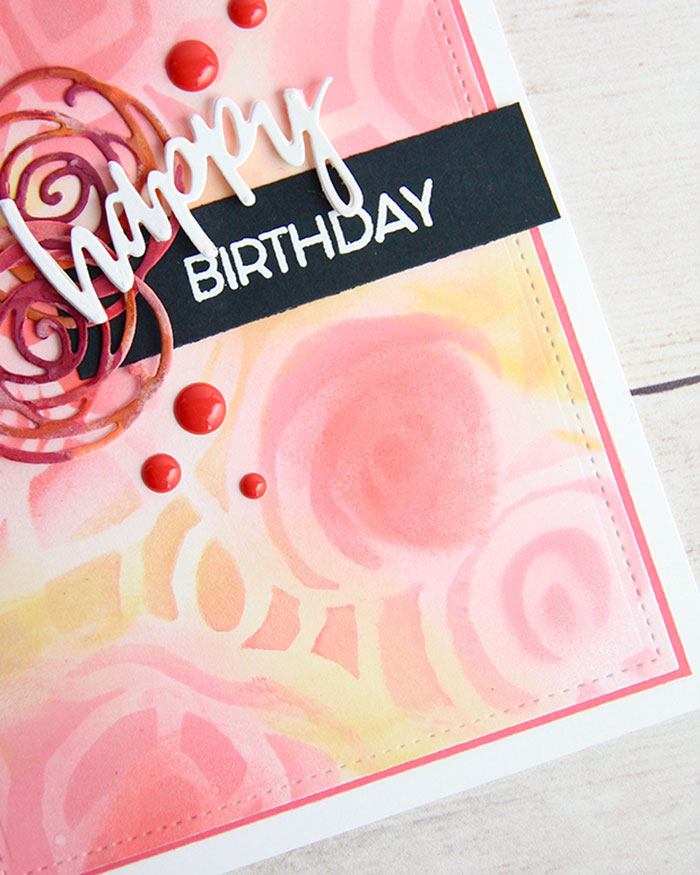
With the flowers done, I cut 2 ‘happy’s’ from the Happy Holidays die by Neat & Tangled and using white cardstock. Then, one ‘happy’ was stacked onto the other and adhered together with a glue pen.
The ‘birthday’ sentiment was stamped with Versamark ink onto a strip of heavy black cardstock, then heat embossed with Hero Arts white embossing powder.
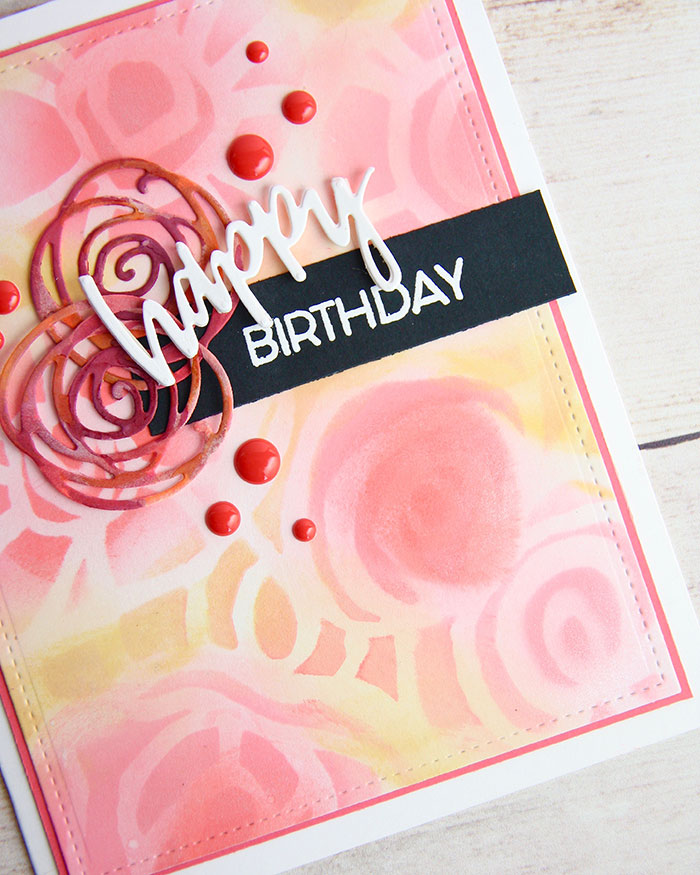
All that’s left is the assembly… it was a matter of adding the layers. Starting with a white card base, a slightly smaller panel of Candy Hearts cardstock was added to the front of the base. The stenciled background was stacked on top. Then, the birthday strip and the flowers and ‘happy’ was added. The final touch was to apply several enamel dots from the Hooray Enamel Shapes set.

Thanks so much for joining me… see you soon!
Supply List:
 Girl Garden Dreams Stencil |
 Cutz Doodle Blooms Die |
 Tangled Happy Holidays Die |
 & 9th Say Hello Stamp Set |
 Lg Stitched Rectangle Die Set |
 Honey Distress Oxide Ink Pad |
 Lipstick Distress Oxide Ink Pad |
 Raspberry Distress Oxide Ink |
 Blending Tool |
 White Embossing Powder |
 Eye Hooray Enamel Shapes |
 110lb. Solar White card stock |
 Hearts Card Stock |
 Bristol Paper Pad |
 Glue Pen |
 Tape Gun |
 Mono Adhesive |
 Watermark Ink Pad |
