
Hello dear friends,
It is so nice to visit with Laurel Beard of Paper Crafts by Laurel today. She is one of the most delightful people you will encounter! On top of that, she always has fun and creative projects to share. Today, she is using the Hello Turnabout stamp set by Concord & 9th. She has brought with her a ton of photos, so feast your eyes on all her beauties!
By the way, don’t miss out on all her other masterpieces! Pop on over to her blog and subscribe!
Hey there! Laurel Beard here today and I am so pleased to be joining the sweet folks at the Foiled Fox!!! The Hello Turnabout Stamp set from Concord & 9th stole my heart and I was so excited to see them carry it along with some of the other Concord & 9th Turnabout line.
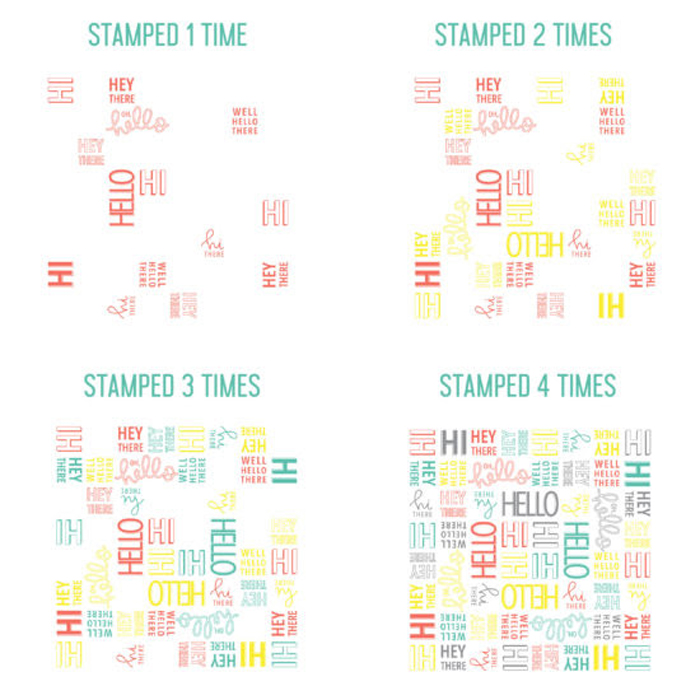
To recap, the turnabout line is where you turn the stamp 4 times to create a really fun background. Do you have to turn and stamp 4 times? Nope! It’s totally a preference for you. I grabbed the following photo directly from the Concord & 9th website that shows you what the stamp looks like stamped each time.
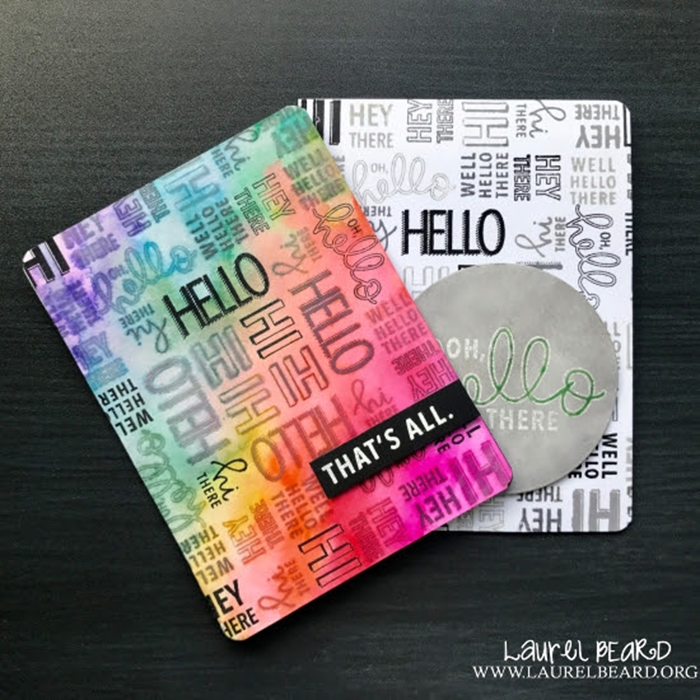
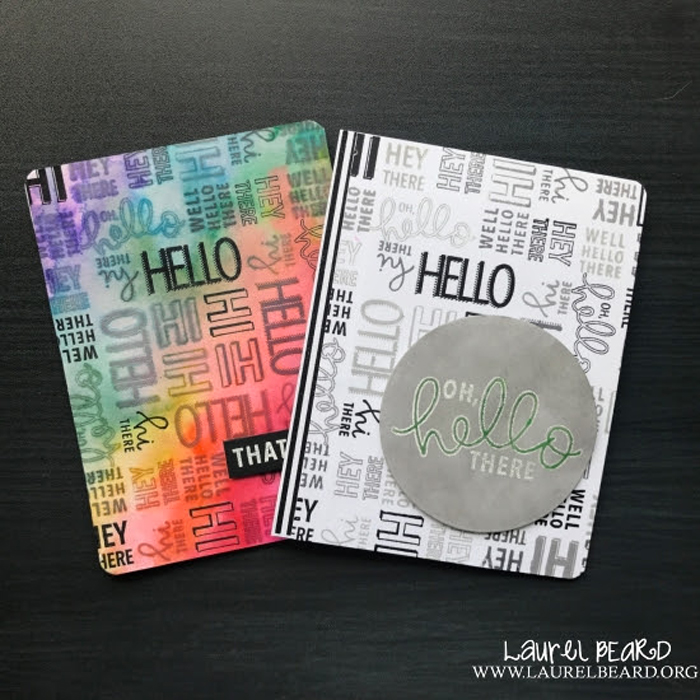
When creating these cards, I used the MISTI Stamping Tool when using this stamp because it makes stamping it a breeze. In fact, the stamp sets were created with the MISTI stamping tool in mind. I decided to create two cards using the same layout, but with two different color schemes. I stinky stink at creating masculine cards so I did try my hand at making one of these cards with a male in mind…
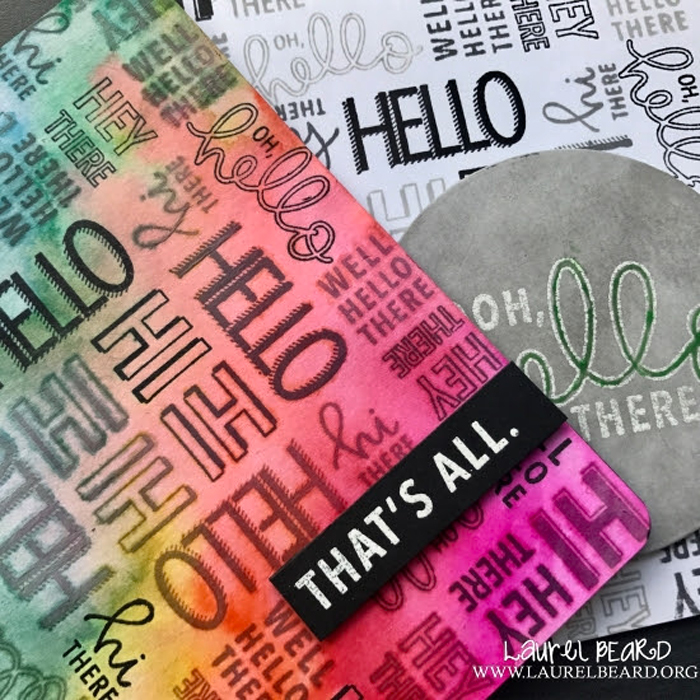
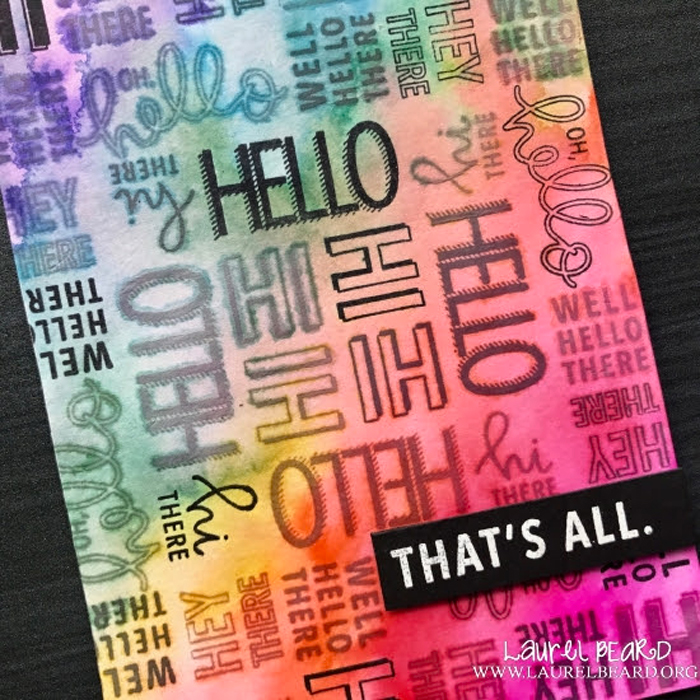
But first, let’s start with the bright colored background! I stamped the Hello Turnabout stamp in black/gray waterproof inks and then did some watercoloring using the Zig Clean Color Real Brush markers onto BRISTOL paper. Anytime I use Zig Clean Color Real Brush markers, I use Bristol paper. If I don’t use Bristol, I don’t like the results.
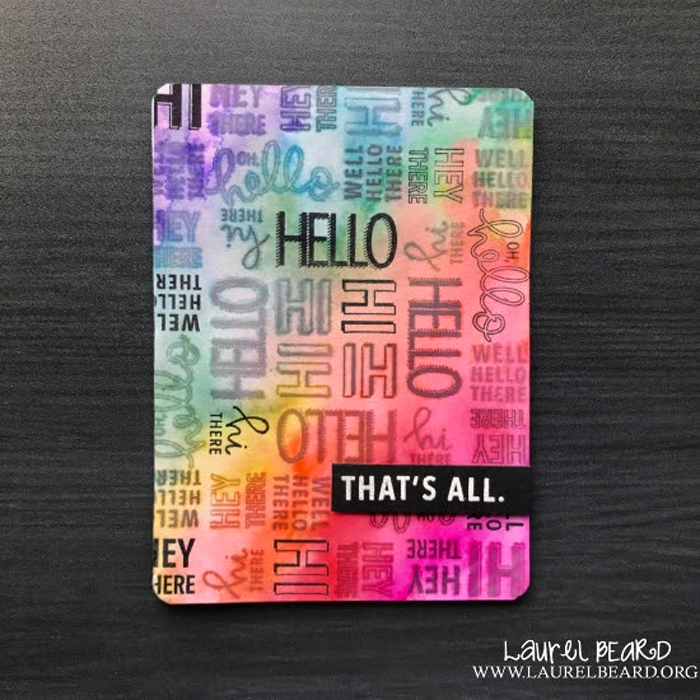
I scribbled the Zigs directly to the Bristol paper, and blended it out with water. Done and done. How easy is that! Added a sentiment strip to the card and voila! That’s all… 🙂
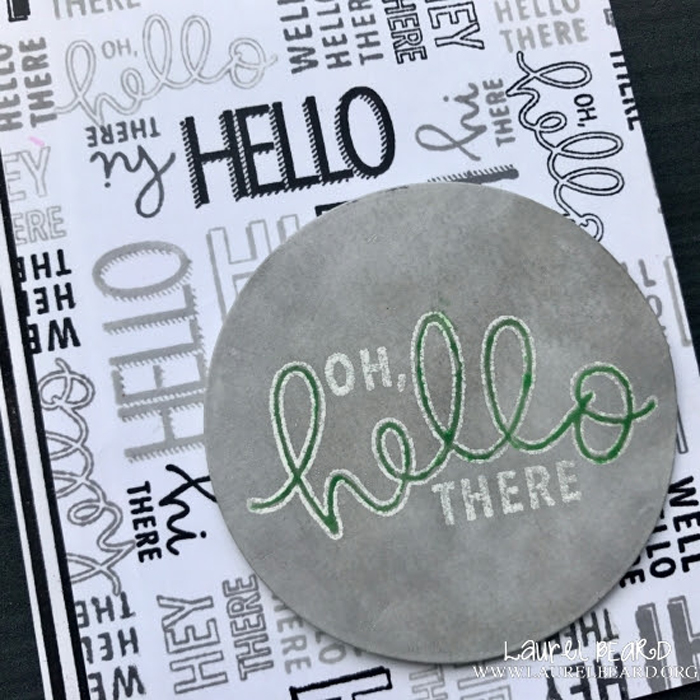
My next card was stamped the same way, in shades of black and grey. I cut out a circle, inked it up with one of the grey inks I used when stamping the background, stamped the sentiment on there and finally colored in the hello with a green marker. That was a long sentence wasn’t it, lol…..
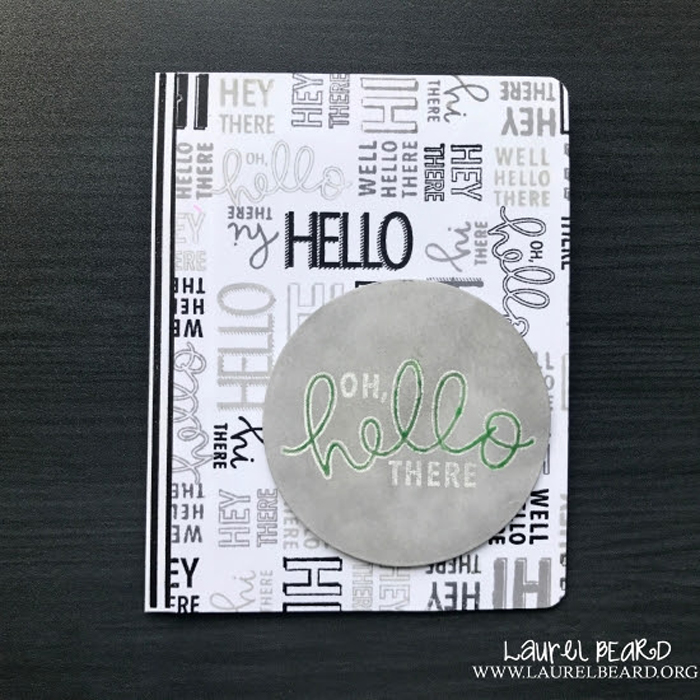
I popped up the circle, added a little stripes to the left side and well Oh, hello there – this card is done.
Two cards, stamped the exact same way but different looks due to the colors used, or in the second’s cards case – lack of color.
Thanks so much to the folks at The Foiled Fox for letting me visit with you all today! They are amazing people and I highly suggest you check out their blog for more inspiration.
![]()
Hey, there is still time to enter the Simply Irresistible card challenge. Create your emboss resist project and enter for chance to win. Click image below to learn more…
Goodies used:
 & 9th Hello Turnabout Stamp |
 Clean Color Markers |
 XL Bristol Paper Pad |
 Stripes Paper Pack |
 Positioning Tool |
 Onyx Black Ink Pad |
