
Hi Everyone,
I am just so excited today. Zinia of Abstract Inspiration is sharing a great how-to video using a Gelli plate. I don’t know about you but I have wanted to give this technique a whirl so this is perfect timing!
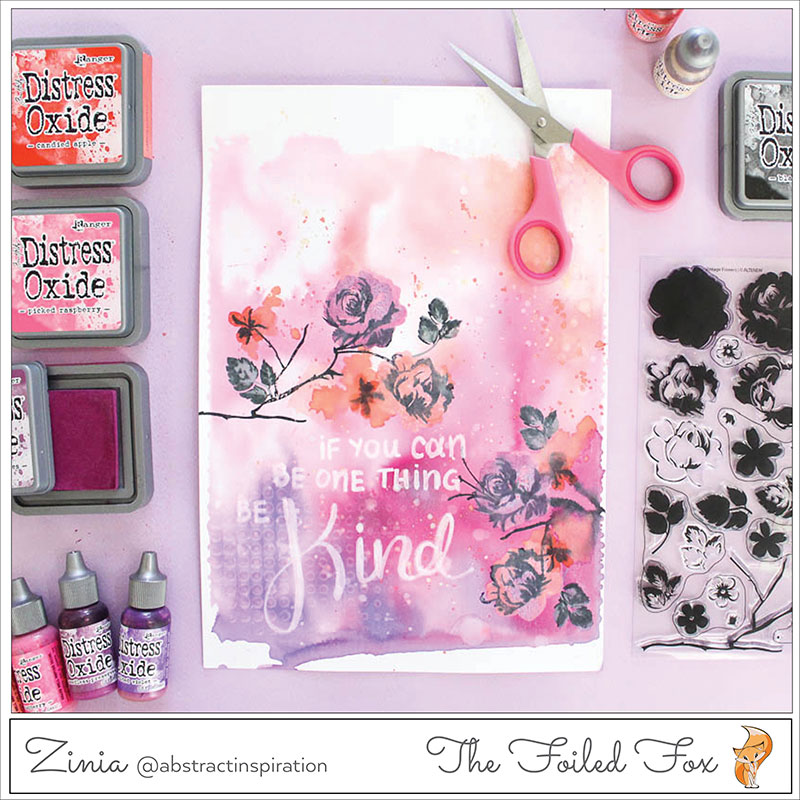
Her background is stunning and the whole background was created using distress oxide inks. So, whether you love cardmaking, journaling or scrapbooking, this is a quick and wonderful way to make your own background papers.
Hi Everyone, Zinia here.
Today we are gonna dive into the world of monoprinting. Gel plates are amazing tools to create unique backgrounds for your projects and the best part is that you can keep layering color until you get a result you are absolutely happy with.
The most common paints to use on gel plates are acrylics but while they work amazingly on the plate they are not the only thing you can use. In this page, I’m going to use Distress Oxide Re-Inkers to create my print. I’m using the plate in a similar way I would use a craft mat but the material of the plate keeps the colors from spreading all over the place and contains the mess. Check out the video below and follow along with my narrative description of the steps I took to achieve those beautiful colors and designs.
I’m going to start by adding a few drops of Distress Oxide from the Re-Inkers on the plate going from some beautiful purple shades into some pinks and reds. Then I added a little bit of water with a spray bottle to help the colors blend once I get my print. You won’t see them spreading around even after you add the water but once you place your paper and squish all the colors on the plate the water will help them move around and create a magical background.
You can create as many prints as you like until you get a result you are happy with. If an area lacks some color you can get another print with the same paper and layer the colors together.
After the background is ready and dry I’m gonna start working on the rest of the page. I used the beautiful Vintage Flowers stamp set from Altenew to create some flowery branches. Again I used more Distress Oxides, this time in the form of ink pads to stamp my images.
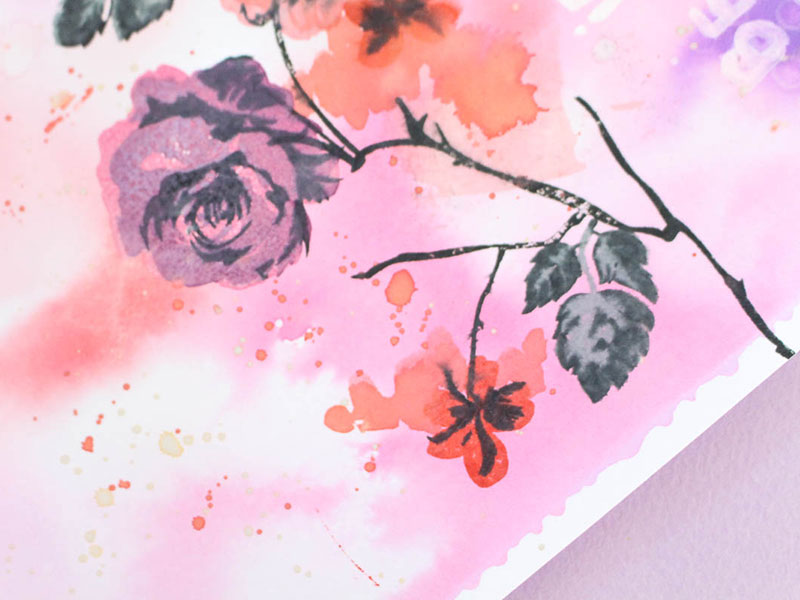
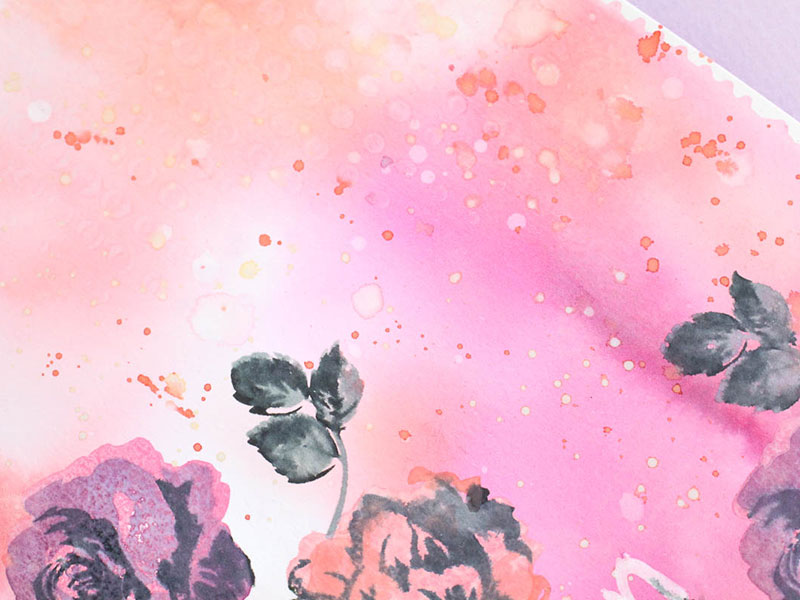
To help the stamped scene blend in with the background, I used a paintbrush and some watered-down oxides to watercolor around some areas.
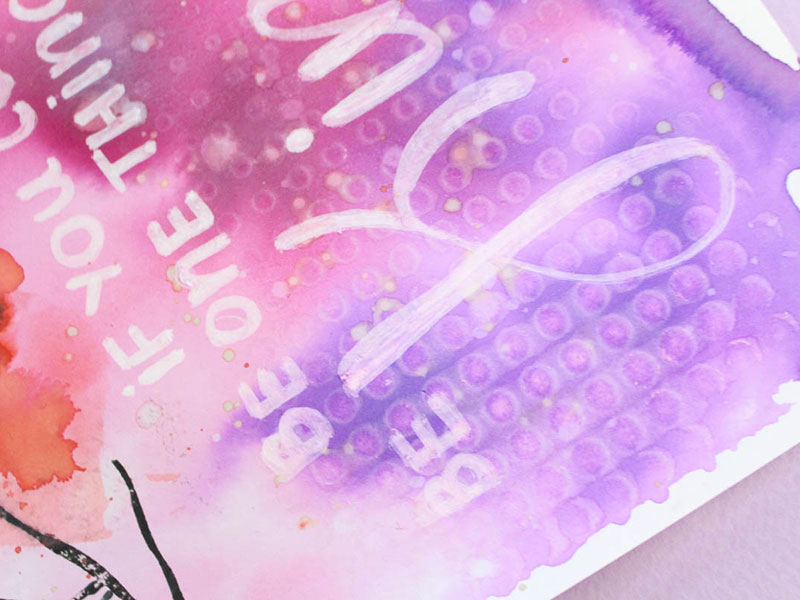
Since the rest of the background looked a bit plain, I used an Altenew stencil to add some more interest. I used a baby wipe and rubbed it through the stencil to lift some color and also activate the Oxide properties.
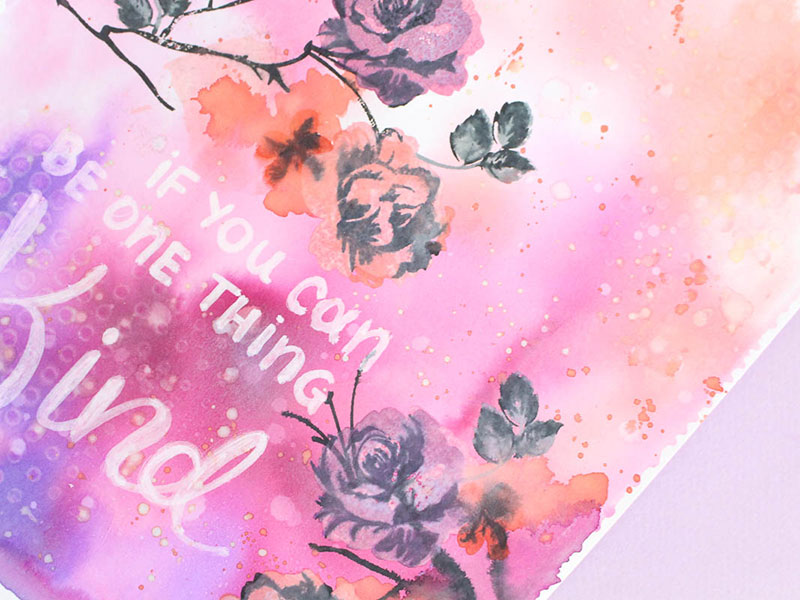
I also went ahead and added some splatters across the page. The final step was to write a quote using a white paint marker.
••••••••••••••••••••••••••••••••••••••••••••••
Haven’t been introduced to Zinia Amoiridou yet, then check out the short bio below and don’t forget to buzz on over to her blog for all kinds of great ideas!

Supply List:
 Press Gel Plate 6″x6″ |
 Coral Distress Oxide Reinker |
 Linen Distress Oxide Reinker |
 Raspberry Distress Oxide Reinker |
 Preserves Distress Oxide Reinker |
 Violet Distress Oxide Reinker |
 Lipstick Distress Oxide Reinker |
 Coral Distress Oxide Ink Pad |
 Apple Distress Oxide Ink Pad |
 Soot Distress Oxide Ink Pad |
 Raspberry Distress Oxide Ink Pad |
 Preserves Distress Oxide Ink Pad |
 Violet Distress Oxide Ink Pad |
 Spruce Distress Oxide Ink Pad |
 Lipstick Distress Oxide Ink Pad |
 Halftone Stencil |
 Vintage Flowers Stamp Set |
 Reaveley’s Dylusions Paint Pens |
 Watercolor Paper Pad |
