
Hi there,
We have a fun treat for you today. One of our favorites (in case you haven’t guessed – it’s Rosali!) is sharing the CUTIEST project. Rosali of I Love Stamping has created an awesome card using the Lawn Fawn Beam Me Up stamp and die set. Check out just how she creates her cool background and scene! Then, be sure to head over to her blog for so much more!
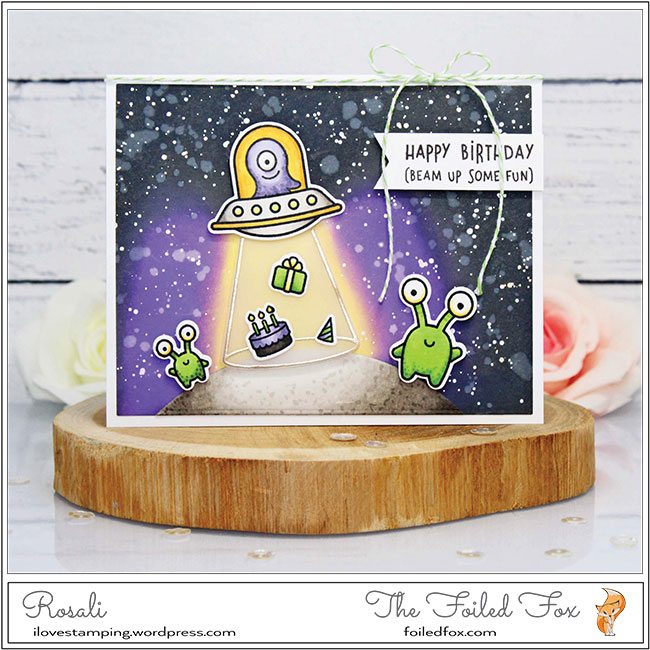
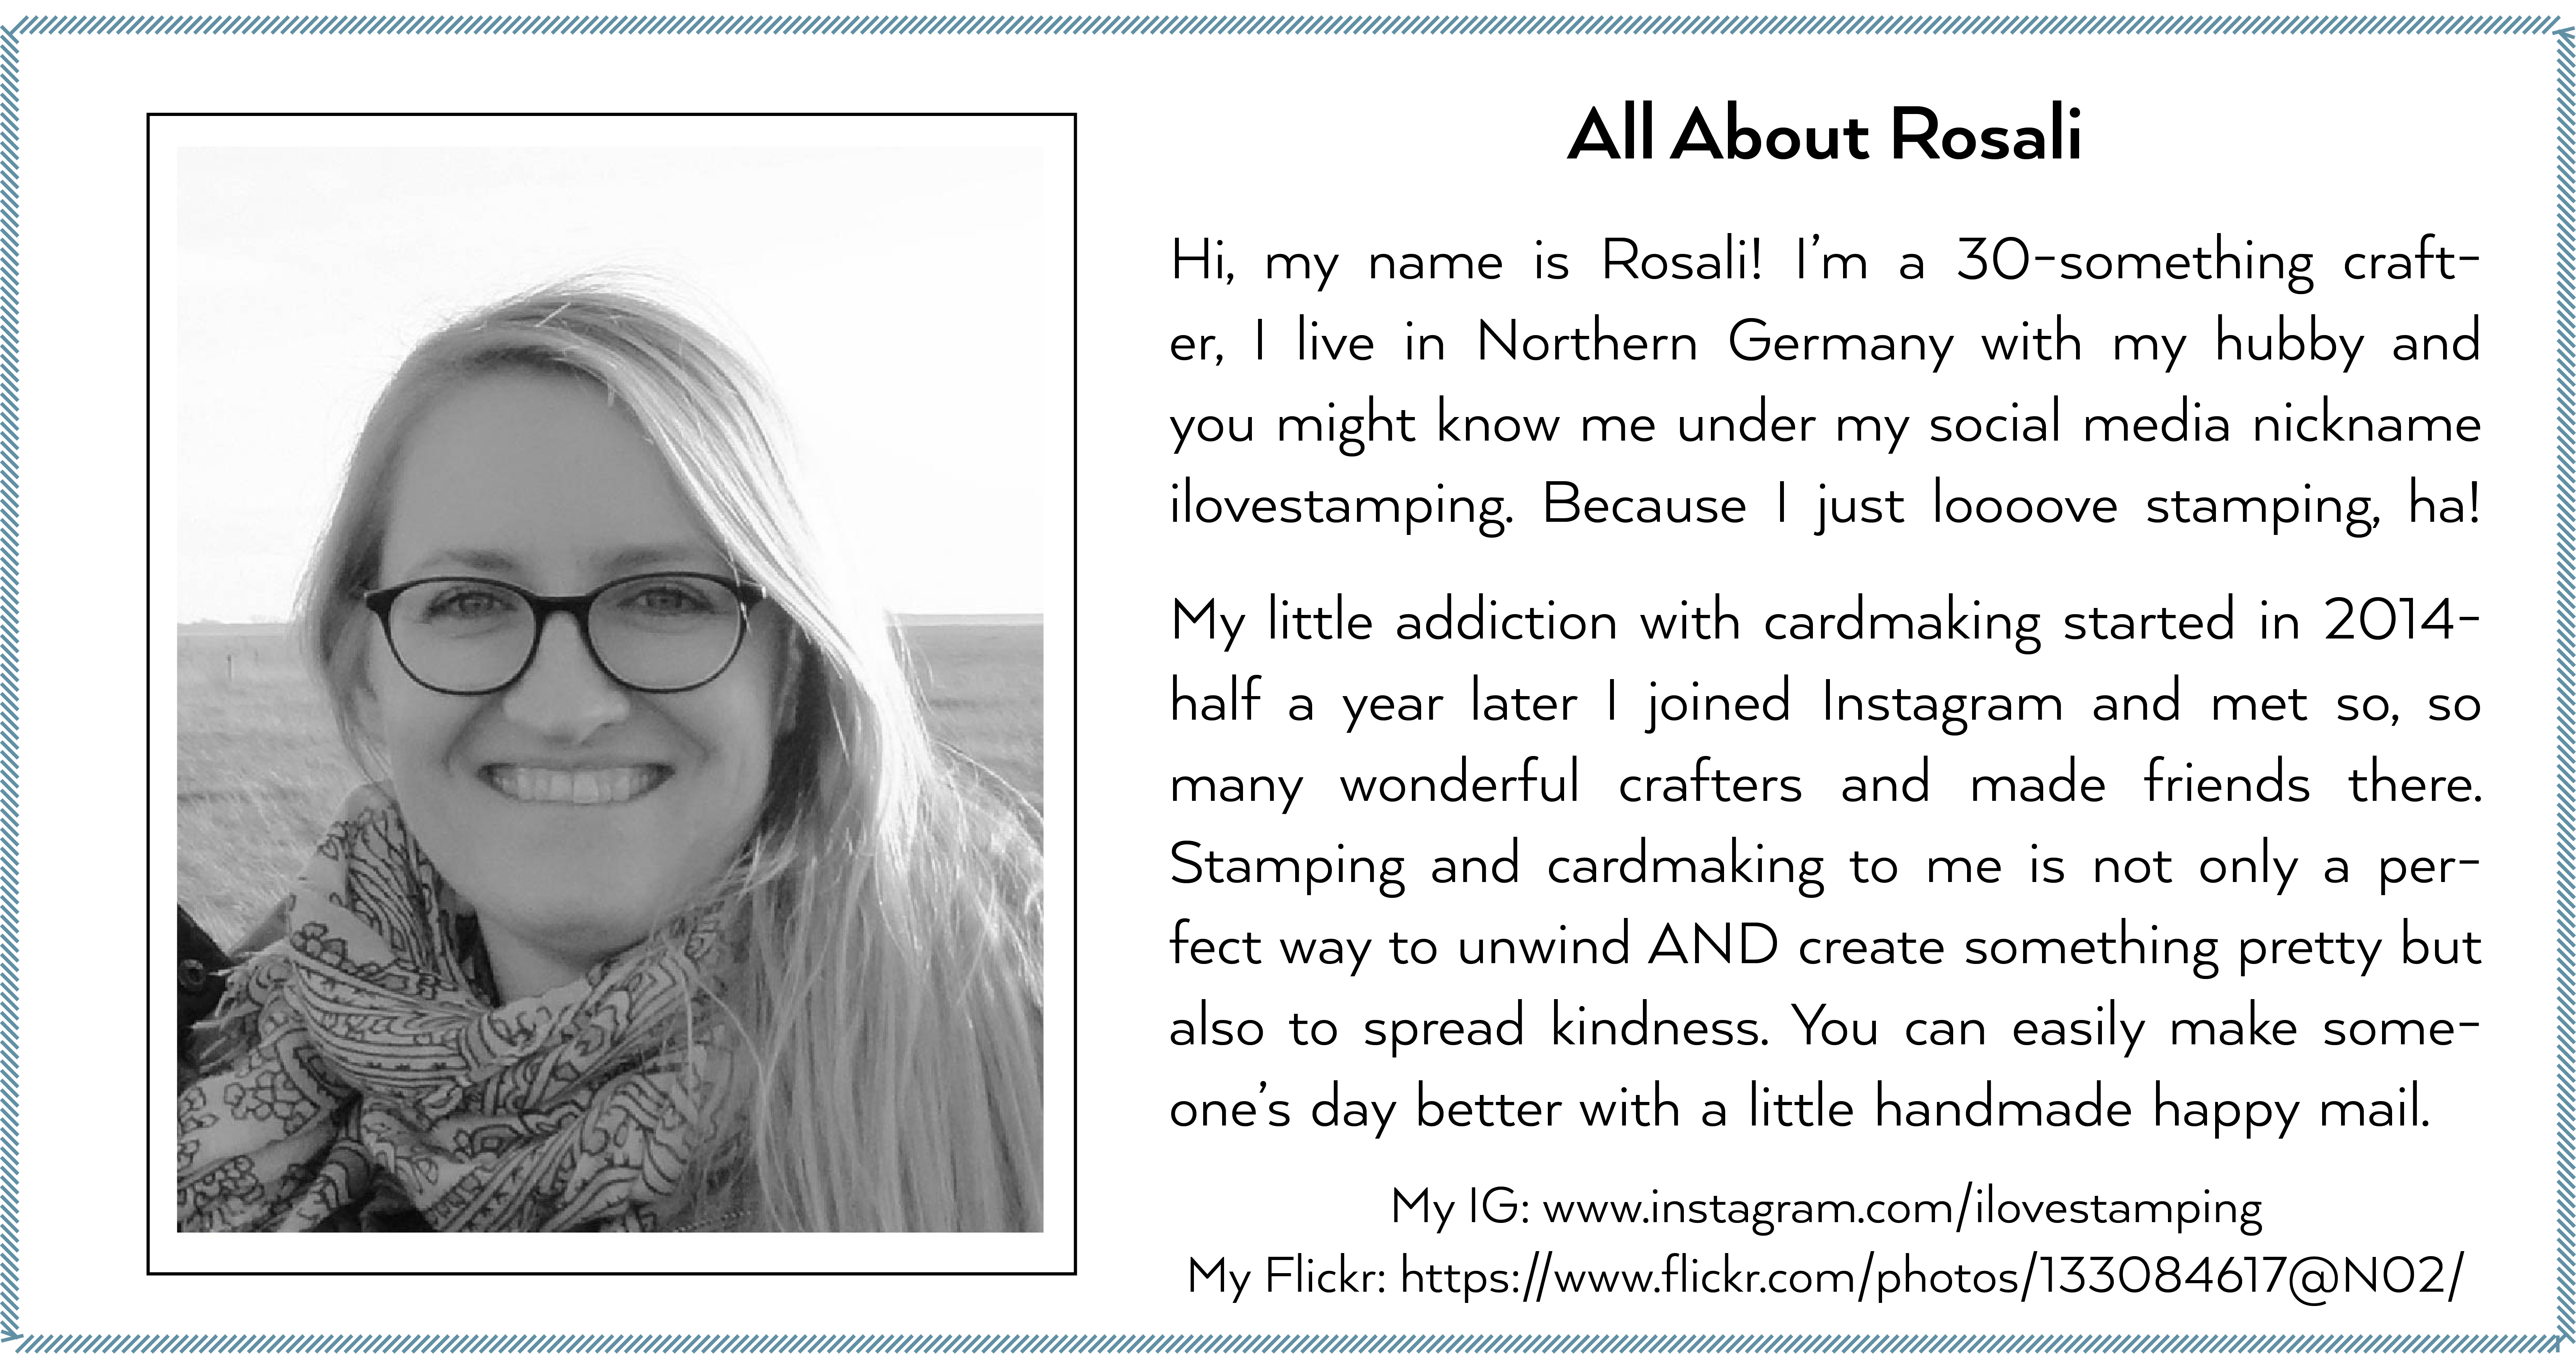
Hello! Rosali here! I am back with a galaxy card again, this time featuring Lawn Fawn’s “Beam Me Up” stamps and dies. Galaxy backgrounds are always a lot of fun and today I want to show you how easy they are to make. I really hope you will give it a go yourself and create one! ☺
I used only three Distress Oxide Inks for my galaxy: Black Soot, Wilted Violet, and Squeezed Lemonade. The last one is from the newer set of Oxide inks and I love it. It’s such a happy, bright yellow color!
Before I started making my background I laid out a basic layout for my card with all stamps I planned to use. I wanted to have the bigger UFO from the stamp set beam something up and therefore planned to have a yellow background where the light beam would be. After I decided on the placement, I stamped the light beam on my panel of Neenah Solar White using a light yellow ink pad. That way the stamped impression wouldn’t be visible after I did my ink blending on top!
With the stamped light beam I knew exactly where to use Squeezed Lemonade Oxide Ink. When ink blending I made sure to take the yellow a little further over the stamped lines to give me a small area to overlap colors. Next I carefully added Wilted Violet to both sides of my yellow beam. I used a mini round ink blending tool for ink blending but because the areas are rather small I would recommend using finger sponge daubers to make it easier.
HINT: Oxide Inks are really easy to apply on Neenah paper. Nonetheless, when blending different colors it helps to go over the overlapping area with the first color again. So, in my case that means after using Wilted Violet besides Squeezed Lemonade I went back in with my yellow ink to make sure the blending would be as smooth as possible.
Lastly, I added Black Soot to the rest of the panel. To give my background a galaxy look I then added three kinds of splatters:
- Bigger splatters of water. I soaked them up with paper towel after applying them to the background.
- Small splatters (with a no. 2 round brush) of Copic Opaque. Acrylic paint would also work but I like Copic Opaque because it stays really white.
- Small splatters of gold paint. I used Finetec Pearl Color in the fitting name of “Moon Gold”. ☺
And this is how my panel looks with all the splatters:

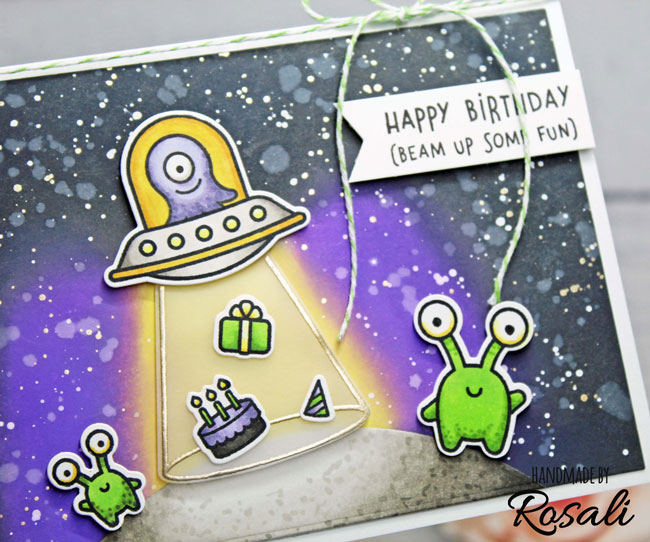
Now, this doesn’t look super great, does it? Galaxy backgrounds usually look bad before they look good! So it’s important to keep going. After I added all my cute images and also cut out a ‘planet’ for my aliens to stand on this is my finished card:

For the light beam, I heat embossed the image in platinum embossing powder on vellum. To color my stamped and die-cut images as well as the ‘planet’ I used Copic markers.
Copic guide:
Alien’s bodies: YG05, YG13, YG17 / V22, V25, V28
Alien’s eyes: Y11, Y26 / W0, W1
UFO: W0, W1, W3, W5 + Y26, YR23, YR24 + Y11, Y13
Planet: W0, W1, W3, W5, W7
I hope my post has given you some inspiration to create a galaxy card yourself! Have an amazing day! ♥
Rosali
![]()
Goodies Used:
 Fawn Beam Me Up Stamp Set |
 Fawn Beam Me Up Lawn Cuts |
 Solar White card stock |
 Holtz Squeezed Lemonade Oxide Ink Pad |
 Holtz Wilted Violet Distress Oxide Ink Pad |
 Holtz Black Soot Distress Oxide Ink Pad
|
 Daubers |
 Mini Blending Tool |
 Opaque White Pigment w/brush |
 Artist Mica Watercolor |
 Watermark Ink Pad |
 Arts Platinum Embossing Powder |
 Heavy 40lb. Paper |
 Arts Circle Infinity Dies |
 Fawn Everyday Sentiment Banners |
 Cotton Baker’s Twine Set 2 |
