Hi Crafty Friends,
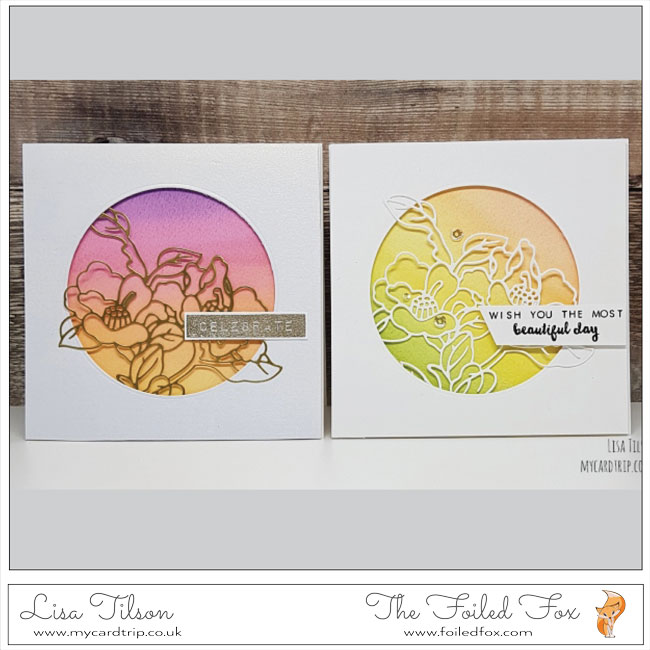
Woohoo! We are sooo excited to welcome Lisa Tilson of the My Card Trip blog. Lisa is a super talent in the world of card making and she is sharing two fabulous card designs using the Altenew Antique Engravings Cover die. To double the fun, Lisa has also prepared a video to show you just how she accomplishes such beauty!
After you check out the video, be sure to pop over to her blog and YouTube channel. She has oodles of inspiration and exquisite card designs.
Hi there
I was delighted to be asked to Guest Design here on the Foiled Fox blog today and I have a couple of cards that I hope will inspire you. And to help you understand my process a little bit more, I did create a video on my YouTube channel for you, which you can watch below, but I will also outline my process for you if videos are not your thing ????
So, let’s get started!
Both my cards use the beautiful Altenew Antique Engravings Cover Die and the Altenew Watercolor set. I create two different background washes for my cards which showcase just 8 of the 36 gorgeous colours you can choose from.
The watercolors have been out for a little while now but this was my first time of using them and I really loved the colours, they are quite highly pigmented and blend well. The colours match the Altenew ink cubes, so if you are a fan of those, you are in for a treat! And as you would expect for Altenew, they are colours that work wonderfully for a floral image.
- I began by creating my two background panels. I used 5” x 5” size panels of Arches Cold Pressed Watercolor cardstock. They were taped to my board using a low tack tape and then I applied the inks using a wet on wet technique.
- The wet on wet technique is when you lay down a layer of clean clear water onto your cardstock and then apply your wet paint from your palette on top. This is for the first layer which is then heat set. For the second and third layers, I applied paint directly from the palette and blended it out using clean water. For one card I worked from top to bottom and the other, I went diagonally across the card for my wash.
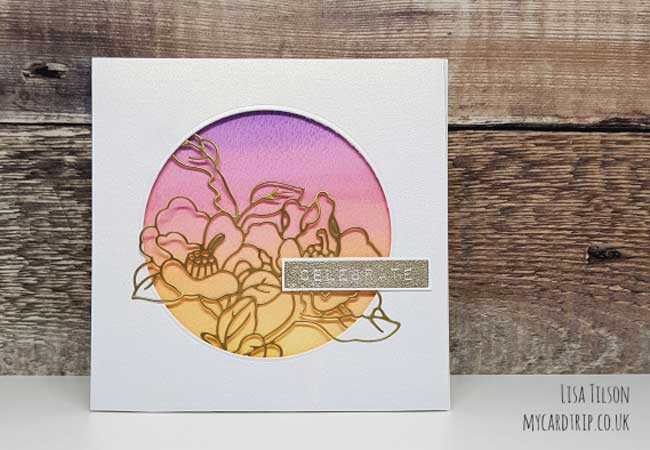
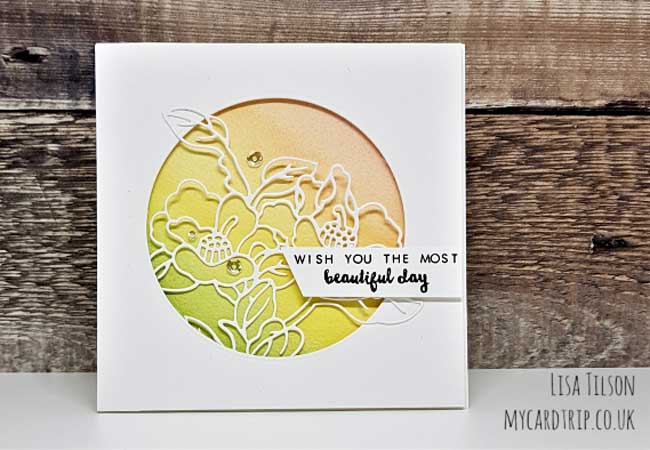
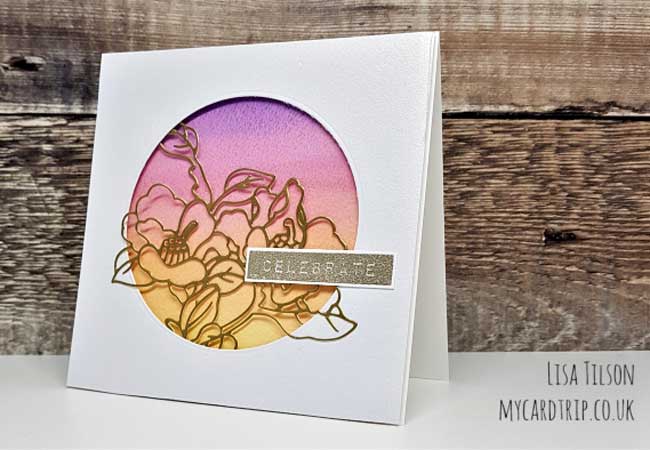
- For the first panel, I used Crimson, Warm Sunshine, Bamboo, and Forest Glades. For the second I used Lavender Fields, Coral Berry, Sunkissed and Fresh Lemon. I like how they both turned out but I would have liked a bit more vibrancy to the yellow/orange/green background – I felt that I lost the Crimson a little bit after trimming which was a shame.
- The panels were set aside to dry and then trimmed to 4.5” x 4.5” and mounted onto a top folding white 5” square card base using double-sided tape.
- Next, I die cut the Cover Die twice, once in Gold Satin cardstock, and once from Neenah 110lb. As this is an intricate die, I needed to use a shim and I had to run it through my machine two or three times. I then cut off the “frame” part of the die as I wasn’t going to need that.
- Whilst my machine was out, I die cut two 5” x 5”window panels, one from Neenah 110lb and the other from an Ivory Pearlescent cardstock. For this, I used a Hero Arts Circle Infinity Die.
- The floral die cuts were adhered to the back of the window panels using Multi Medium Matte, and I made sure to pull some of the die out so that it sits on the front of the panel for extra interest. A generous amount of foam tape was added to the back of each window panel and then these were adhered onto to the card bases. I could have done with supporting the die cuts a little more but it would have needed really tiny bits of foam tape and I didn’t want those to show.
- I heat embossed a sentiment from Altenew Label Love using Altenew Platinum Embossing Powder. The second sentiment from Altenew’s Beautiful Day was simply stamped with Versafine Onyx Black Ink onto white cardstock. These were adhered to the cards using either double sided tape or foam tape.
- I added a few sparkly sequins onto one of the cards to give a little extra interest, but I felt the gold/pearlescent card didn’t need anything more – it’s really shimmery and lush in real life!

I hope that you have enjoyed seeing the two cards I created and maybe this will inspire you to get your watercolors out and have a play. Thank you for spending time with me today and I wish you all a wonderful weekend!
Learn a little about Lisa:

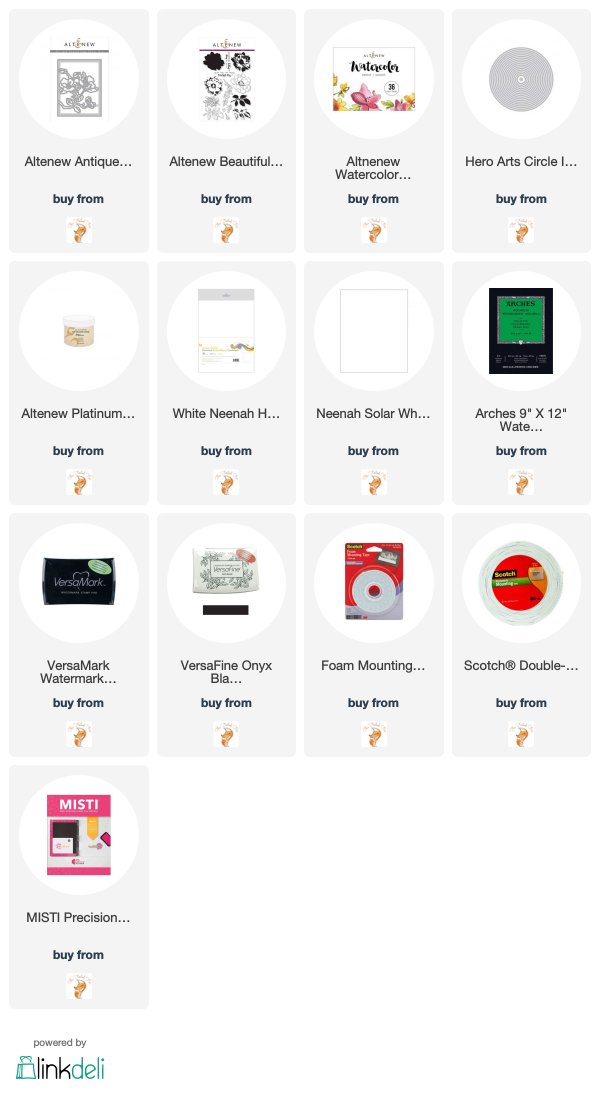
Supplies Used: