
Hi Creative Friends,
Papertrey Ink has a wonderful series of Into The Blooms die sets. The latest one features these gorgeous roses. Since roses are my favorite flower, I just had to have a go at this lovely die set, Into the Blooms: Roses.
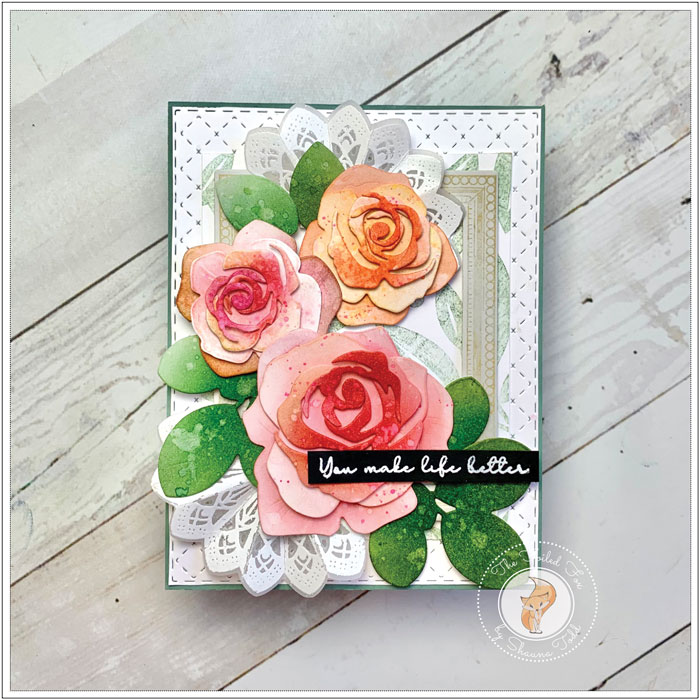
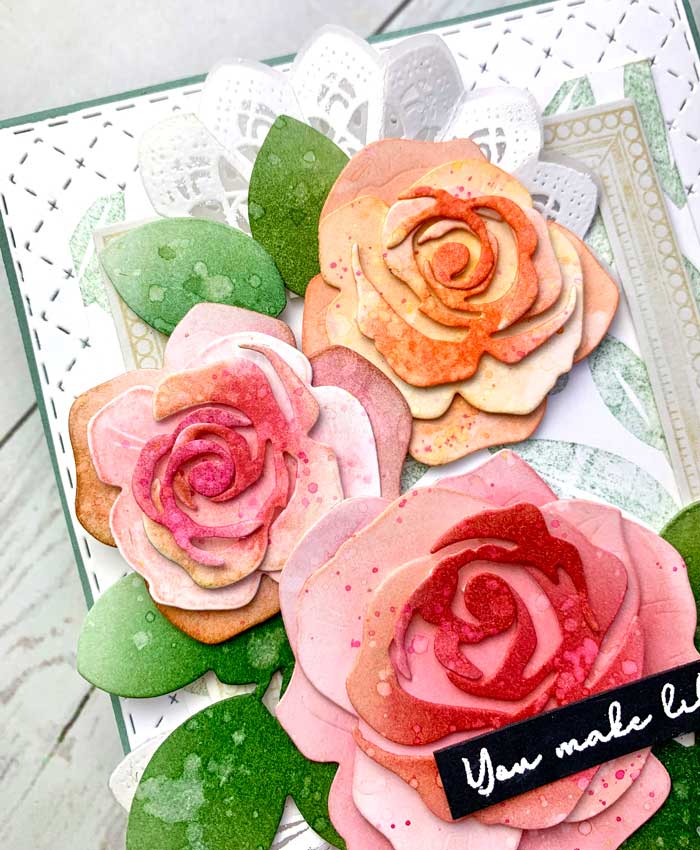
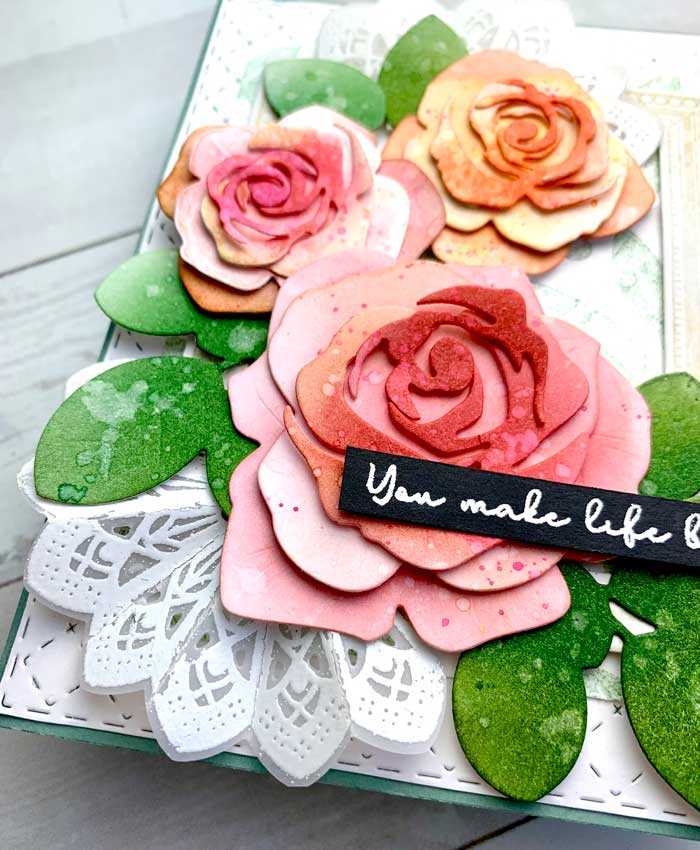
The star of this card design is of course the roses. There are two sizes of roses in this die set. Using a piece of bristol paper (for easy ink blending) I cut one large rose with all its parts and two smaller roses. I also cut a few leaf clusters. Using an ink blending brush, I started with the large rose and used different shades of pink ink. The colors I used were Lovely Lady, Scarlet Jewel, Raspberry Fizz, and a hint of Bright Buttercup (check out the supply list below). I varied the intensity of the color of the petals with the outer petals lighter, then made the petals darker in the center.
Continuing with the smaller roses, I varied the colors of each flower a little by adding a few more colors like Berry Sorbet, Summer Sunrise, and Bright Buttercup. Once all colored, I assembled the roses, then lightly splattered them with water and blotted off the excess, and followed the same procedure with the leaves using New Leaf, Ocean Tides, and Pine Featherinks.
With the flowers and leaves done, I moved on to the other details. I cut a white cardstock panel using Papertrey Ink Tin Stitched die. I also cut out an Antique Gray cardstock frame using the Frame Decor die set, then stamped it with a combination of Soft Stone and Honey Nut inks, using the coordinating stamp.
Next, I cut two fan-shaped pieces from a piece of stout vellum paper, using the Jar Accessories die set. I stamped them with Versamark ink using the coordinating stamp, then heat embossed it with white embossing powder.
I was nearly done preparing all the components. I just needed to make an A2 white cardstock card base and mount a panel of Ocean Tides on top. Next, I mounted the Tin Stitched panel.
I found a panel I had stamped some time ago using the Prosperous Leaves background stamp and Ocean Tides ink. I decided to add that next, along with the antique gray frame on top.
To finish up on my multiple layers, I mounted the roses with a bit of foam tape and tucked in the leaves. I created two dimensional fan pieces by folding the embossed vellum pieces in accordion style and tucked and glued those in as well.
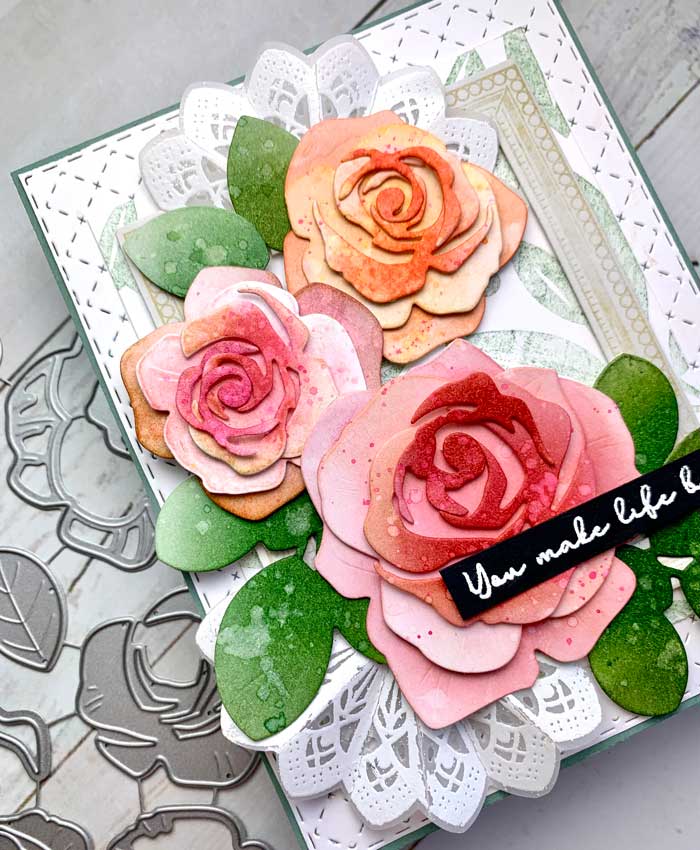
The only thing left was to stamp the sentiment (from the Frame Decor stamp set) onto a strip of True Black cardstock, white heat emboss it, then mounted it on top with a bit of foam tape.
Whew! This completes the card. I hope you enjoyed it. This card has so many layers which give it a ton of interest and was a lot of fun to make. ♥

Truly gorgeous! I thought for sure this one would require a video since there are so many steps!
Thank you! Yes, I had hoped to get one done!