Hi Crafty Friends,
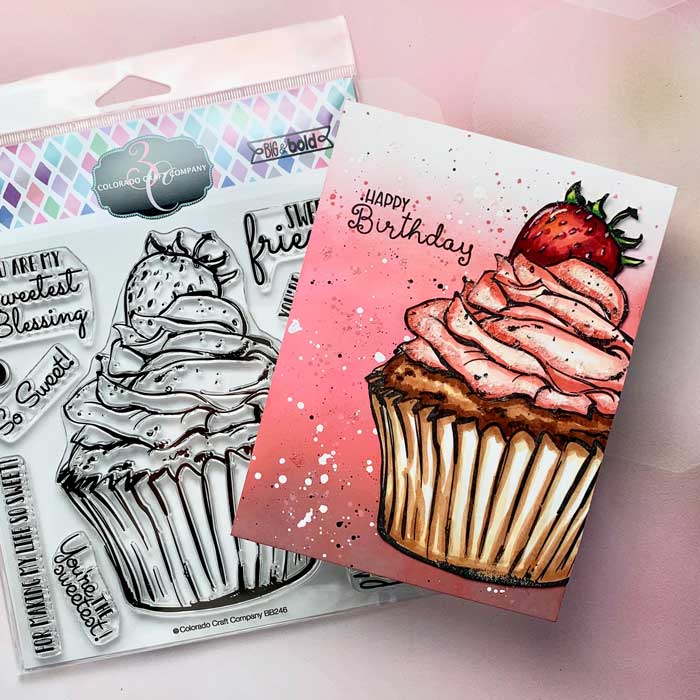
We are sharing today an easy to make birthday card design that is sure to delight any birthday recipient! The card design uses the Big & Bold-Sweetest Cupcake stamp by Colorado Craft Company (CCC)… and who doesn’t want a huge cupcake like that for their birthday?
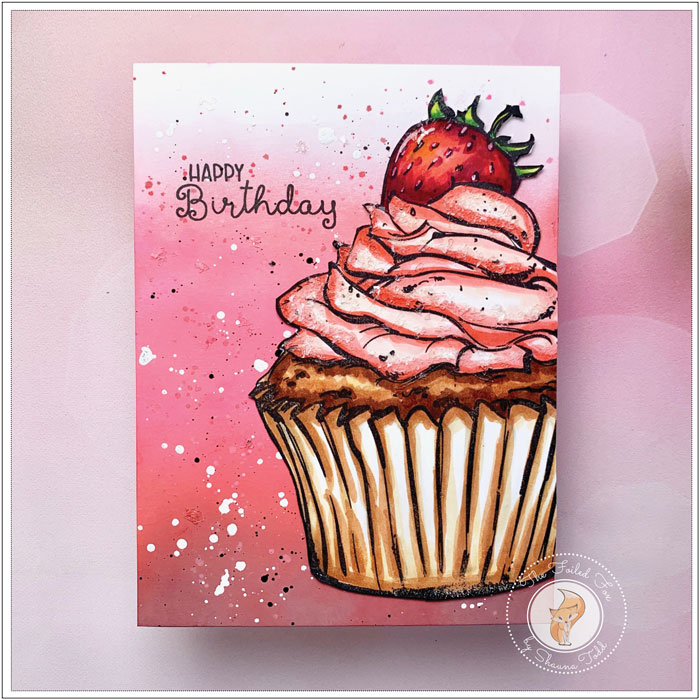
As you can see, this card design is all about the cupcake. So let’s begin there.
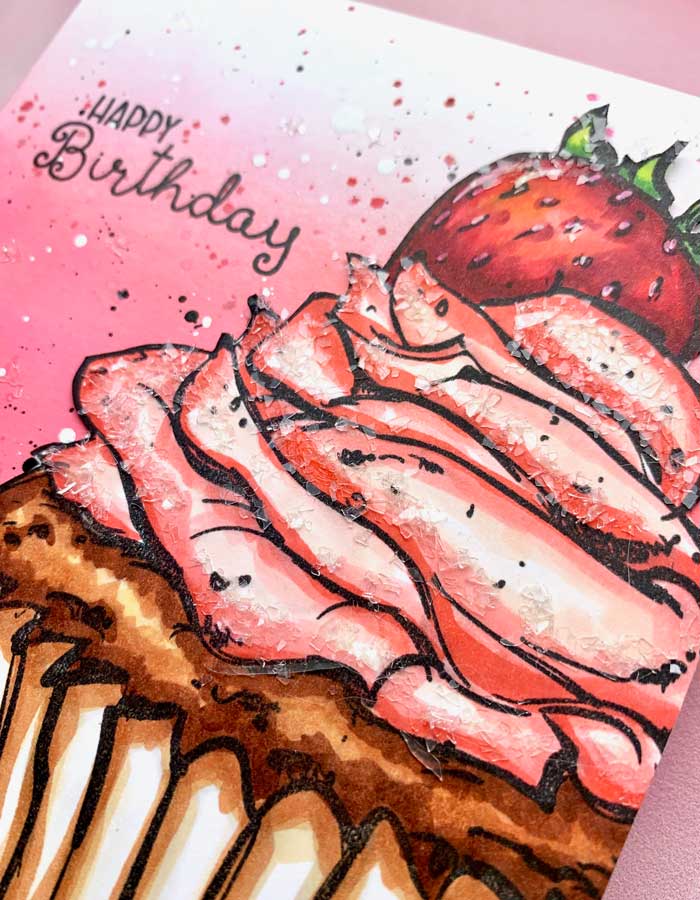
Using a piece of Neenah white card stock, I stamped the cupcake using Copic friendly black ink, like Lawn Fawn’s Jet Black Premium or Memento’s Tuxedo Black (see supply list below). By the way, the cupcake is so big that I had to use a stamp positioner to stamp it as I didn’t have an acrylic block big enough.
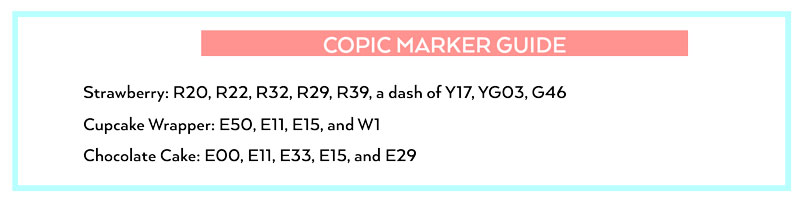
I started coloring the cupcake with Copic markers. Copic markers are often my go-to but it would also color well with colored pencils or watercolor. Here is a list of the markers I used:
With the cupcake finished, I cut it out with a pair of detail scissors, then ran around the edges with a Sharpie so no white was showing. Then, set it aside while I created a background that is Rachel Alvarado-esque (check out her blog here, she is awesome!).
For the background, I began with a white cardstock panel and some distress oxide inks. I began with Spun Sugar and covered nearly the whole panel, only leaving a strip of white at the top. Then, I started to build the color by adding more intense colors. First by adding a strip of Picked Raspberry below the Spun Sugar. Then, working my way down the panel, I added Festive Berries, and Candied Apple. I finished with a strip of Aged Mahogany at the very bottom. When I was satisfied with the gradation of color, I dried the ink with my heat tool.
Next, I added splatters of Aged Mahogany, Festive Berries, and Spun Sugar. I finished with splatters of black Sumi ink and Dr. Ph. Martin’s Bleedproof white ink. I use these two inks in calligraphy or line art, but they are also perfect for a rich color splatter. I just love how the black ink doesn’t fade back to a muted black or gray and the white makes wonderful pure white splatters!
Once all the splatters were dry, I mounted the cupcake with a little glue, cutting off the little extra of cupcake that was hanging off the edge. I then stamped the Happy Birthday sentiment I found in another one of CCC stamps, Birthday Wishing.
All that was left was to add the panel to a white card base and add a few sparklies by spreading a little glue in places and sprinkling it with chunky diamond dust.
Now, this is a birthday greeting fit for any birthday! ♥
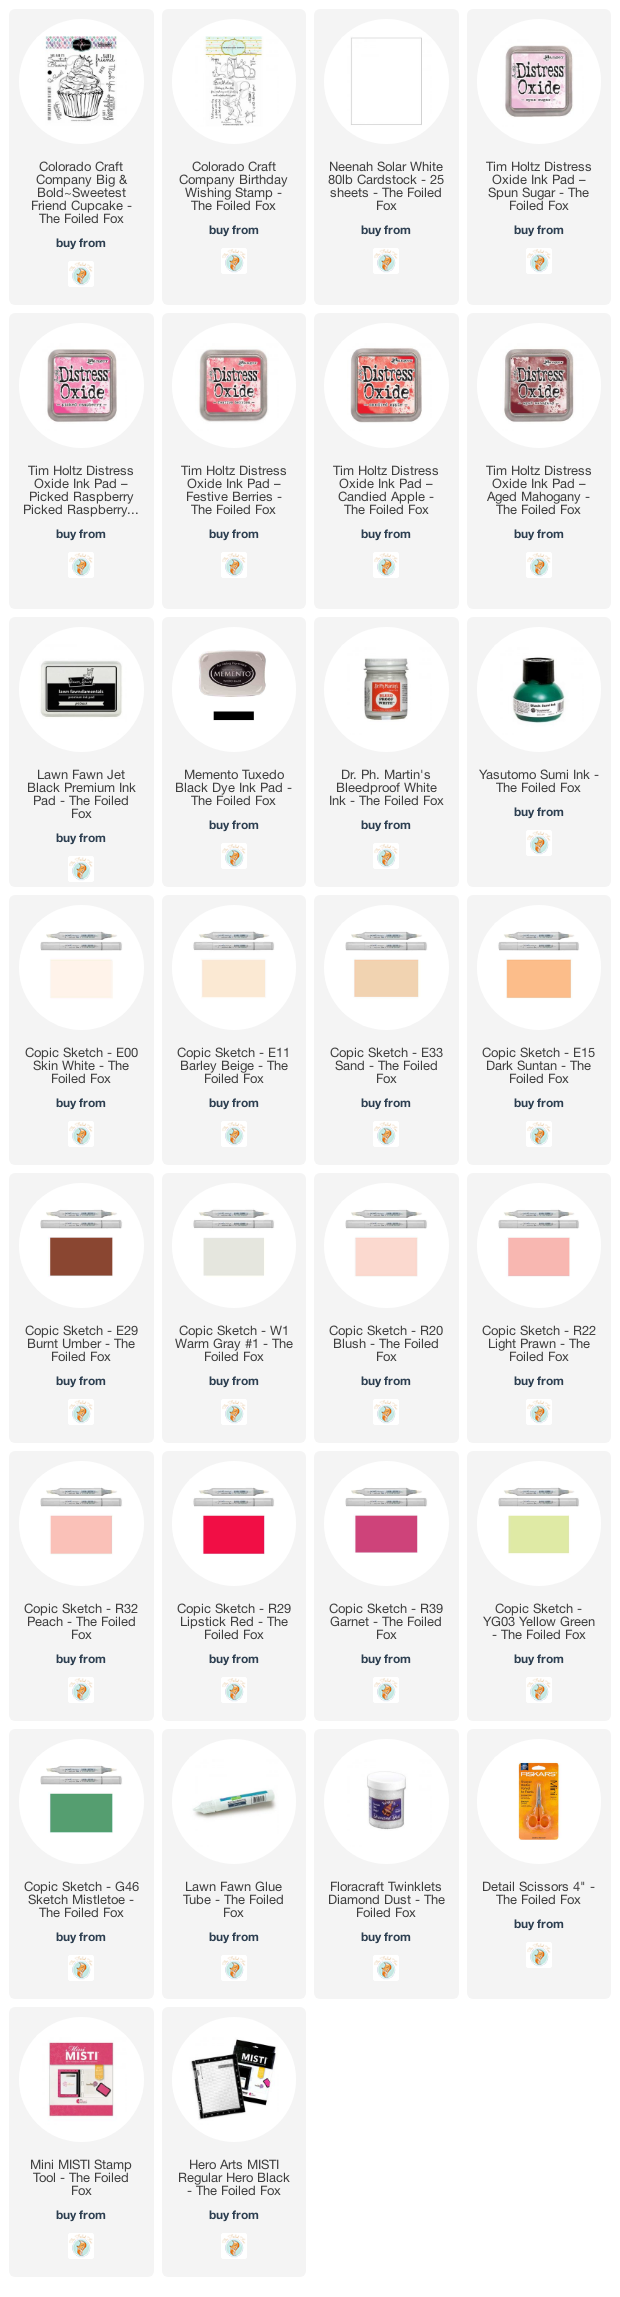
Goodies Used: