
Hi there,
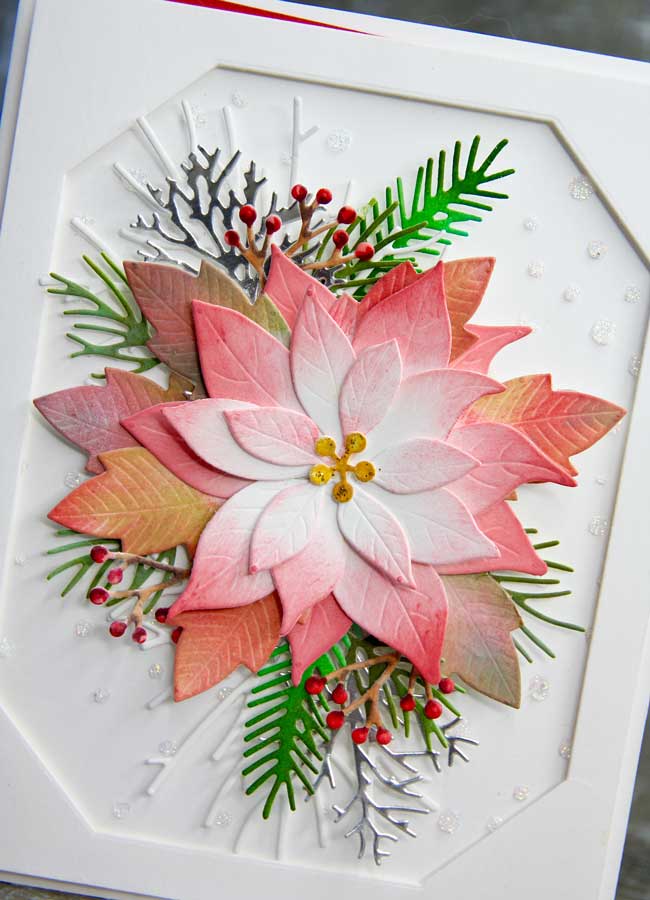
Today’s card design is a beautiful full blossom poinsettia bouquet. Not too long ago we featured a poinsettia (click here) using a My Favorite Things poinsettia die set. There are many poinsettia die sets that are worthy of mention and would work swimmingly, but for today’s poinsettia, the Blooming Poinsettia by Poppystamps was our choice.

For this card design, I decided to start with the poinsettia bouquet part first. So, with this in mind, I set out to cut out the poinsettia die pieces, plus a few extra leaf sets from Neenah white cardstock. Next, I colored them using a blending tool and distress inks: Worn Lipstick, Picked Raspberry, Festive Berries, and Iced Spruce. The smaller, inner leaves I kept mostly white, with only the tips of the leaves colored. The very center die cut was colored with Wild Honey distress ink. The poinsettia was then assembled with a spot of Tombow liquid glue in the center of each layer.
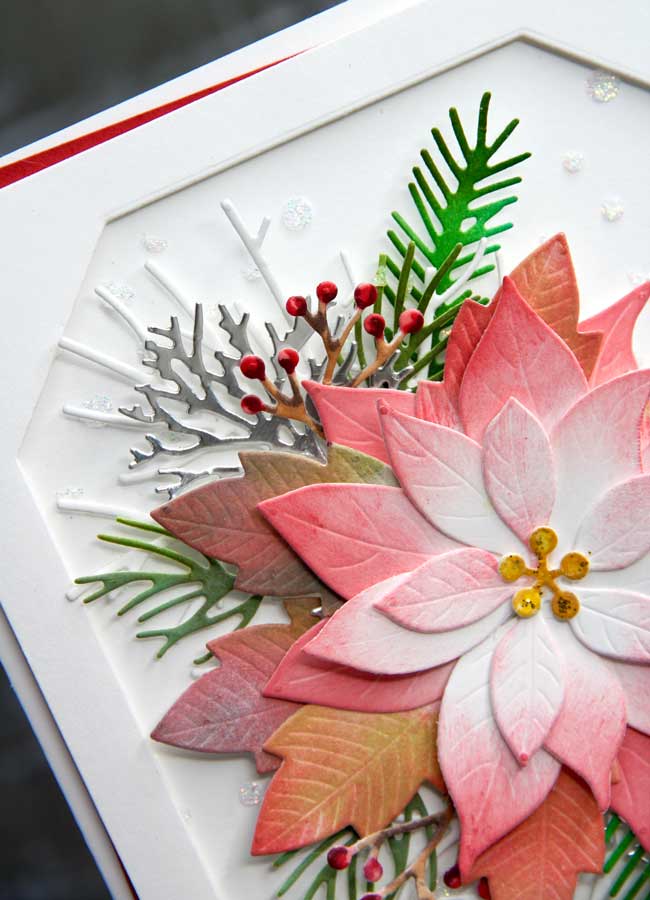
This bouquet is much like creating a fresh flower bouquet, you need some supporting greenery and pieces to complete the main attraction. I did this by cutting out two full trees using the Penny Black Winter Trees and a piece of white cardstock. Next, I cut a set of trees from a piece of silver foil cardstock using the Penny Black In The Winter die set, then cut off the base so I could use the trees independently.
I continued to cut ‘greenery’ from two Impression Obsession die sets, Pine Sprig Cluster and Pine Pair, then colored them with Forest Moss, Mowed Lawn, and Crushed Olive distress inks. For the red berries, I cut a few sprigs from the Penny Black Layered Xmas wreath die set and colored them with two Copic markers, one brown for the branch and red for the berries.
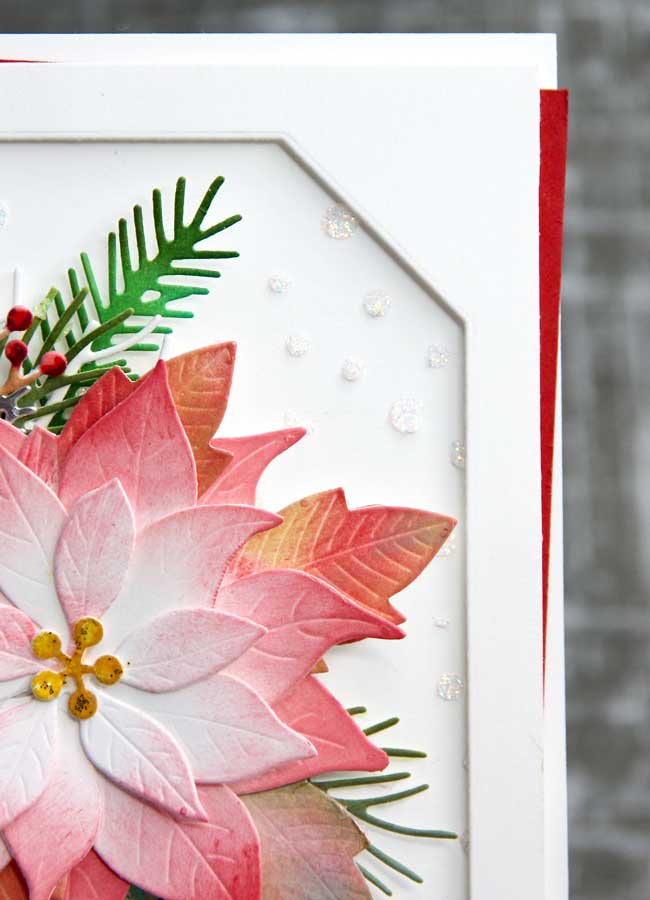
Now that all the supporting pieces are done and ready for assembly, I needed a base to mount them on. So, I first created a white cardstock card base. Next, I cut two slightly smaller white cardstock panels and one red cardstock panel. Using one of the newly created white cardstock panels, I cut out of the center an elongated octagon using a largest die from the My Favorite Things Stitched Tag Corner Rectangle STAX and on the other full white panel, I stenciled on glittery dots by using the My Favorite Things Snow Flurry stencil and Nuvo Moonstone glitter paste.
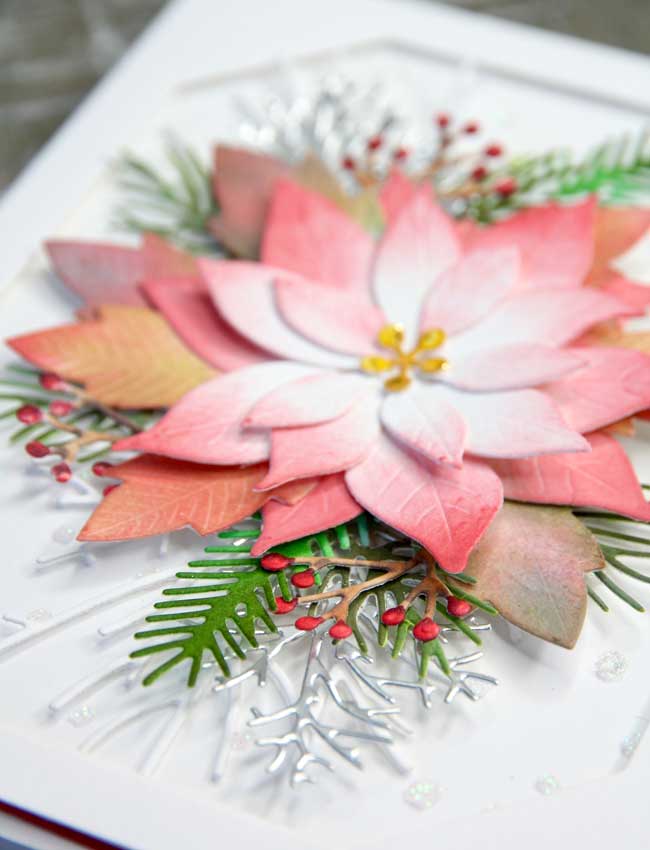
After the glitter paste was dry, it was time to put this all together. So, I adhered the red card panel, slightly askew, onto the card base. Next, I added the white panel with glittery dots. From here, I started arranging my bouquet onto the glittery base by first adhering the white “Winter Trees”, then two of the silver foil trees. Then, I added the big poinsettia blossom and tucked the ‘greenery’ and berries wherever appropriate and glued in place.
Next were the final touches. I mounted the octagonal frame with some foam tape over the white poinsettia panel and added glossy accents onto the berries and glitter to the center of the poinsettia for extra dimension.
![]()
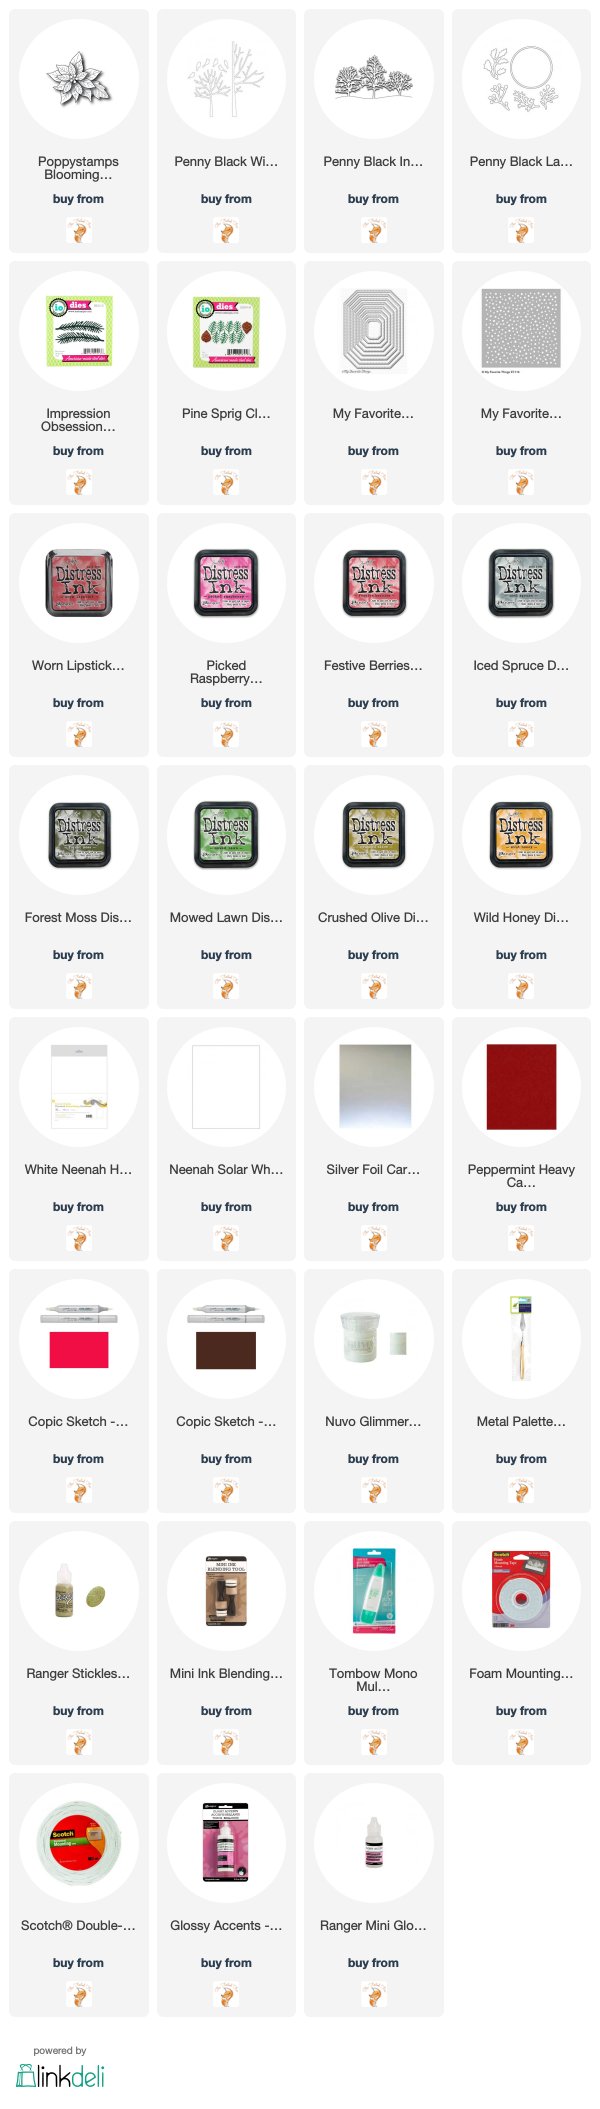
Goodies Used:

Your card is really beautiful, Shauna. I especially love all of the layers of greenery in different colors and textures!
Thank you so much!
Stunning coloring with subtle transition of shade just as if to grew that way. Awesome.