
HI Crafty Friends,
It is always an exciting day to share an awesome project by Lisa Tilson, of the My Card Trip blog. If you are familiar with her work then you will know that she creates delightful and beautifully colored projects. This one celebrates the recently released Adorable Adventures by My Favorite Things.
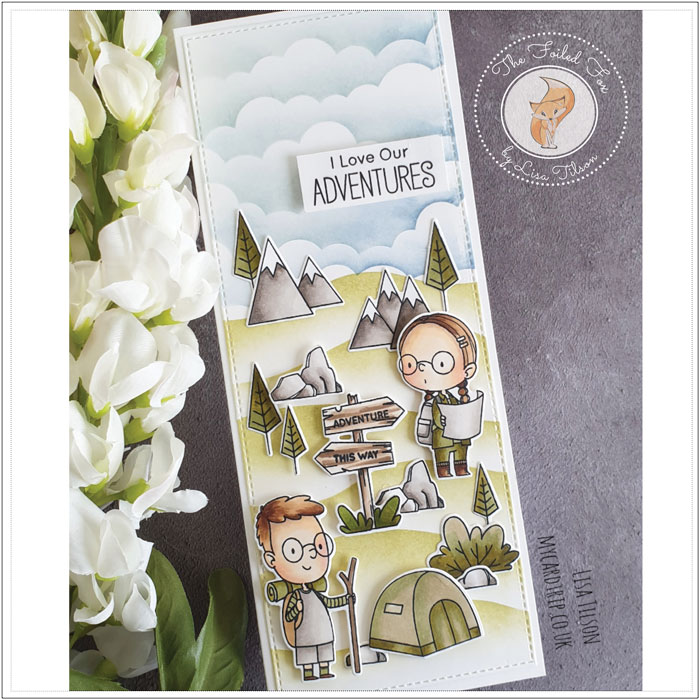
Hello everyone, Lisa here today. It’s been a while since I’ve been on the blog and I am delighted to be back with you all today. At the moment, you may have noticed, but you can’t scroll through Instagram or any cardmaking social media for long before you come across a slimline card, and that is what I have for you today. I made a few of these last year, but this year, they seem to be really taking off in popularity. They work really well for lots of scene cards, especially sea scenes, or flying scenes… or maybe even an adventure scene…can you see where I am going with this?
My Favorite Things recently bought out a Slim Line Starter set which is a basic set of dies that cut the main panel, a sentiment banner and a couple more dies that allow you to go interactive if you want. I didn’t go interactive today, but I did create a mountain/hiking scene with the recently released MFT Adorable Adventures set.
I don’t think I can pretend that this was quick – there was a lot of colouring and a fair bit of die-cutting, plus I changed my mind a few times along the way in terms of colours! But in the end, I decided to go for a relatively muted palette, keeping colours to a minimum.
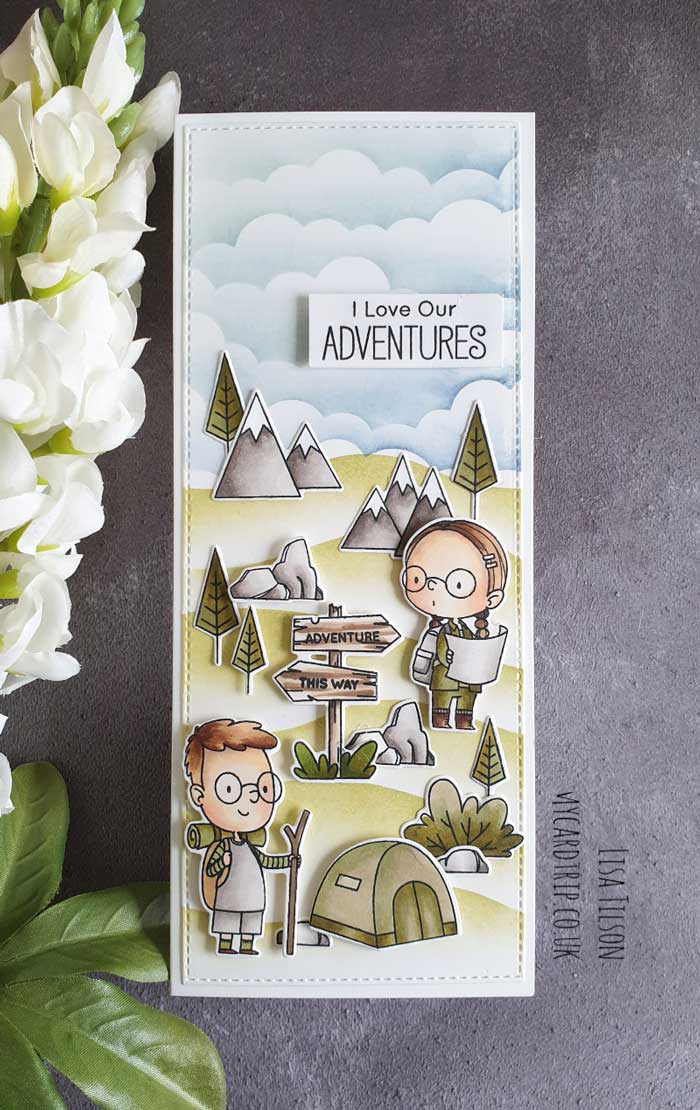
To begin, I die cut the stitched panel, taped it down to my work surface, and then took the MFT Drifts & Hills stencil and blended Shabby Shutters Distress Oxide up the panel, stopping just over halfway up. I thought Shabby Shutters would be a nice alternative to my usual Mowed Lawn and gave a bit more of a hiking trail look. I then took the MFT Mini Cloud Edges stencil and blended Stormy Sky Oxide from top-down. That gave me my starter for my scene.

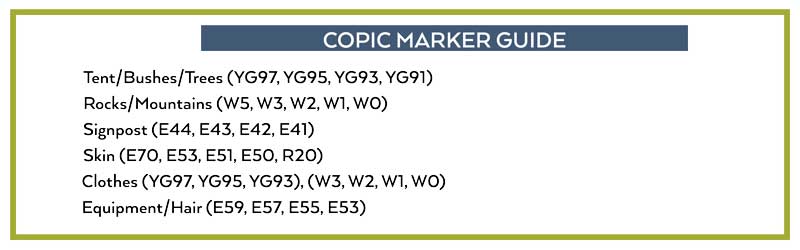
The images from Adorable Adventures were stamped with Memento Tuxedo Black onto Neenah 80lb cardstock and coloured with Copics. The numbers are listed below if you would like to see the combinations. As I mentioned before, I tried to minimize the number of colours as I felt it would get over-busy if I introduced too many colours/tones. The images were die cut with the coordinating die-namics and set to one side.
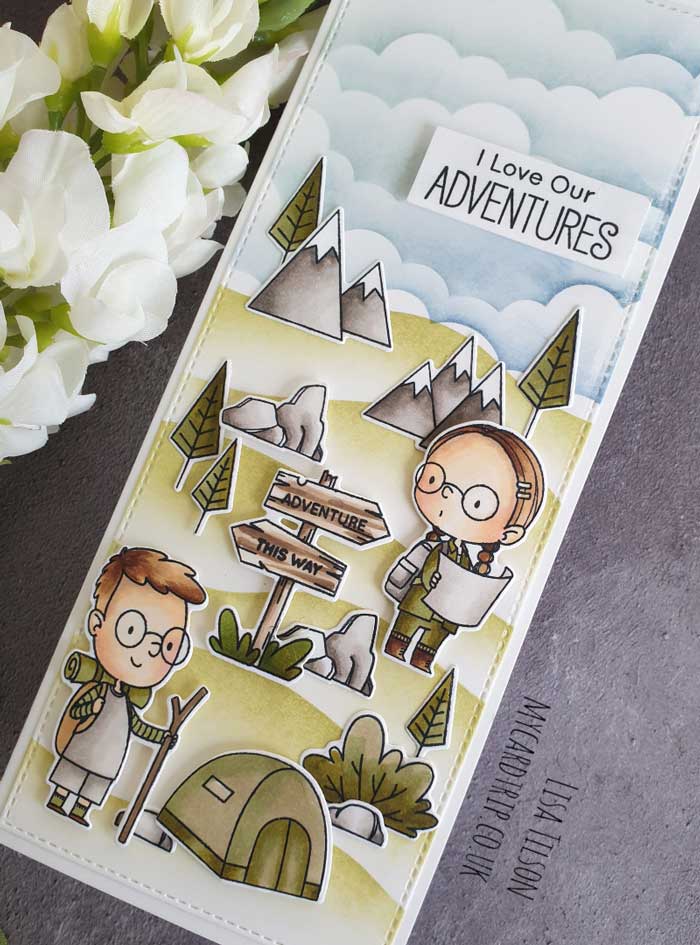
Now we come to the fun bit! Building the scene. And bear in mind that I prepared more images than I needed – I just find it easier to work this way rather than keeping on stopping and starting with colouring if I need another tree or rock etc. I played around with the placement of the images until I was more or less happy and then took a photo.
The images were adhered either flat or with foam tape depending on where they are on the panel and what is in front or behind. It’s really good fun watching the scene come together! Lastly, I stamped a sentiment from the set onto white cardstock, using Versafine Onyx Black ink. I then trimmed it and popped it up with foam tape.
And that finishes the card. Do you like to make slimline cards? Or have I whet your appetite to give it a go? I hope so. Thank you for joining me today, I hope you have a great day!
Want to learn more about Lisa:
Goodies Used:

