Pink Camellias for You
Hello there,
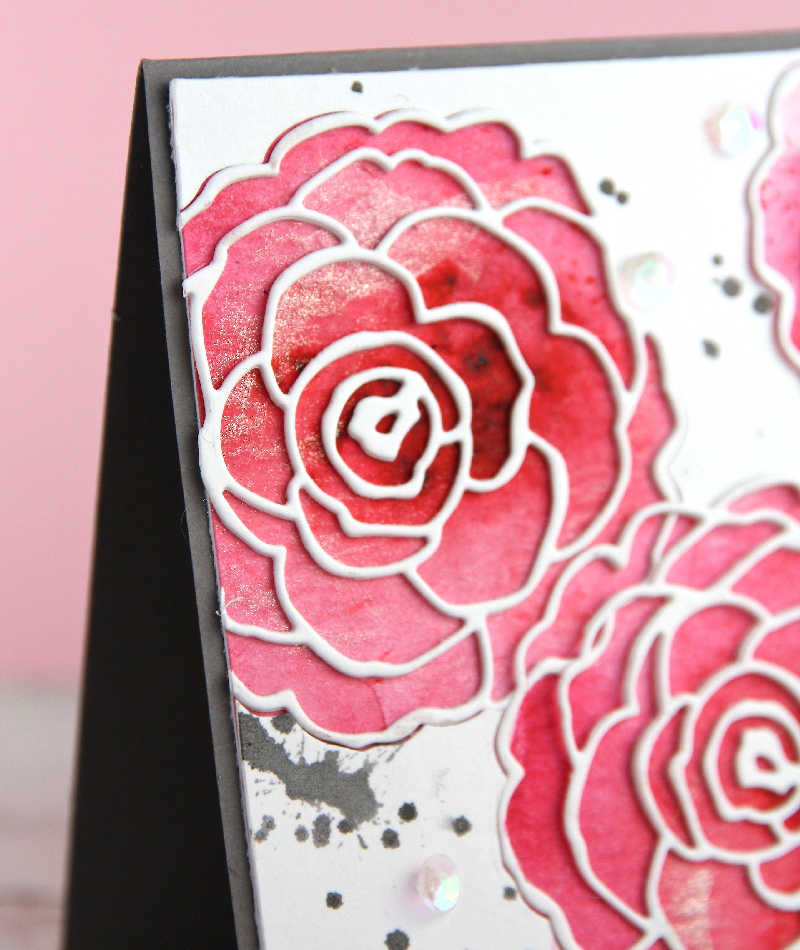
Today we have brought big, beautiful pink camellias for you to enjoy. These camellias are from the Penny Black Camellia Die Set. I love how you can make this lacy flower just by cutting out the flower blossoms with the open petal die and back it with any paper or color it. In this card, the pink and red background is watercolored.
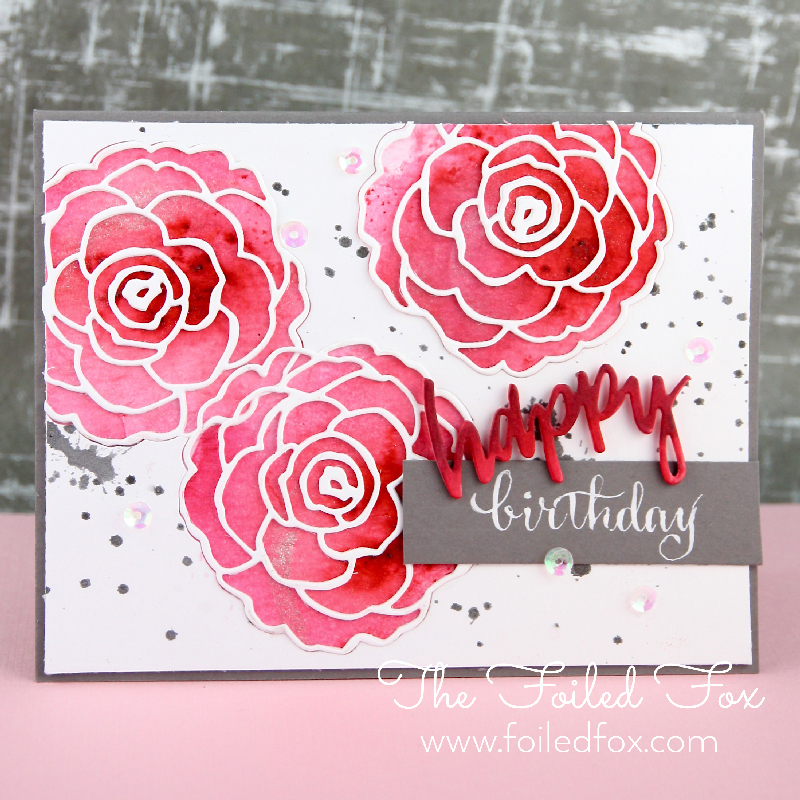
To make this card, position and cut 3 flowers using the solid flower die, on a piece of white cardstock. You can see that for 2 of the flowers, I positioned them off the edge. This is simply done by positioning the die off the edge of the paper and then cutting. Since you can only cut one flower at a time, position the die, cut out the flower. Repeat this process two more times, each time moving the die to your desired position.
Since you are running it through the die cutting machine 3 times, sometimes it leaves small marks on the paper. Don’t fret, after all the blossoms are cut, run it through the die cutting machine again without any dies on it. This will smooth out your paper.
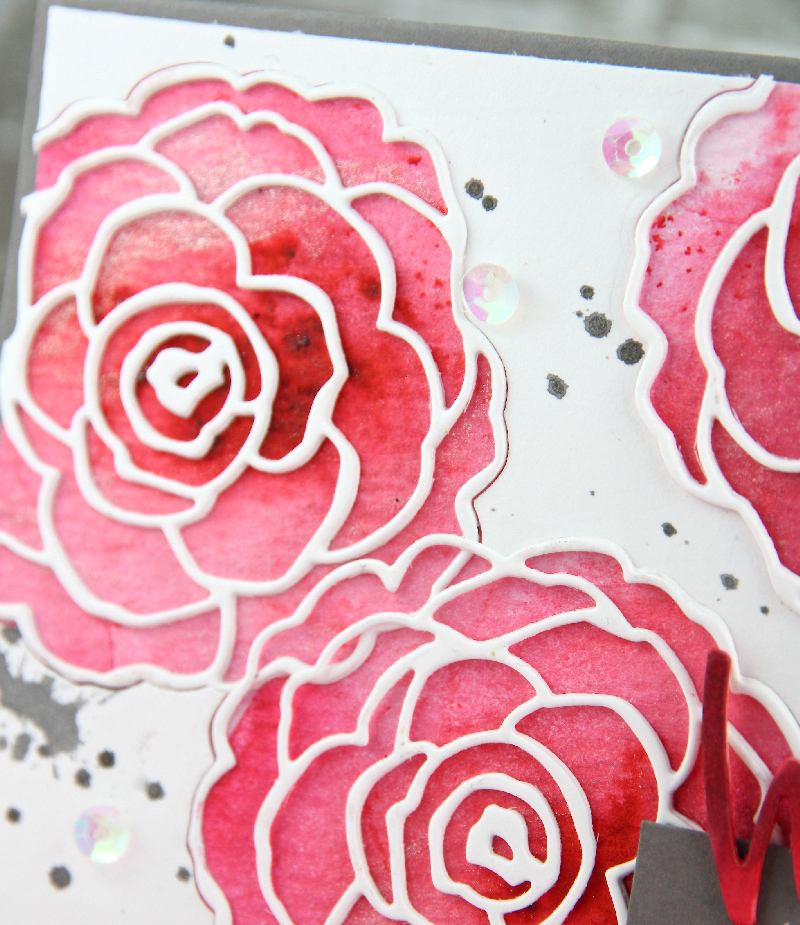
Before setting aside the newly created top with the cut out flowers, I splattered a mix of diluted black watercolor paint onto it and let dry.
Next, I cut 6 blossoms, using the open petal die, so I could stack one die cut on top of another, making 3 flowers, 2 layers high. These were set aside to be positioned later.
I watercolored bright pinks and reds over a solid panel of watercolor paper, the same size as the top. By coloring the whole panel I didn’t have to worry too much about my positioning.
When the watercolors were nearly dry, I sprinkled some Alizarin Crimson Color Burst by Ken Oliver, near the center where each blossom would likely be and lightly spritzed it with water, just enough to activate the Color Burst color but not enough to completely dissolve the dried crystals, then let dry.
Using the ‘happy’ from the Neat & Tangled Happy Holidays die, I cut 3 ‘happy’s’ from Candy Hearts card stock, stacked and glued them on top of each other for extra dimension. After stacking them, I realized I really wanted them a deeper, rosy red. I didn’t have any paper this color so the next best thing was to color the whole top with R39 Copic marker. I liked the look so much, I added a second color, but this time only colored the top portion of the word with RV69 Copic marker. This created a nice ombre effect.
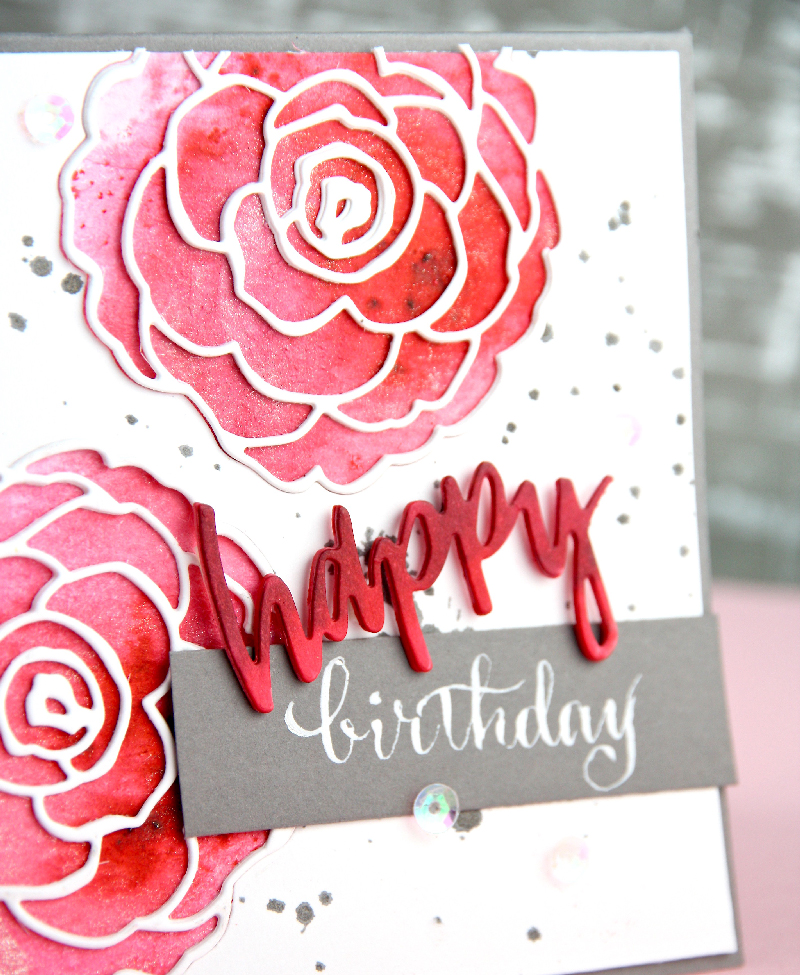
The final steps were to complete the sentiment with the ‘birthday’. You can stamp the word ‘birthday’ onto a piece of scrap paper, then heat emboss it with white embossing powder. That works and looks great. Or, since I love to letter and rarely turn down the opportunity, I hand-lettered ‘birthday’ using McCafferty’s white ink and an oblique pen fitted with a Brause Steno nib.
For quick assembly, I adhered the white panel (where I had previously cut out the 3 flowers) onto the watercolor panel and made some swishes with a Wink of Stella Clear Glitter Brush before positioning and then aligning and adhering the flower petal outlines onto the watercolor panel. At this point, there were flower outlines hanging off the edge so I trimmed them even with the paper edge with scissors.
Using a Sugar Wafer gray card base slightly larger than the watercolor paper when folded, I adhered the watercolor and flower panel to the base. Then, attached the ‘happy’ with slender bits of foam tape and nestled in the ‘birthday’ banner. Added a few sequin with glue dots and Viola, done!

Supply List:
 Penny |
 Neat & |
 Neenah 110lb. |
 Bazzill |
 Candy |
 Tim Holtz |
 Ken |
 R39 |
 RV69 |
 Clear |
 Mc Caffery’s |
 Kuretake |
 Brause |
 Oblique |
 Foam |
 ATG |
 Ballpoint |
 Micro |
 Neat & |
Sorry, the comment form is closed at this time.

January 20, 2017
Amy Cooley
The vibrant pink against the bright white really makes this card pop! This is a beautiful floral die.
January 20, 2017
Denise Bryant
Love these gorgeous blossoms and your beautiful colors! Fabulous card! What a treat it would be to get this in the mail to celebrate a birthday!
January 20, 2017
jean marmo
So very pretty!
January 20, 2017
Laura Casselman
These flowers are beautiful and the shimmer! I would like to see a video of how you put it together.
January 20, 2017
Karen Mills
Beautiful, love the pink background
Gorgeous dies
January 21, 2017
BARBARA BAXTER
I love the camellias delicate dies and the pink watercolor effect with the Ken Oliver color bursts — what a great combination. I would never thought of using the two together! I also like using extra die cuts to give the cuts more depth on the card.
January 21, 2017
Janet Ingraham
Beautiful big camelia blooms. Reminds me of the beautiful lowing dresses in a Tango dance.