Pretty Hydrangeas
Hi Creative Friends,
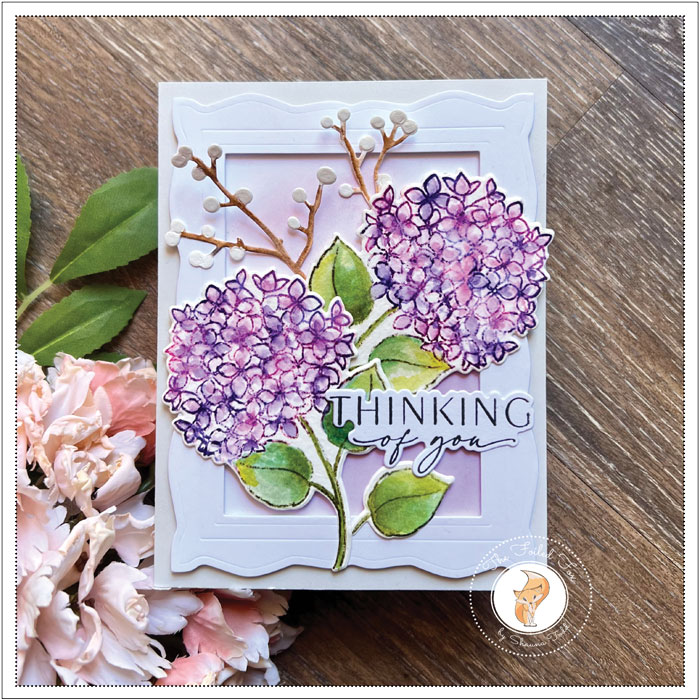
I am sharing a new card design featuring Penny Black’s second in the Flower of the Month series, Hydrangeas. It has a matching die set and is filled with beautiful, full hydrangeas, a library-like grid, and lovely sentiments.
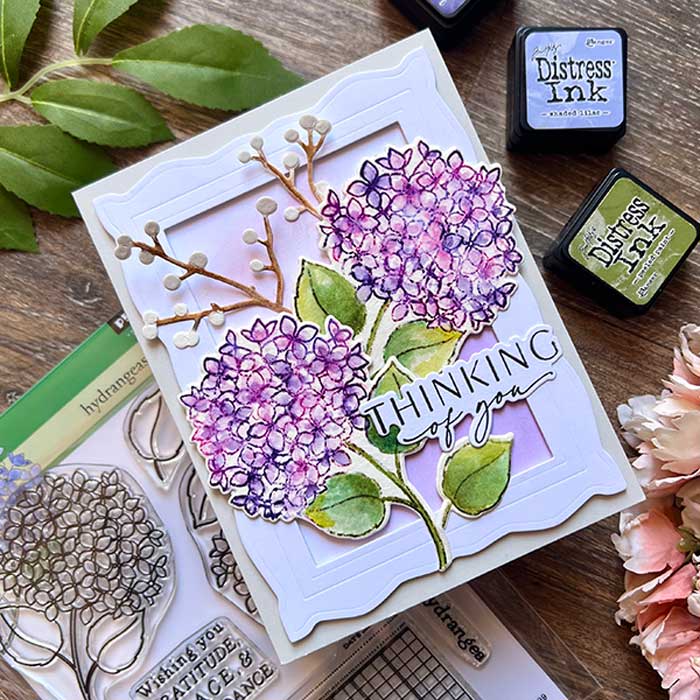
To begin, I mounted a panel of cold-pressed watercolor paper and the hydrangea stamps in my stamp positioner. To ink and stamp these flowers, I first started by adding spots of Picked Raspberry, Seedless Preserves, and Villainous Potion ink onto the blossom part of the flower, lightly spritzing the stamp with water to get the color moving. Then, I spread the color with a damp paintbrush. I continued to spread the color and restamp areas as needed, gently. I use this technique a lot. It is easy, and it has been successful for me. If you would like to see this technique in action, here is a link to a few videos. Click here and/or here to view.
I used the same technique on the leaves, using Iced Spruce, Pine Needles, Crushed Olive, and Peeled Paint ink. You can check out all the colors in our supply list below. I included both he mini and full-sized inks for your convenience.
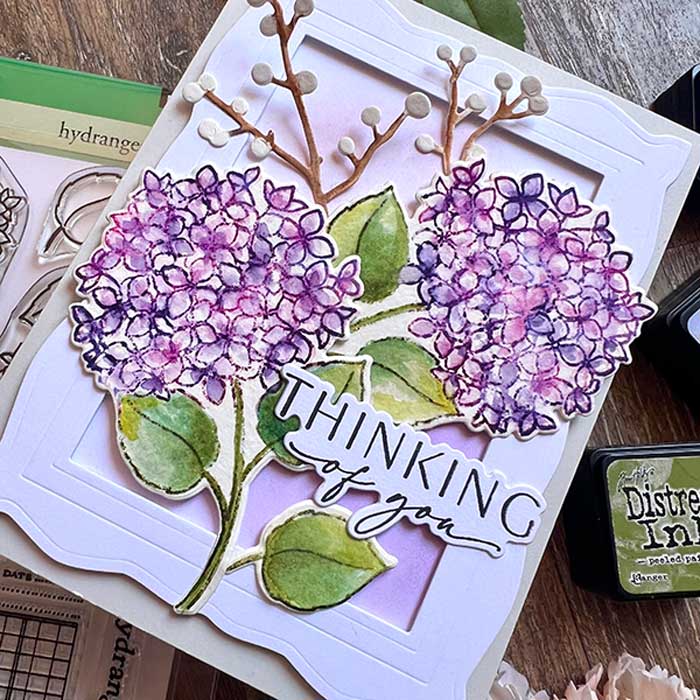
Once all was painted and dry, using the matching die set, I cut out the flowers.
The supporting characters were next. I cut out a white cardstock frame using Penny Black’s Frame It (more will be in our shop shortly) and a berries branch were cut using the Berries die set by Penny Black and watercolor paper
For the frame, I added foam tape to the back to pop it up and the berries stems were colored with Vintage Photo brown ink. To make the berries stand out more, I painted only the berries with Dr. Ph. Martin’s Bleedproof ink.
I used a sentiment from Kristina Werner’s Mother and Father stamp set, stamped it in Versafine Black Onyx ink. It was cut out using the matching dies,
Ready to assemble, I mounted an A2-sized Fog gray cardstock panel onto a matching card base. I added a smaller panel on top that I had tinted with Villainous Potion and Picked Raspberries ink.
The frame was added next, then the flowers, berries, and sentiments were popped up with foam squares and pressed into place.
That completed my card-YAY! I had great fun making it and I hope it gave you a bit of inspiration! ♥
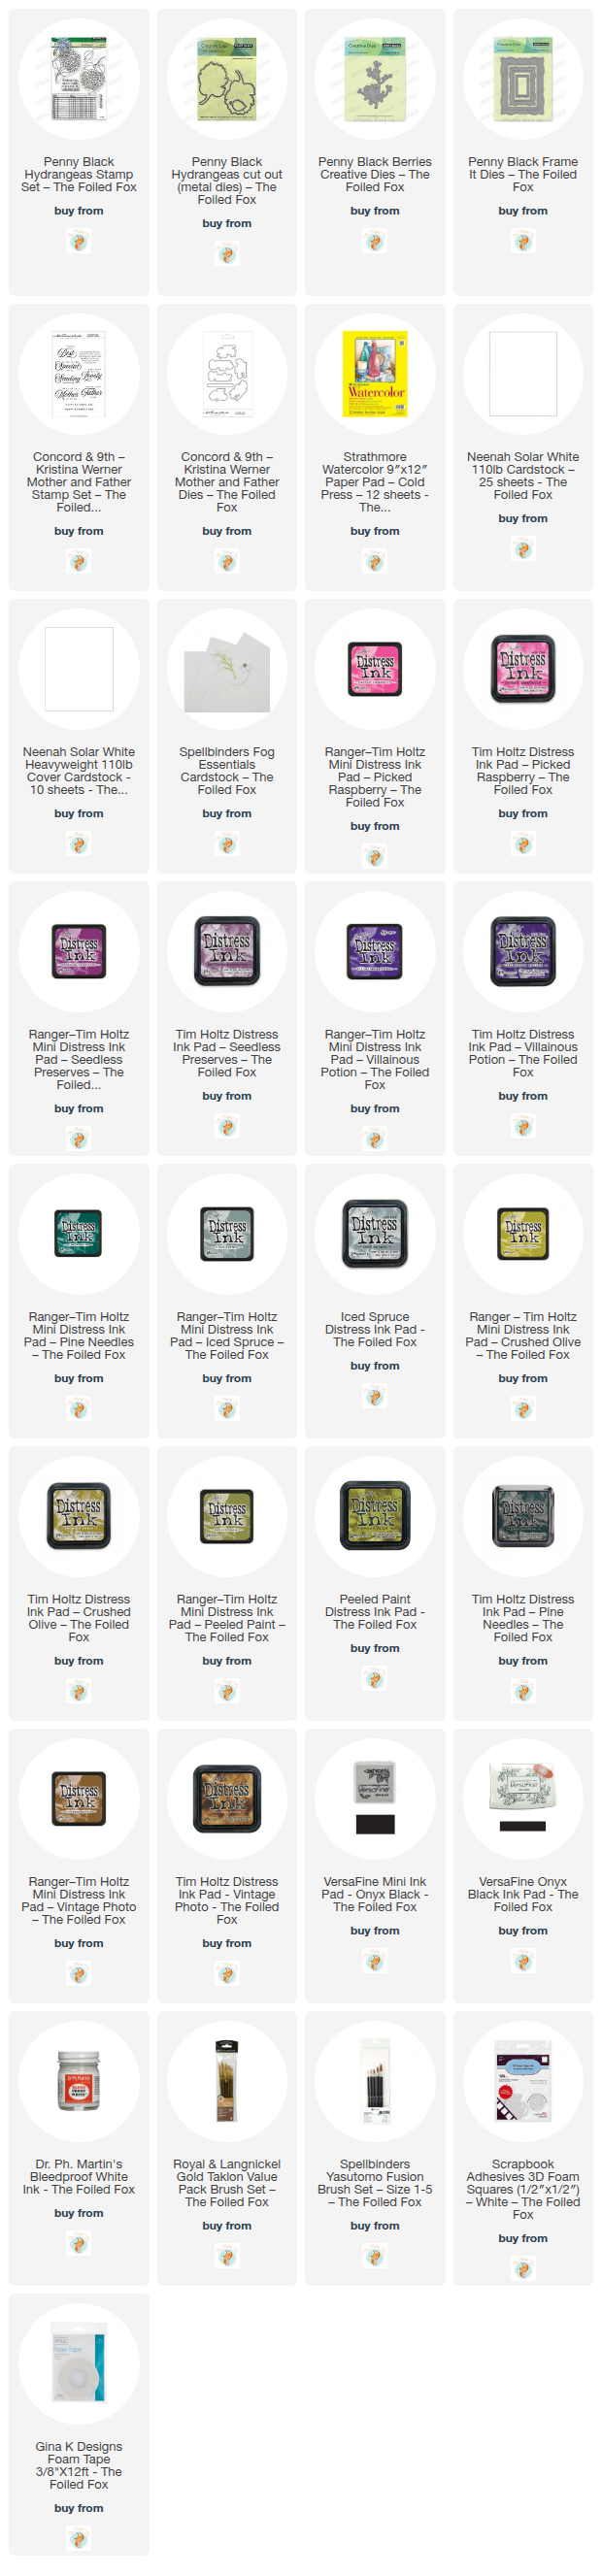
Goodies Used: