Make A Beautiful Petal Print
Hi Creative Friends,
I had a little play with a super fun stencil by Concord & 9th called Petal Print and a few of their exciting new paper and ink colors. I was surprised by how much fun and easy to use the stencil was. So, if you have a few minutes and want to create a quick card with bursts of color using any color scheme you can dream up, read on!
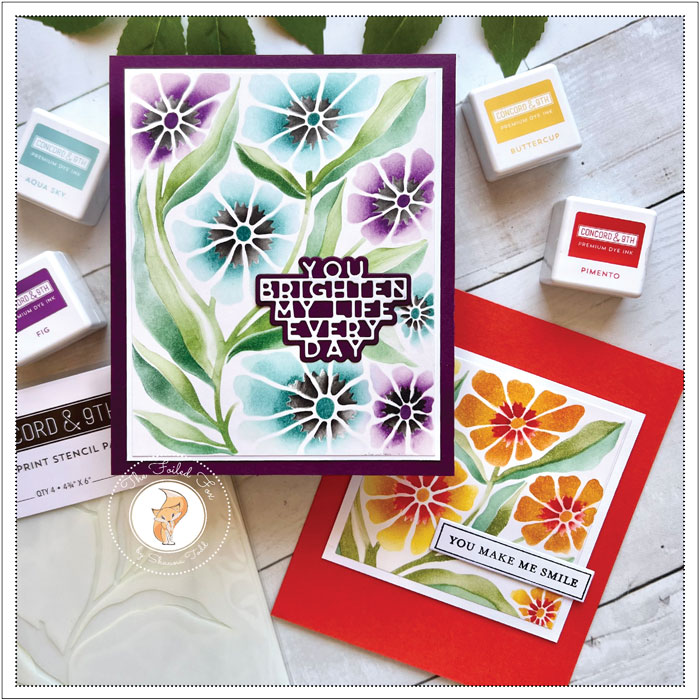
As mentioned, these cards were a quick make and I think they work swimmingly for just about any occasion. Just change the color scheme and sentiment, and you have a whole new card.
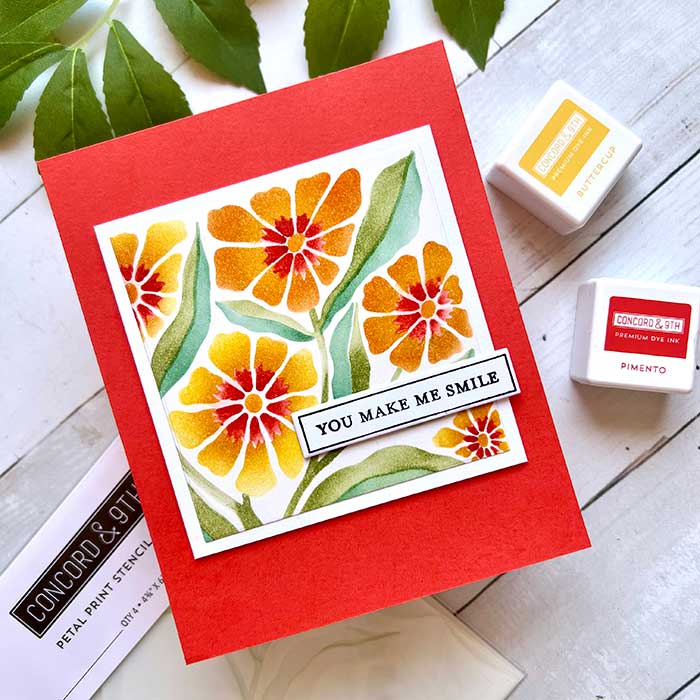
To dive in, I started with the yellow and orange first. Using a Bristol paper panel (for easy ink blending), the Petal Print stencil set, and a few ink cubes, also from Concord & 9th, I started adding color.
The first stencils were the flowers. I used Buttercup, then Clementine, and Pimento (new color) for the centers. The leaves were Pistachio (new color) and Juniper.
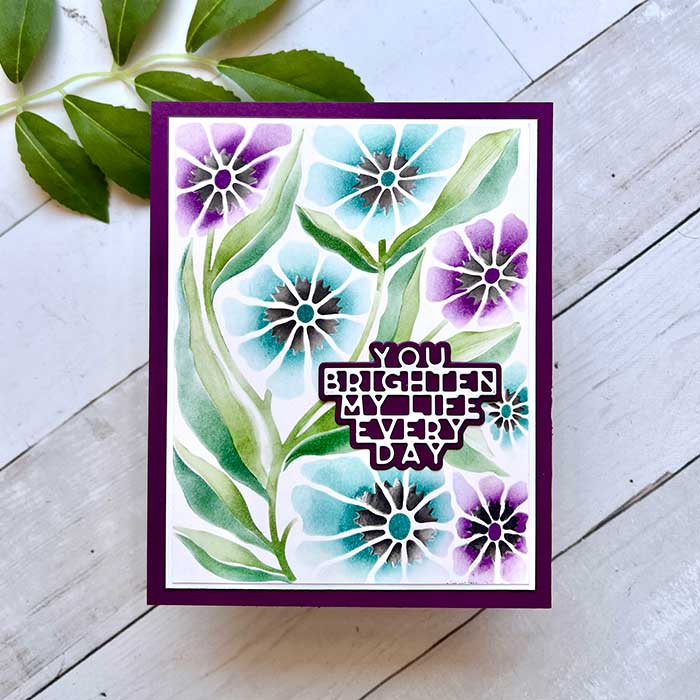
The panel was so fast and easy to make, I decided to grab another panel while I had my inks out and created one using blues and purples. I used Aqua Sky and Lakefront (new color) for the blue flowers and Lilac and Fig for the purple. All the flowers have a Mushroom gray center.

I reused Juniper for the leaves, and the second color was Eucalyptus. For all my ink blending, I used ink daubers to get into the small spaces.
To complete the blue and purple card, I trimmed the floral panel, then mounted it to a slightly larger white cardstock panel. This assembly was added to the front of a Plumberry (new color) cardstock card base.
I love the sentiments in the new Kristina Werner’s Long Lines die set so that was my choice for this card’s saying. The sentiment was cut from white cardstock, and the shadow was cut from a scrap of the Plumberry cardstock. They were added to the card front to complete this one!
For the yellow and orange panel, I changed things up a little by cutting it down into a square, then mounted it to a slightly larger white cardstock square. Foam was added to the back, then the whole thing was mounted onto a Pimento cardstock card base.
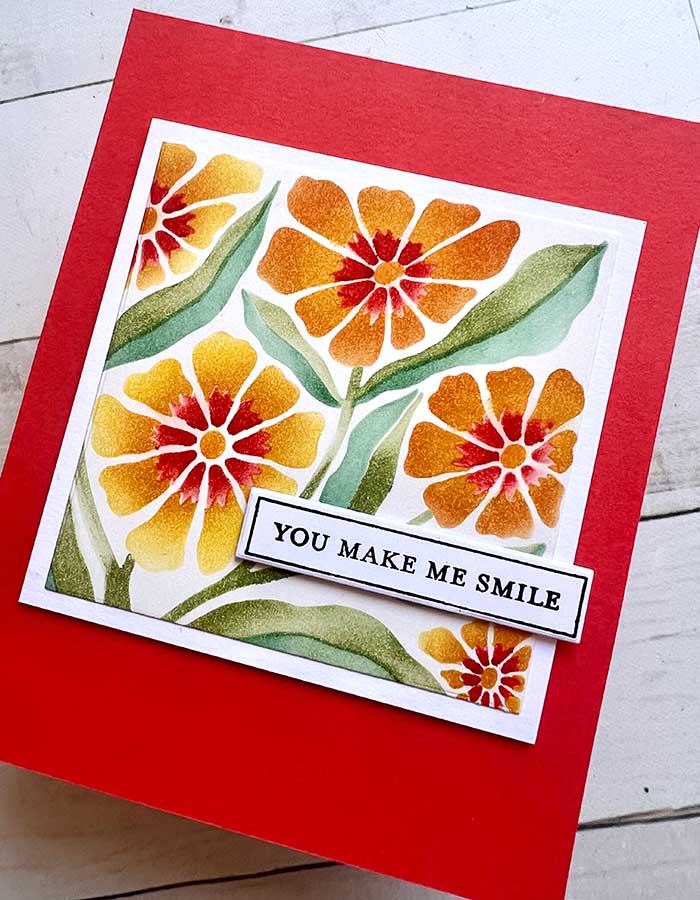
For this card’s sentiment, I used the new So Many Sayings stamp and die set. This sentiment set is awesome and a breeze to use. Since it is just one stamp for all the sentiments, you just stamp once, then cut out all the sentiments at once. How cool is that?!? ♥
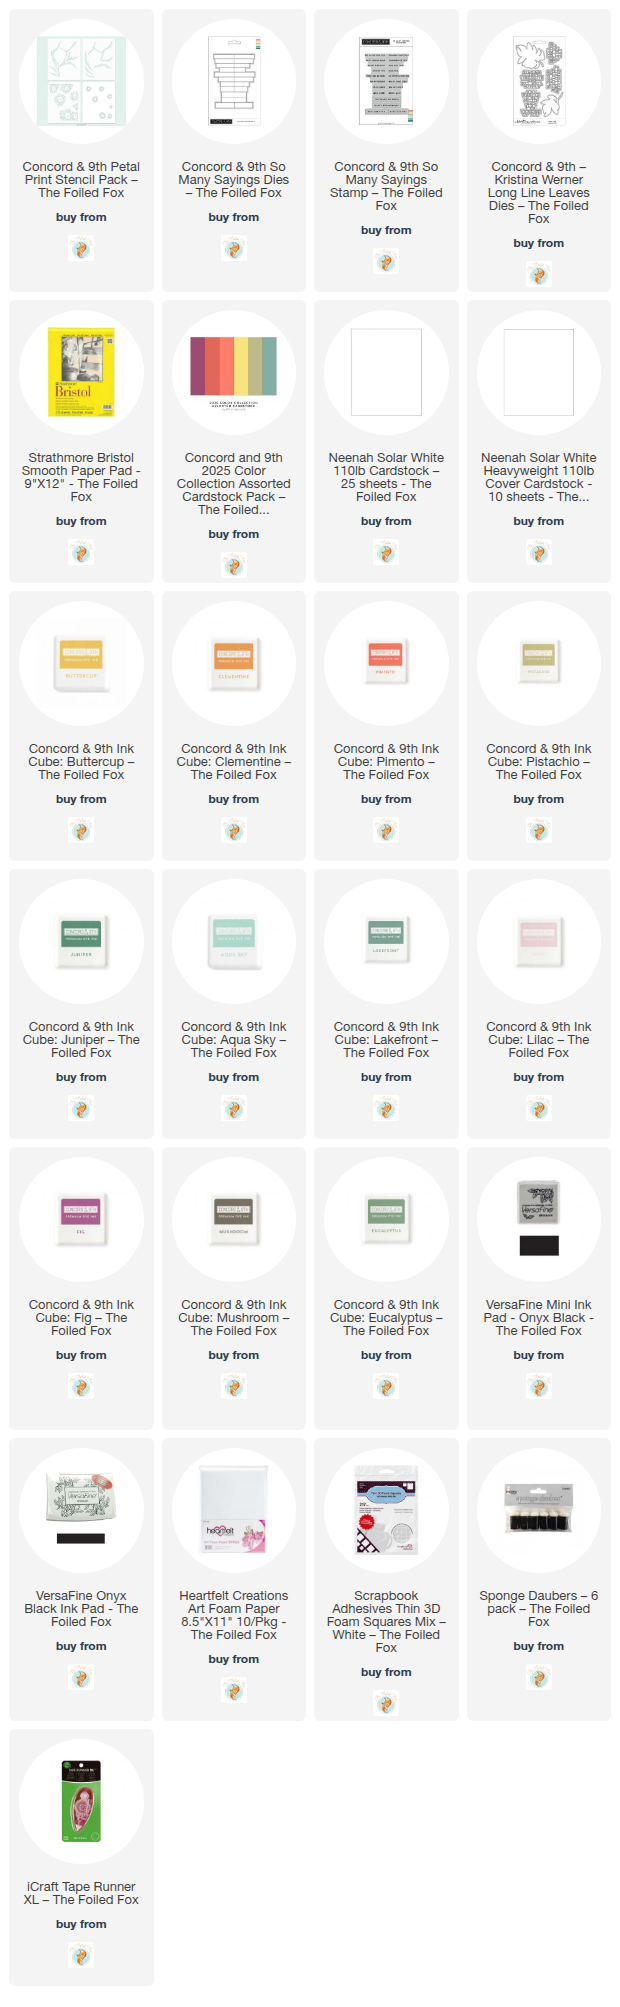
Goodies Used: