Special Delivery
Hi Creative Friends,
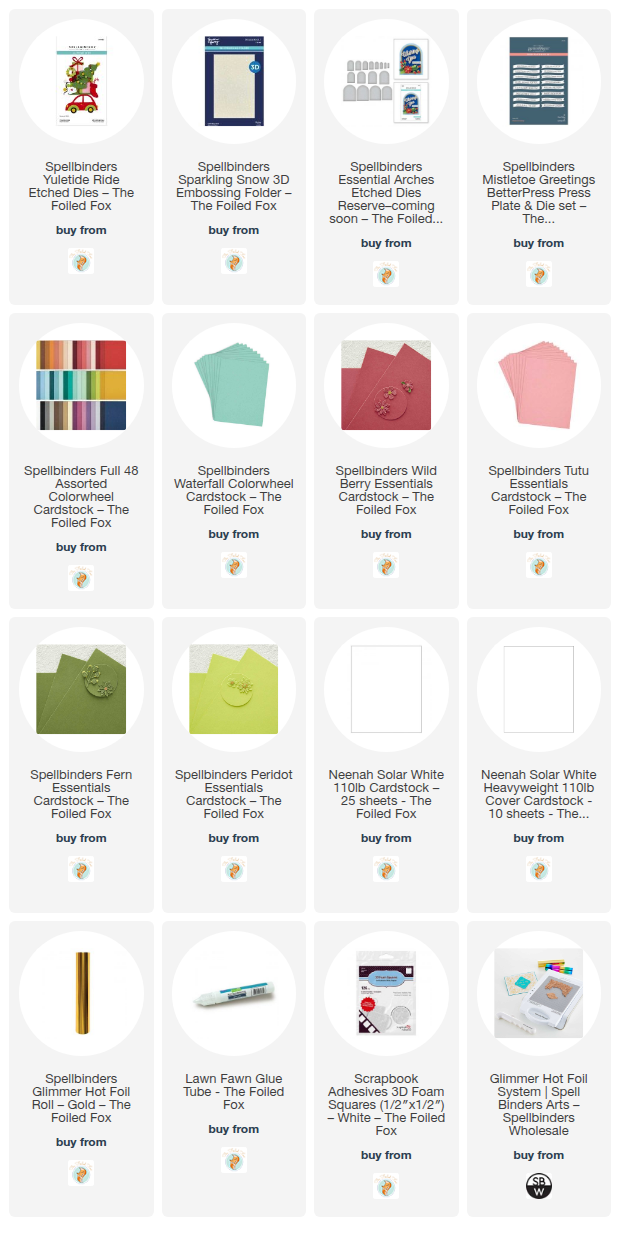
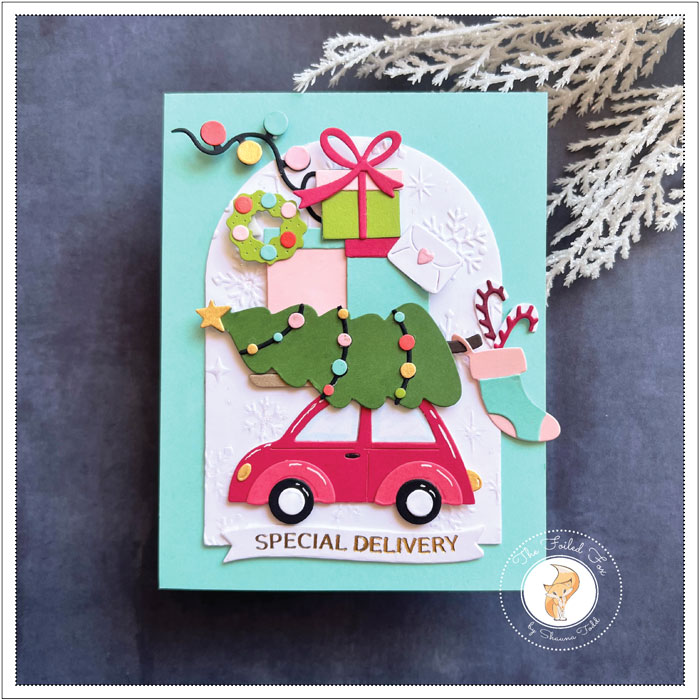
We are getting in the Christmas mood around our Foiled Fox office so here is one for you. It is never too early to start building your Christmas card stash, and what better way to begin than to use the new Spellbinders Yuletide Ride. This set features a super cute bug of a car piled high with presents and tree!
This set has a ton of adorable goodies to make your card as festive as you would like. There is no stamping in this card design. It is created entirely by cutting out fun colors of colored cardstock. There are some main colors used, but mostly it uses bits and pieces of paper. The best way I know to have a full array of colors at your fingertips is to grab the Spellbinders’ 48-color Assorted Colorwheel cardstock pack. You have all the colors you need, and then so packed in this set. The best part of this pack, too, is that you can make a hoard of cards with this pack.
Now that we have sorted out the paper, it is time to start cutting and building our card. I started with a Waterfall Colorwheel A2 card base and a matching panel. The panel was adhered to the front.
Next, I cut an arch from white card stock using the Spellbinders Essential Arches die set. This set includes several dies, so I selected one that seemed to be the best complement for the front of the card. After cutting out the arch, I embossed it using a brand new embossing folder by Spellbinders called Sparkling Snow. It is a 3D folder, so you get a deep, beautiful impression. The arch was added to the card front, and now onto the super fun part.
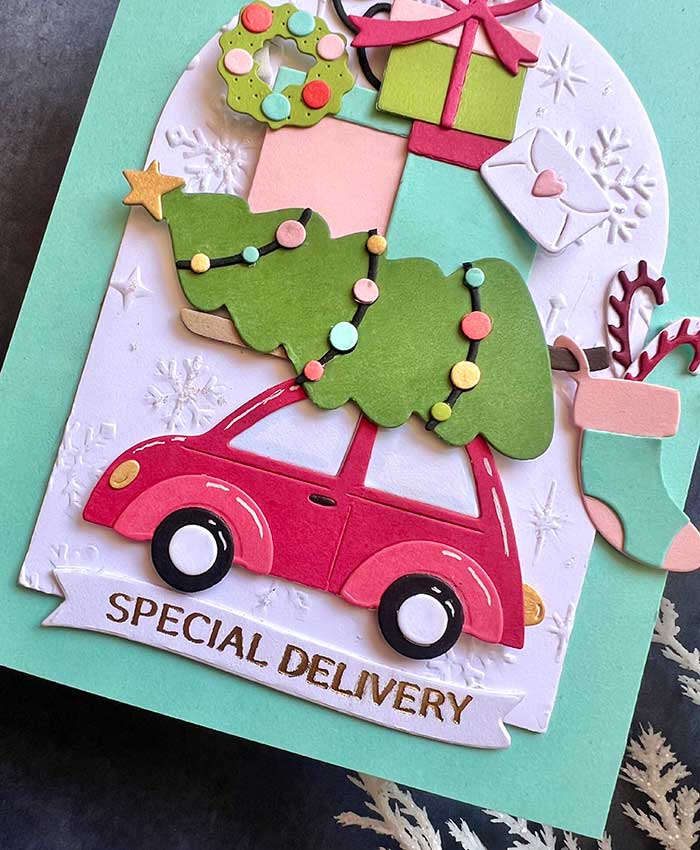
I was going for a retro color scheme, so I chose those reminiscent of the mid-century era. I cut out lots of different colored dots and box colors for my presents. Then, got busy gluing them all together. It is all pretty self-explanatory how they go together.
Once all the pieces were assembled, it was just a matter of arranging them, then adhering them to the card front using foam squares.
To complete the card, I chose a sentiment from the Mistletoe Greetings Betterpress set. As you know, you can use a Betterpress press set (see supply list below) on your Glimmer system. So, I gold foiled the sentiment. In fact, this is one of those sets where you can quickly and in one fell swoop, foil the whole selection of sentiments in the set at one time, and can even cut them all out at one time too. How sweet is that?!

I really liked how the sentiment provided a nice landing pad for the card and its heavy Christmas load!
I hope you liked this card and hope you give it a whirl! ♥
Goodies Used: