Very Merry
Hi Creative Friends,
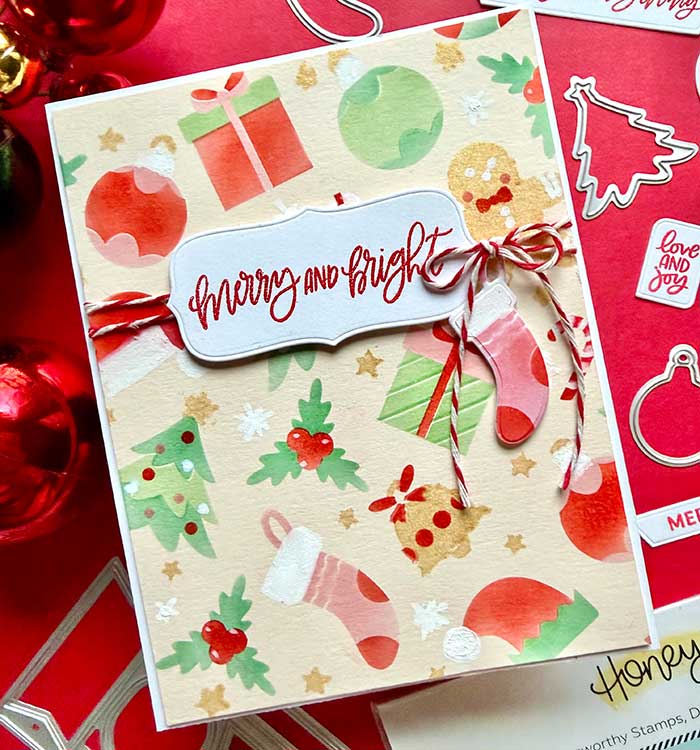
We have NEW Honey Bee Stamps goodies in the shop, and there are sooo many adorable and festive. To start things off, I used the Very Merry stencil and die set to make a quick and fun stencil card front and design
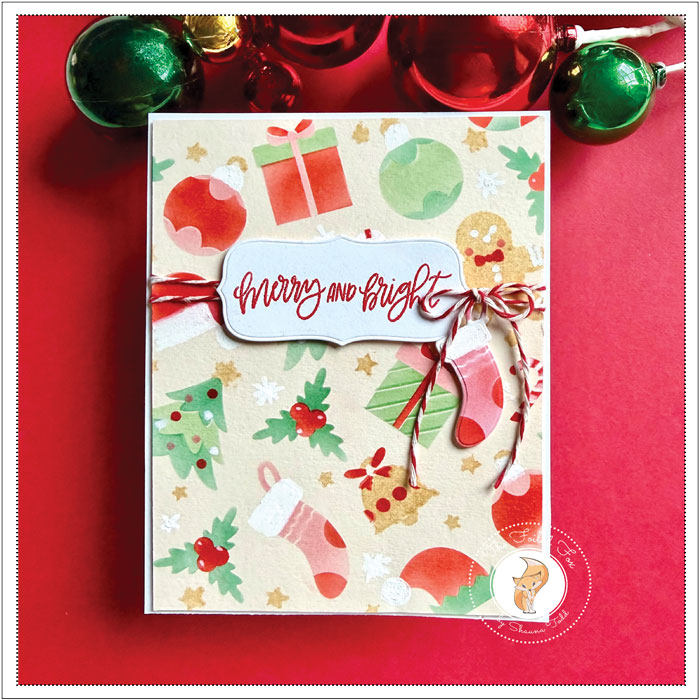
The Very Merry stencil set has 6 stencils. To make things easy, each stencil is numbered so there is no confusion about which one to start with. Before I began the stenciling, I chose my background cardstock panel. I picked Chiffon, which is a pastel pinkish/salmon color, but really, the sky is the limit. Next was choosing my ink colors. I selected 6 colors, one for each stencil. To stencil, I used ink daubers. These little guys are so handy for some places!
The ink colors I used were:
Layer 1 – Delicata Gold
Layer 2 – Eucalyptus
Layer 3 – Juniper
Layer 4 – Poppy
Layer 5 – Honeysuckle
Layer 6 – White Posca pen
Tips:
• Be sure to secure your stencil down over your paper so it doesn’t shift. You may have a favorite way, but mine is to use a grip mat (see supply list below).
• Select and organize your colors and stencils before starting. It cuts down on the confusion and errors
• Once you have stenciled the first layer, for subsequent stencils, use the designs (tree, stocking, bell, etc_) for alignment
• For the areas I wanted white, I used a Posca pen for a bright, opaque white
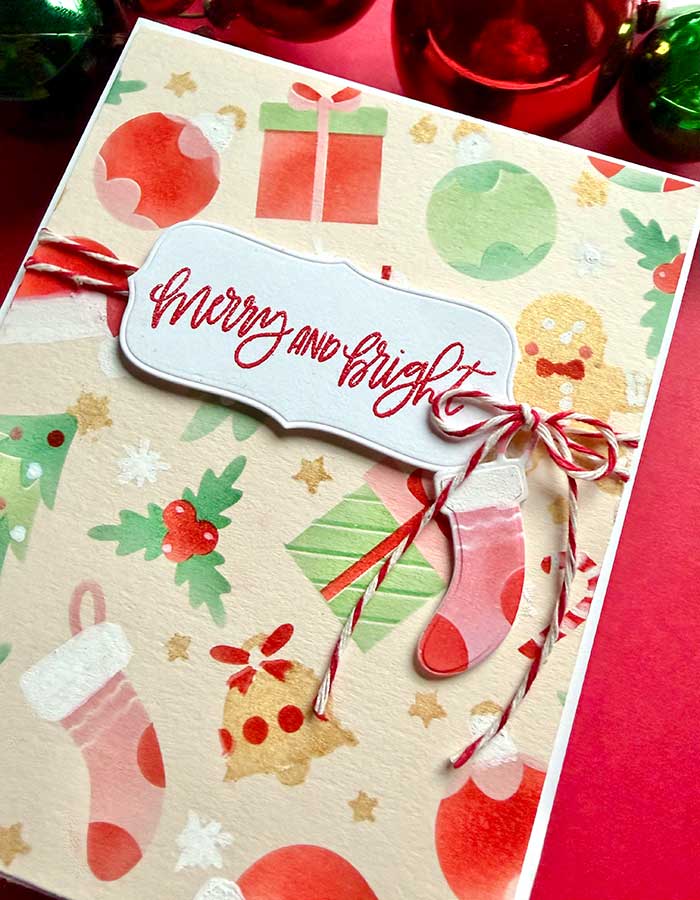
Once the panel was complete, I trimmed the edges a tiny bit and backed it with foam. Next, I stenciled a stocking onto white cardstock and cut it out using the matching dies. I wrapped baker’s twine around the panel, threaded on the stocking, and tied a bow. The panel was mounted to the front of my card base.
Now on to the sentiment. The new Simply Stated stamp and die set by Honey Bee Stamps is awesome! It is a one-piece stamp and also a die, so you stamp all the sentiments at once and then only cut once to give you all the sentiments in one go. I love it when I have a bunch of sentiments ready for more projects!
The sentiment was mounted with foam squares, and the stocking was secured with a foam square too, to complete the card.
This was a super fun card to make, and it came together in a snap. Give it a whirl… it’s great fun! ♥
Goodies Used:

