A Happy Easter to You
Hi Cardmaking Friends,
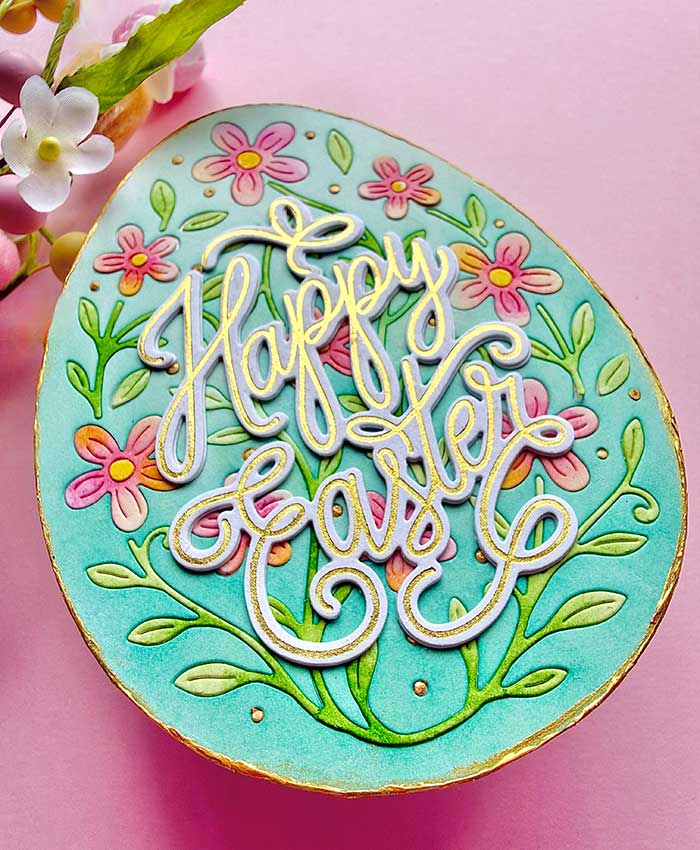
With Easter right around the corner, I am sharing a festive Easter-shaped card. I used the In Bloom Egg by Spellbinders, combined with Hero Arts’s Happy Letterpress Foil & Cut set. They are perfect companions!
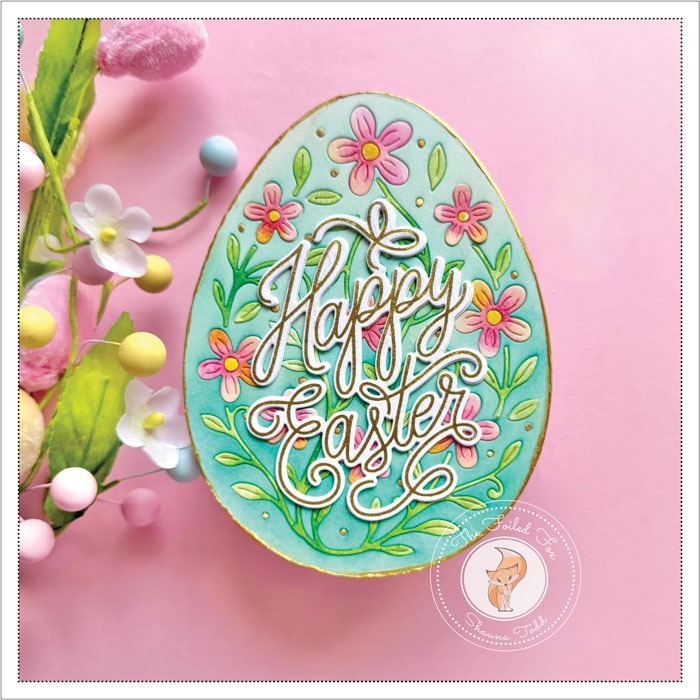
I had a lovely time making this card! I started by cutting out one egg-shaped panel that included the floral die, too. I used hot-pressed watercolor paper for this panel. I love how the inks blend on watercolor paper. It gives such a soft look!
I separated the flowers and leaves from the main egg shape and began coloring using a few Concord & 9th ink colors. I used Wildberry and Buttercup for the flowers and Sprout and Parsley for the leaves. The body of the egg was colored with Tidepool blue ink. I used blending brushes instead of painting the color on.
In the next step, I used 2 white cardstock panels, one for the front and the other for the back. But before I cut out the solid egg shapes, I covered one panel with a double-sided adhesive sheet, then cut out the solid egg shape. The second panel would be for an easel back, so this one was cut in an egg shape too, but I made a score line 1/2 inch from the top so the back can fold back that 1/2 inch.
Next, I peeled off the release paper, revealing a sticky surface. The watercolor paper egg was mounted on top, with the flowers and leaves to follow. I love using this technique for adhering small bits. The pieces just press into place without a gluey mess!
To add a little extra glitz, I applied a thin line of Hero Arts gold wax to the edge.
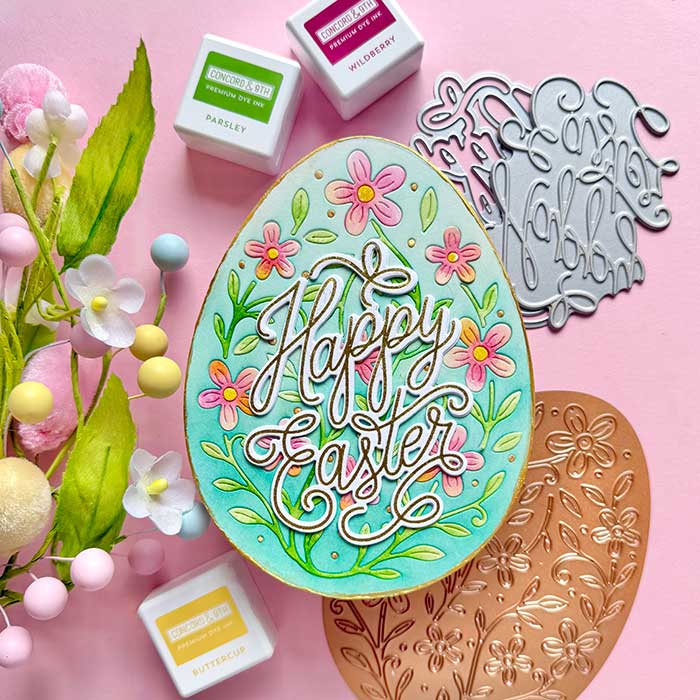
While the edge was drying, I created the sentiment by gold hot-foiling the Happy Easter sentiment found in the Hero Arts Happy Easter Letterpress + Foil & cut set. I used the Betterpress Porcelain paper for this. It is heavyweight and has a luxurious look and feel to it.
To finish, the sentiment was added to the front and the back was added by applying glue only above the 1/2 inch score line and attaching it to the back of the front. ♥
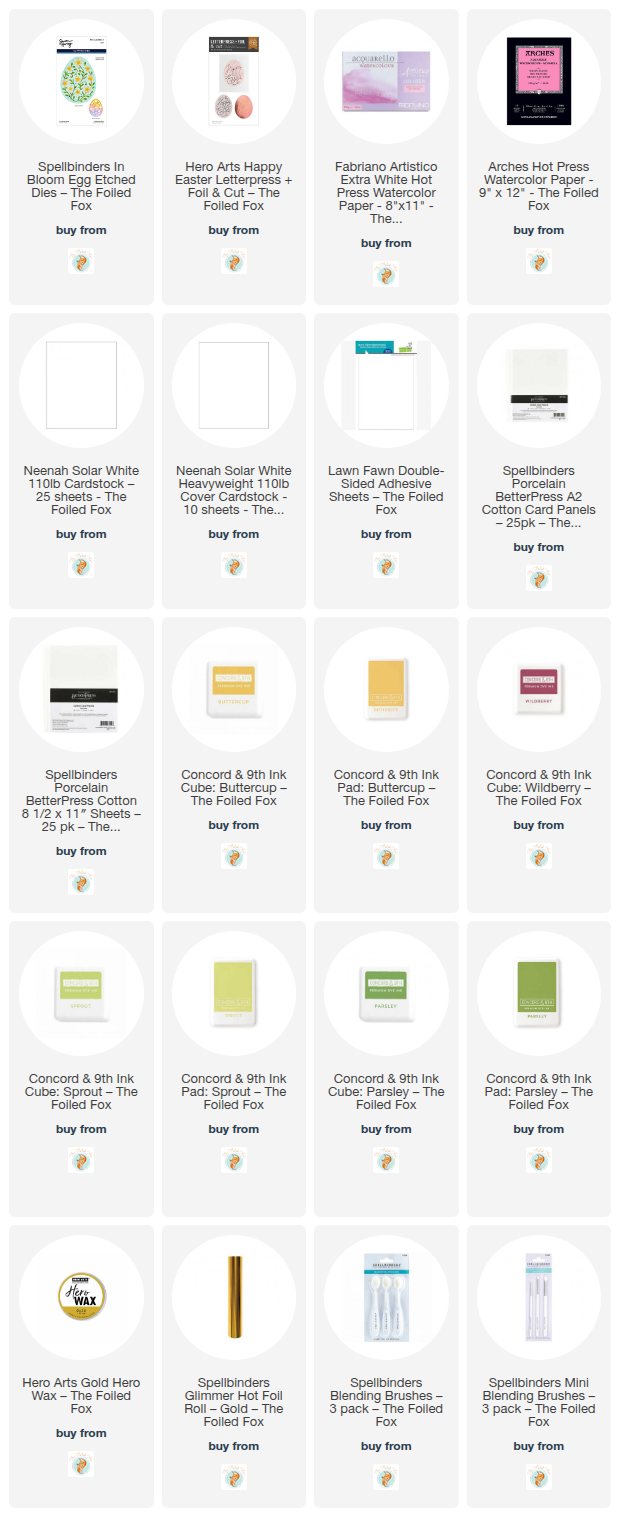
Goodies Used: