Happy birthday In Plaid
Hi Creative Friends,
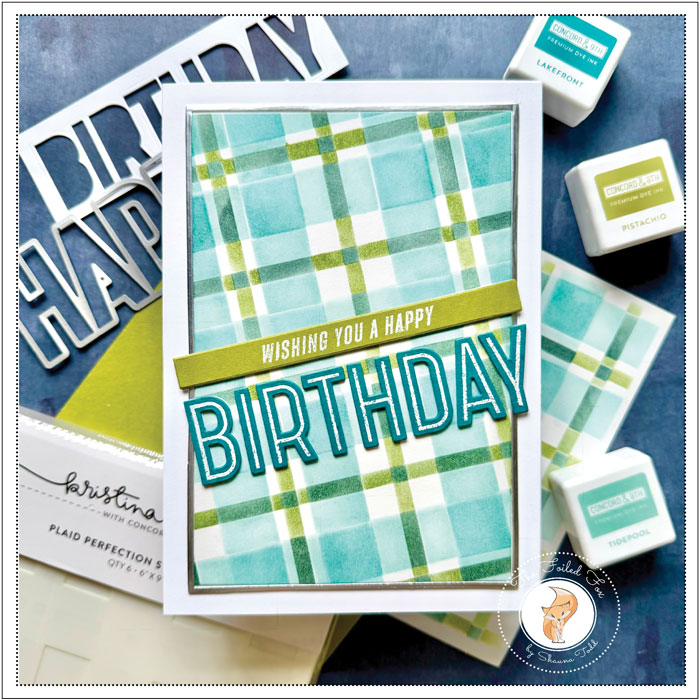
Every once in a while, or in my case, more often than not, I need a card for the men in my life. And it turns out, I have quite a few! This always presents a problem, as I usually prefer to make more feminine cards. However, I have found one sure fix… the Plaid. And there is no better plaid maker than Kristina Werner’s (with Concord & 9th) Plaid Perfection. This fabulous stencil set creates any plaid color combination your little heart desires! Then, I coupled the stencil set with one of my favorite birthday stamp and die sets, Birthday Words by Kristina Werner.
I began by making the plaid. I think plaids are so versatile. You can make them any color combination, and they can be great for masculine cards, as I mentioned before. But, they also make wonderful backgrounds for almost any occasion!
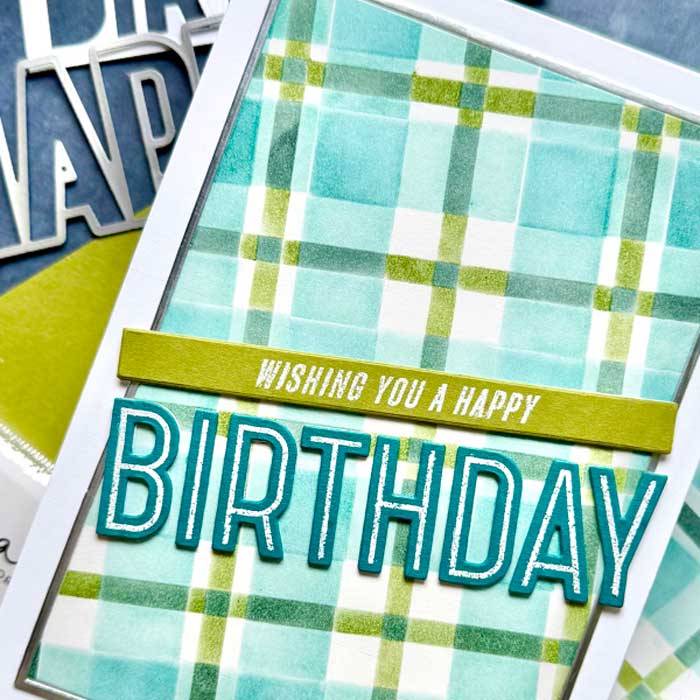
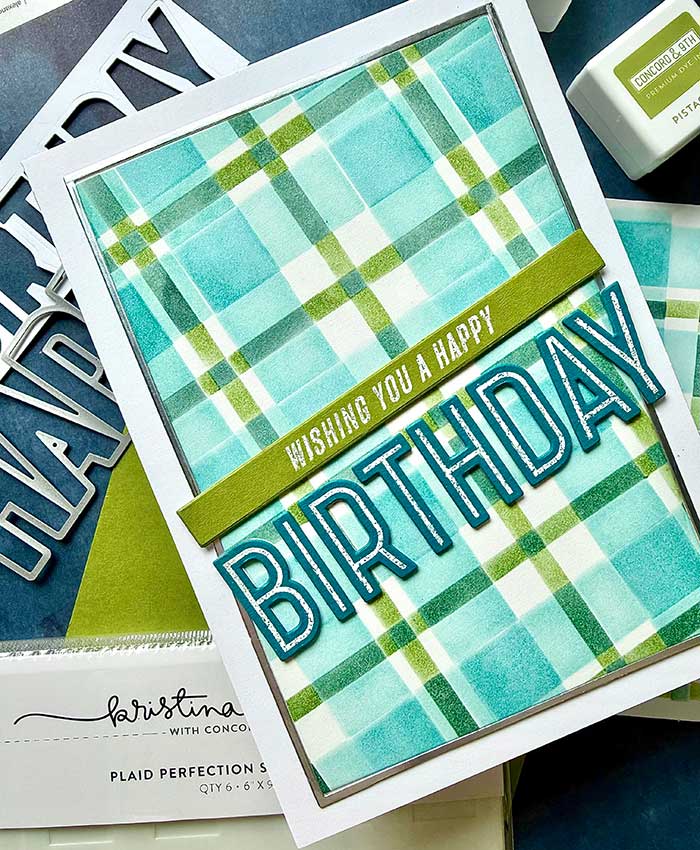
To create this background, I used Bristol paper for easy blending and a few Concord & 9th ink colors: Lakefront, Tidepool, Pistachio, and Rainforest. There are a few tips I can pass along to you when making the plaid design.
The stencils are marked in the lower right corner. There are 3 stencils for color 1 and 3 stencils for color 2. Each set of 3 is marked with light or dark color indicators. Pay close attention to these! I started by separating the color 1 stencils from the color 2 ones, so I wouldn’t be tempted to pick up the wrong stencil. From there, I blended on the lighter color of color 1, used the first stencil marked as light, then the other. When done, I switched stencils and ink color to the dark.
I repeated these steps for the second color combination,
It is really important when using the stencils that you line them up in the same place. I picked a corner and made sure that each stencil was in the same position every time before blending on the ink.
Once the plaid was complete, I used the More Thin Frames die by Kristina Werner and cut out the panel. Then, cut another one from silver foil to get the silver edge. To make it easy to mount the plaid and silver edge together, I cut another panel of white cardstock the same size, added a layer of double-sided adhesive sheet, then mounted the thin edge and panel on top. This method made it very clean and free of bits of glue.
For the sentiment, I stamped ‘BIRTHDAY’ and ‘WISHING YOU A HAPPY’ onto coordinating cardstock using Versamark ink, then white heat embossed. The sentiments were then cut out using the coordinating die set. I also cut a few more and stacked and glued them together so they were popped up.
Everything was mounted onto a 5″x7″ white cardstock card base, and the card was done! YAY! ♥
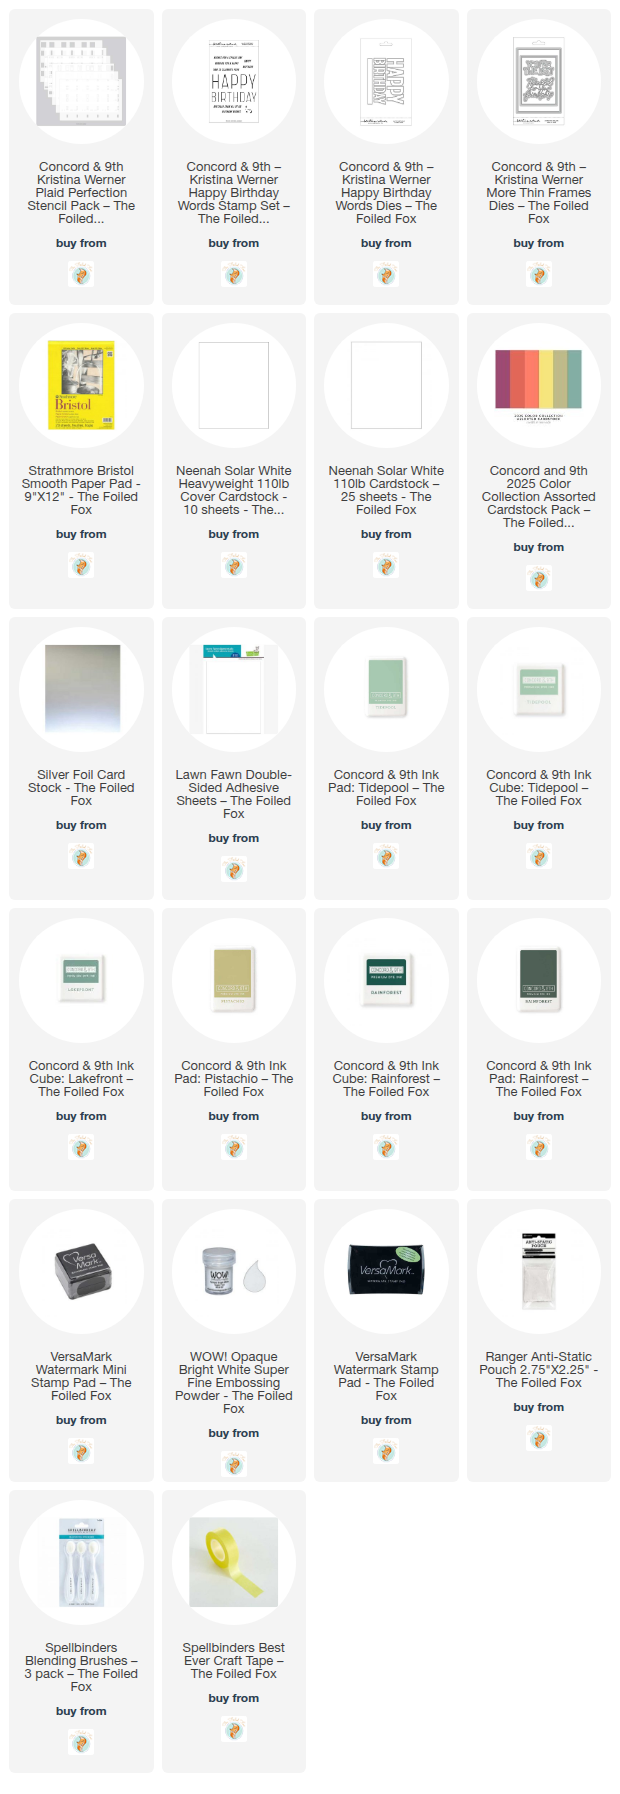
Goodies Used: