Bouquet Wishes
Hi Creative Friends,
I am super excited to share with you the first of many Penny Black card designs featuring their new goodies. We have begun entering the new stamps and dies into our shop (stay tuned for much more!). This Good Wishes Bouquet stamp and die was right on top and it is a beauty! It has two gorgeous arranged bouquets and sentiments to go with them.
We just now received our box of lovelies from Penny Black so I only had time today to create one of the bouquets, I don’t know for sure what flower is in this bouquet but it reminds me of lilacs or wisteria. Either way, it is a winner.
I began with a 5″x7″ hot-pressed watercolor panel, my stamp positioner, a bouquet stamp, and a few distress inks/re-inkers. With the panel firmly mounted in the stamp positioner, I started inking and stamping the bouquet with Iced Spruce for the leaves, Uncharted Mariner for the vase, and a few colors for the flowers (Prize Ribbon, Picked Raspberry, and Villainous Potion). I like to use ink cubes for multiple-color inking. It is so much easier to get in the small places with the small cubes.
QUICK NOTE: I never remove the panel from my stamp positioner while I paint. That way I can go back and restamp areas as needed!
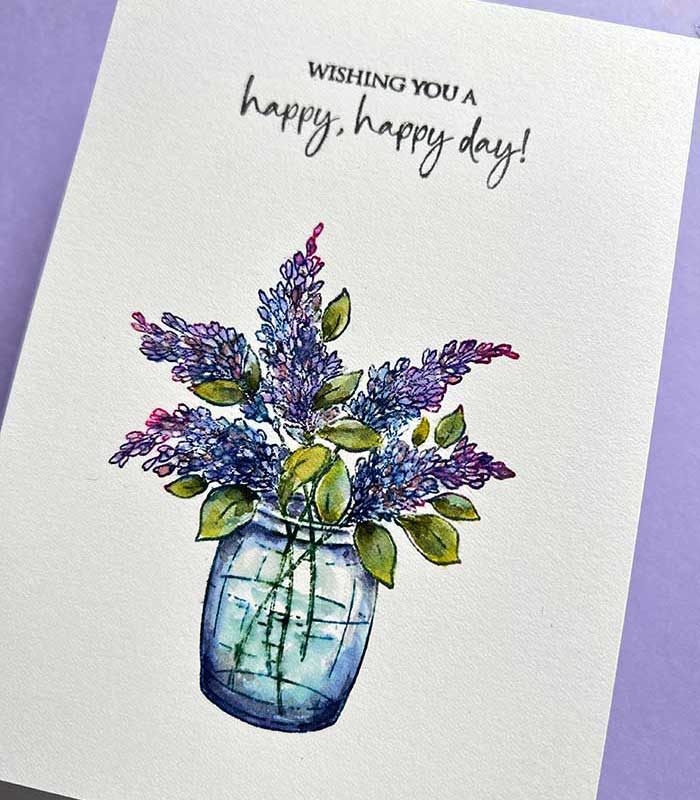
Once all was inked and stamped and using a small damp brush, I drew the color from the inked edges into the center, then added more color when necessary. For the leaves, I used Iced Spruce, Weathered Wood, Crushed Olive, and Peeled paint.
Next were the flowers. Since these flowers were made of tiny petals, I gently and carefully spread the color from the inked edges. A damp brush does the trick. More color was added to add a little contrast and shading. The colors I used were Prize Ribbon, Picked Raspberry, and Villainous Potion.
I used the same technique for the vase but added Chipped Sapphire for a little darker shading.
After all was colored, I went back and reinked and stamped the image with the various colors used to sharpen the lines again. To color the leaves and stems, I used a green Tombow pen.
HINT: Does all this sound confusing – check out this video to see the painting technique in action.
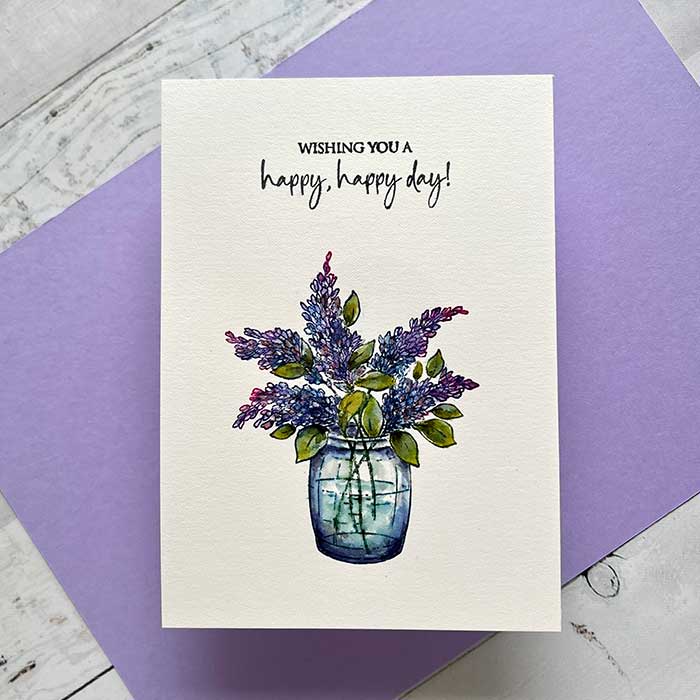
All that was left was to stamp the sentiment using Versafine black onyx ink and mount the panel onto a cream card base.
Confession: For some odd reason, when I went back to check on my project, the inked sentiment bled a little into the paper – ugh! So the project described above was actually my second one painted. To salvage the first bouquet, I cut it out using the matching dies.
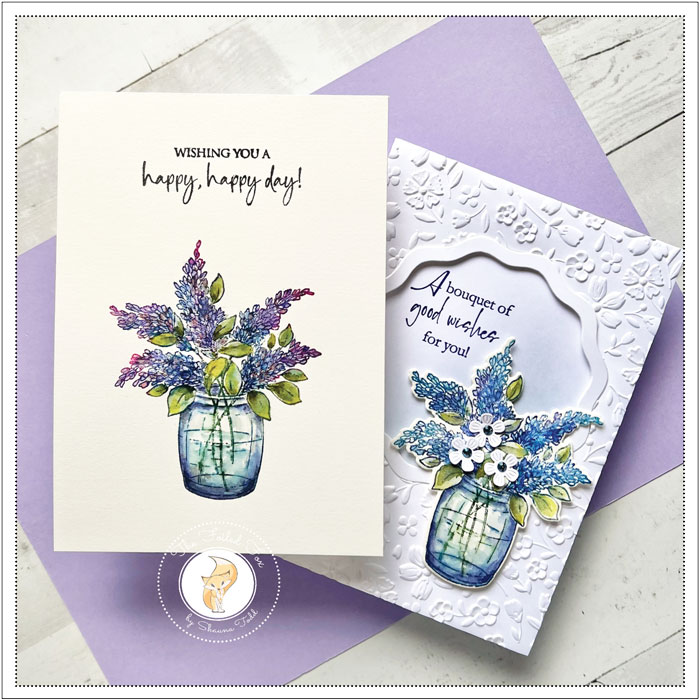
To save my first bouquet, I cut it out using the matching dies, then cut out the center of a 5″x7″ white card stock panel using the new Penny Black Ripple frame die set. The panel was then embossed using the Floral Frency embossing folder by Spellbinders.
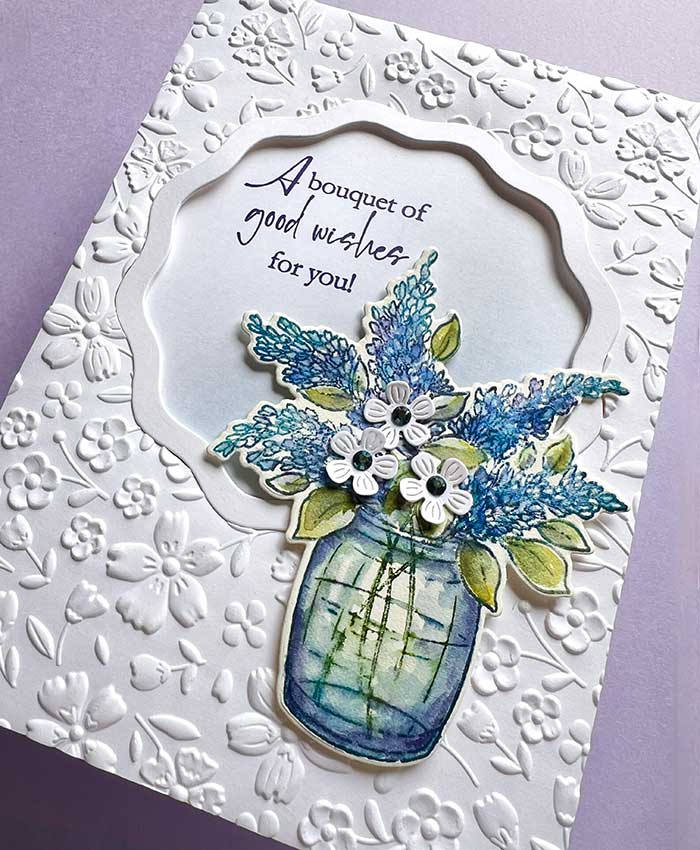
The sentiment was stamped onto a 5″x7″ white card base using Versafine Clair Medieval Blue and a little Prize Ribbon was blended. The embossing panel (backed with foam) and Ripple frame were mounted,
I decided to decorate the bouquet by adding a few tiny white flowers cut from the Scallop Journal die set with jewel centers.

Please let me know which card design you like best… see you next time! ♥
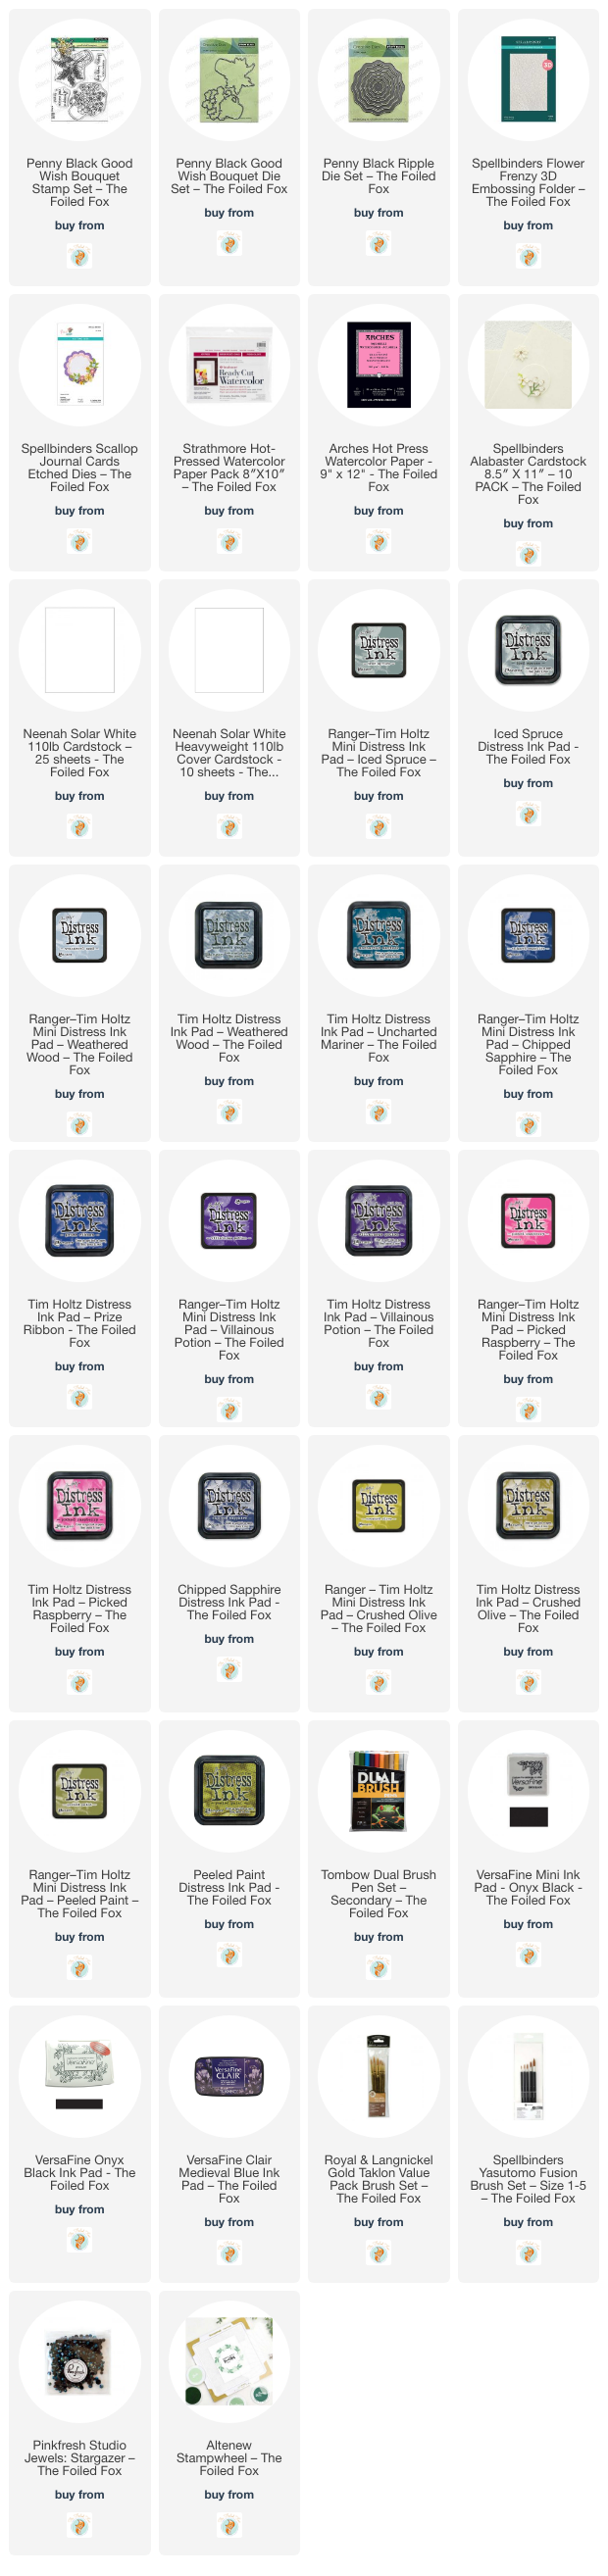
Goodies Used: