Tree Full of Season’s Greetings
Hi Creative Friends,
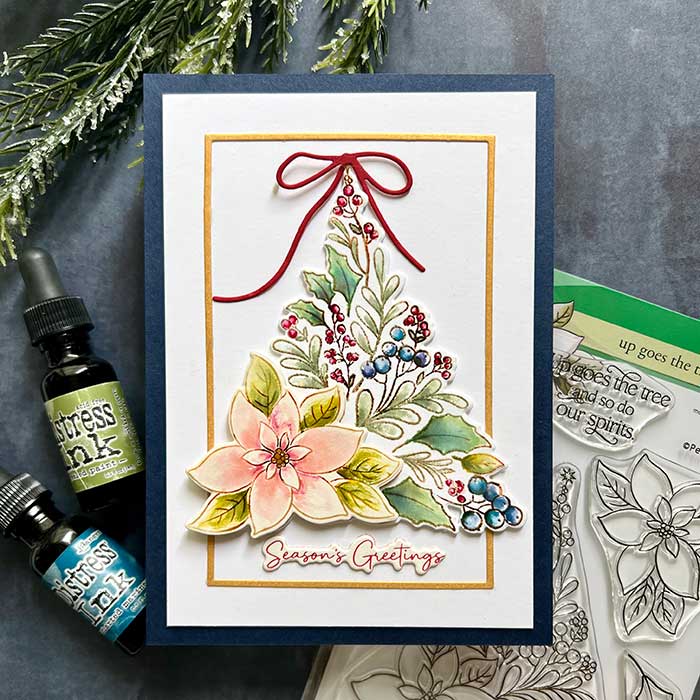
You know you are in full swing making holiday cards when you reach for one of Penny Black’s holiday tree stamps. Penny Black has a new one this year called Up Goes the Tree. It is simply glorious!
This beautiful stamp set features stunning flowers and foliage that form a tree. It is even complete with berries of different sizes!
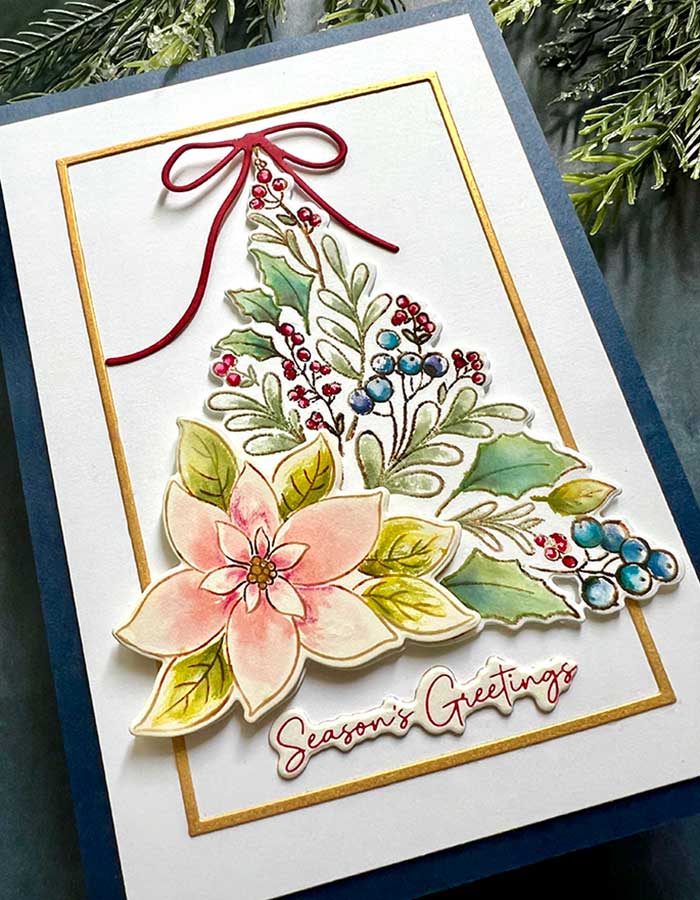
I started out with the tree stamp in my stamp positioner and stamped it with Antique Linen distress ink onto hot-pressed watercolor paper. From there, I got busy painting using tiny dots of distress reinker ink on a porcelain palette, along with a small brush. All the painting was done in my stamp positioner so I could restamp areas if needed. I used the painting technique of moistening one leaf at a time with a damp brush (but not making it watery), then applying paint in the areas where I wanted more color. Then, with a clean, damp brush, I spread the color out toward the ends.
For the holly leaves, I used Evergough Bough and a touch of Forest Moss. The small sprigs were painted with Bundled Sage, and the leaves around the poinsettia were painted with Crushed Olive and Peeled Paint.
The poinsettia was painted using Saltwater Taffy and a tiny bit of Picked Raspberry for shading. The center of the flower was painted with sparkling gold paint. For the larger berries, I used Uncharted Mariner and a touch of Villainous Potion. The small berries were just that. Since they were tiny, a red Tombow pen was perfect for applying color in these tiny places.
A separate poinsettia flower was stamped and painted the same as the first one.
When the painting was done, I “crisped-up” the lines with a faint stamping of Ground Espresso, then cut out the tree and poinsettia using the matching die set and set aside while the card base was made.
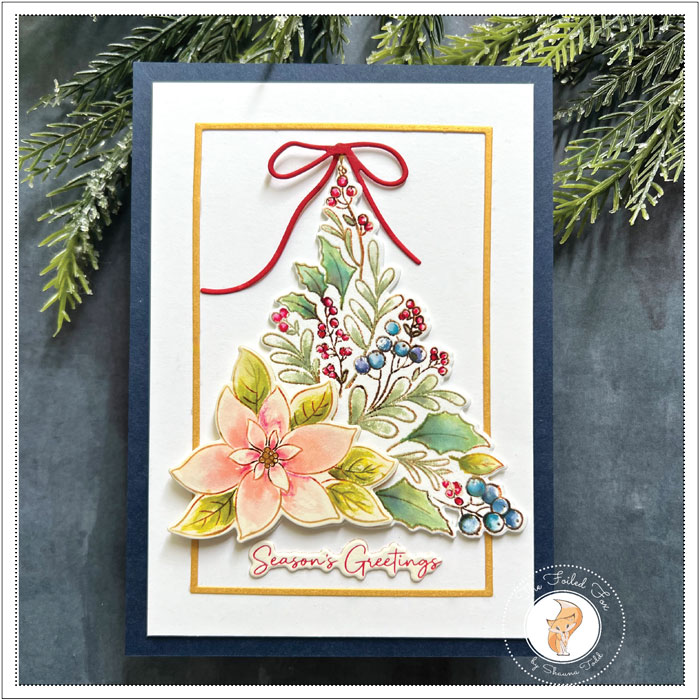
The 5″x7″ card base and matching panel were cut from Night blue cardstock. The panel was then applied to the front of the base.
Another panel of Alabaster cream was cut, which was slightly smaller than 5×7. A gold metallic foil thin frame was cut using Kristina Werner’s Thin Frames and applied to the cream panel. From there, the panel was backed with foam and glued to the front of the card base.
The tree was next. Foam squares were attached to the back and the tree was added to the front of the card, along with the extra poinsettia. Instead of the gold star at the top, I added a red bow.
The sentiment from the Merry Messages sentiment set was last. It was inked with red archival ink and letterpressed with my BetterPress system, then cut out using the matching dies.
That finishes my card project for today. I hope you enjoyed it and will give it a whirl! ♥
.
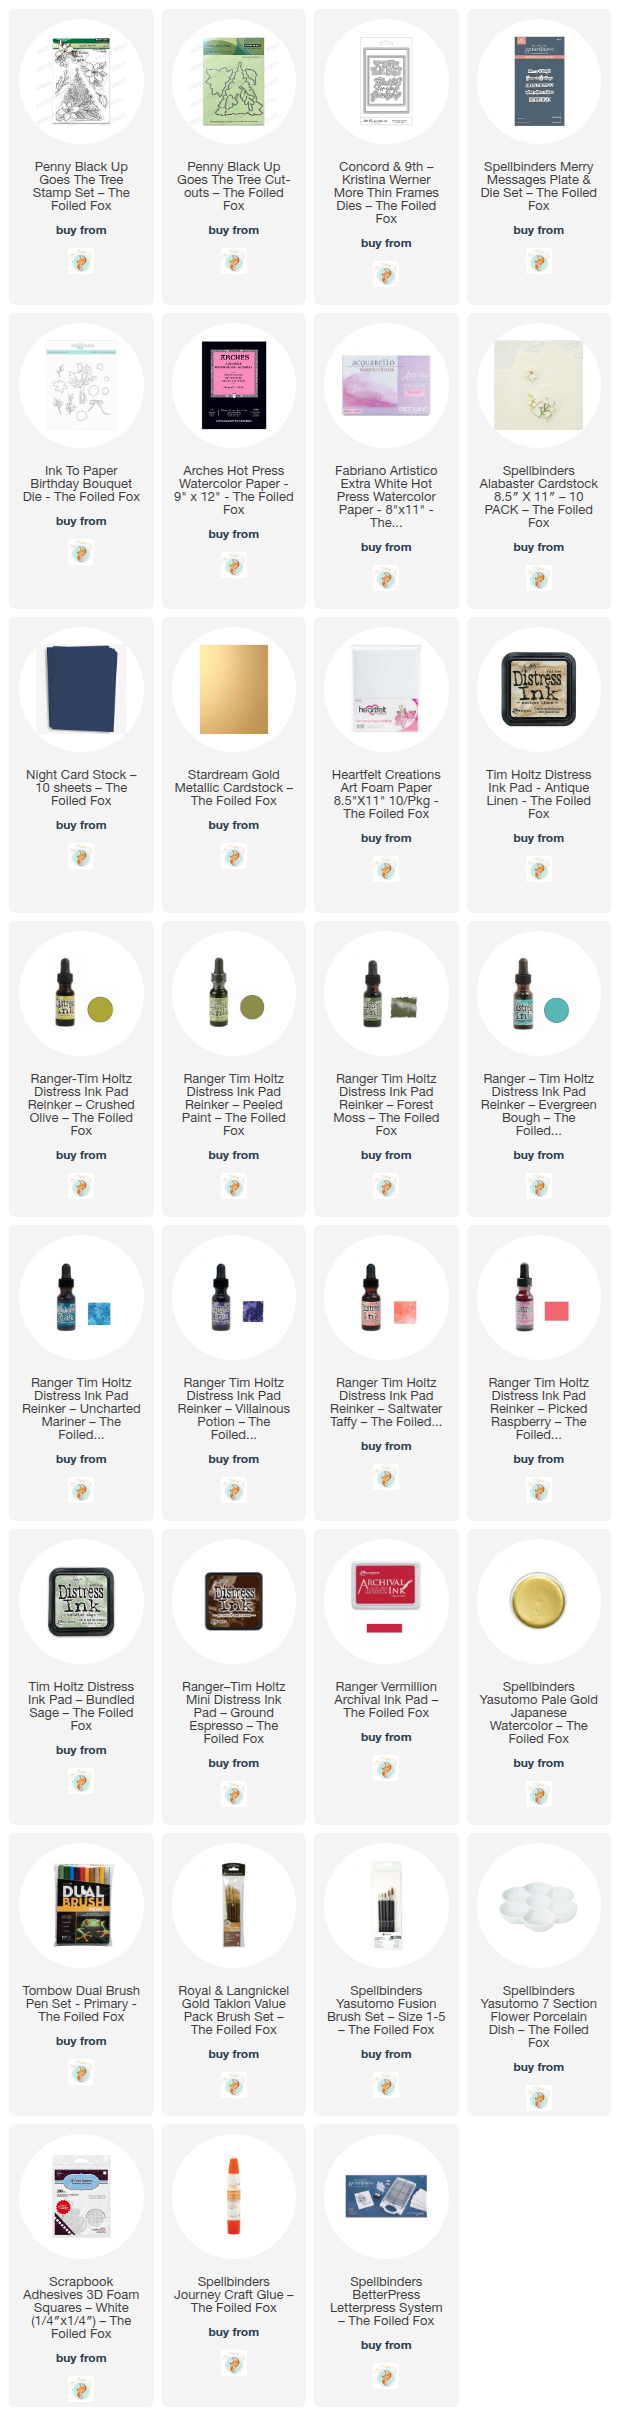
Goodies Used: