Lattice Fun!
Hi Creative Friends,
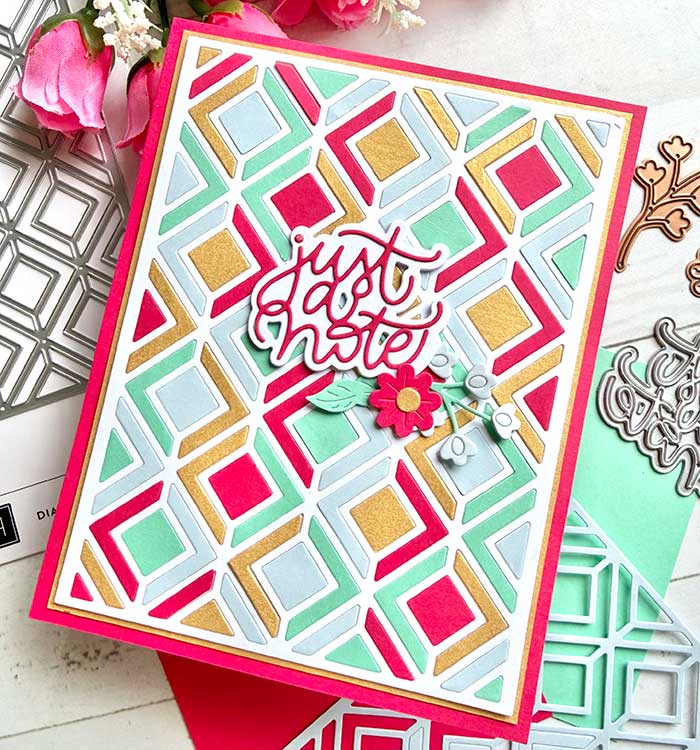
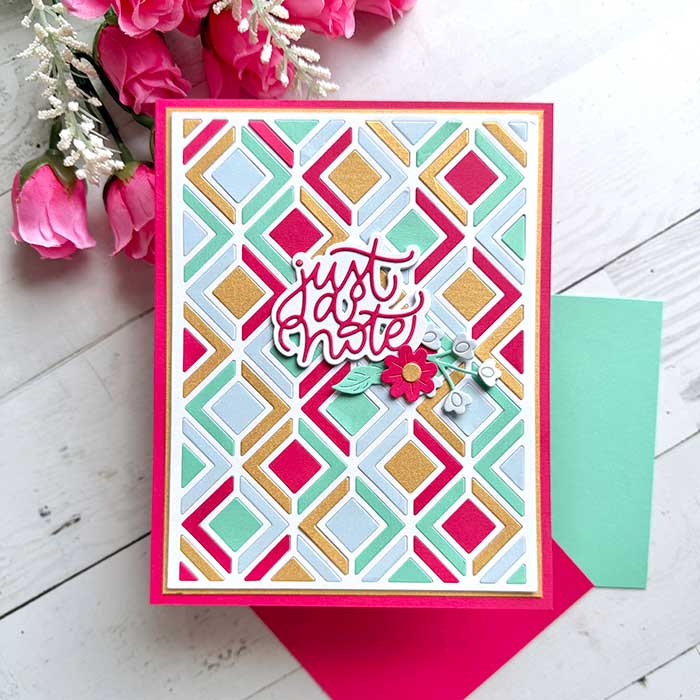
Concord & 9th has a super cool die called Diamond Lattice Inlay. There are so many ways you can use this panel, and you can create completely different looks by just varying the color selections. I started by making one that has a feminine appeal. It had a 4-color scheme, plus a white cardstock lattice grid. Colors used were the new Berry Kiss and Surfside from Concord & 9th, and Spellbinders Windy. Also, gold metallic cardstock.
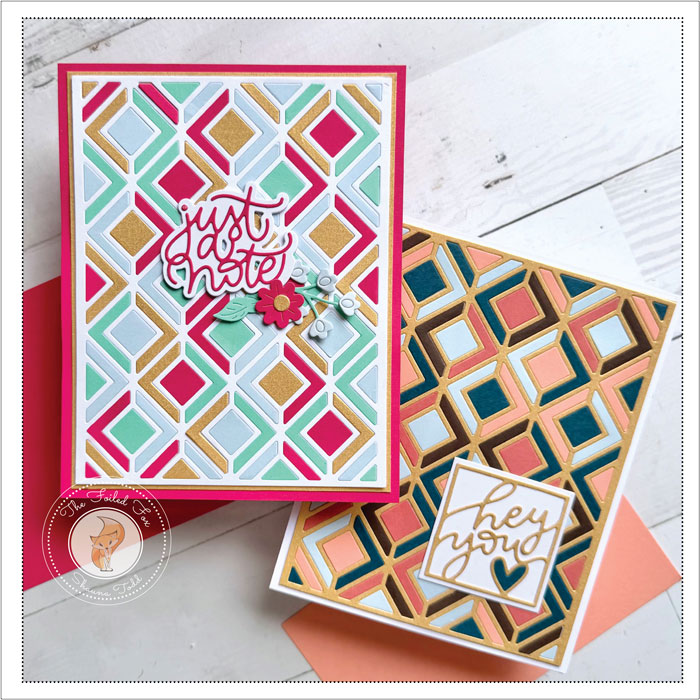
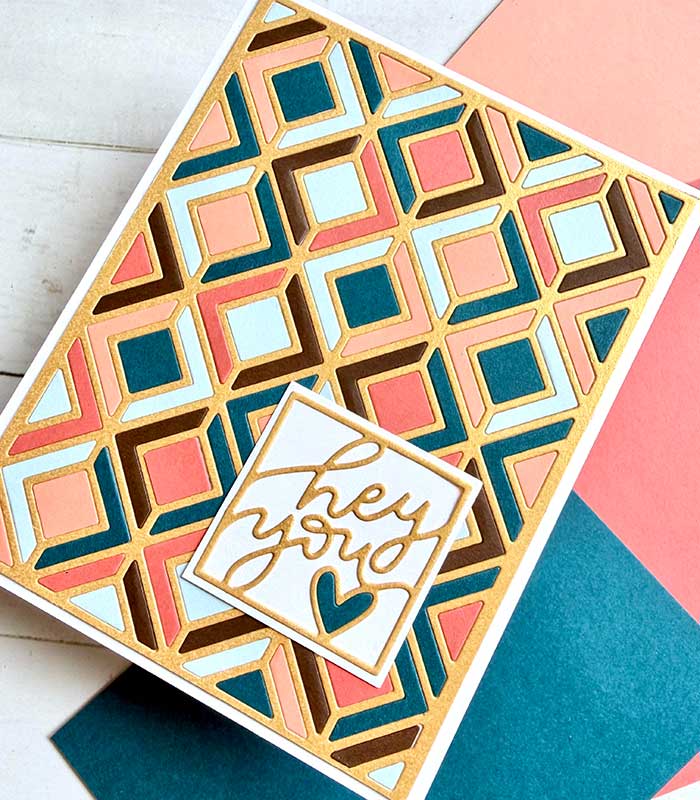
I had so much fun with the first one (plus there were lots of leftovers), I made another for our anniversary. I used a 5-color combination, plus a gold metallic grid to give it a more masculine flair. I used the same light blue pieces and the gold grid that was leftover from the first project, then added Coral, Sicily, and Truffle (see supply list below).
To make these cards, it all starts by selecting your color palette. For the first card, I chose 4 complementary colors, plus the Diamond Lattice Inlay cut from white cardstock. In contrast, I selected 5 coordinating colors plus a gold metallic lattice cutout for my hubby’s card. After making these two cards, I have a few tips and recommendations for a successful project.
My first tip is to limit your colors to 4 or 5 for the inlay part of the panel. By using just a few colors, the pattern melds together nicely… unless, of course, you really want to go crazy and have a blast of color.
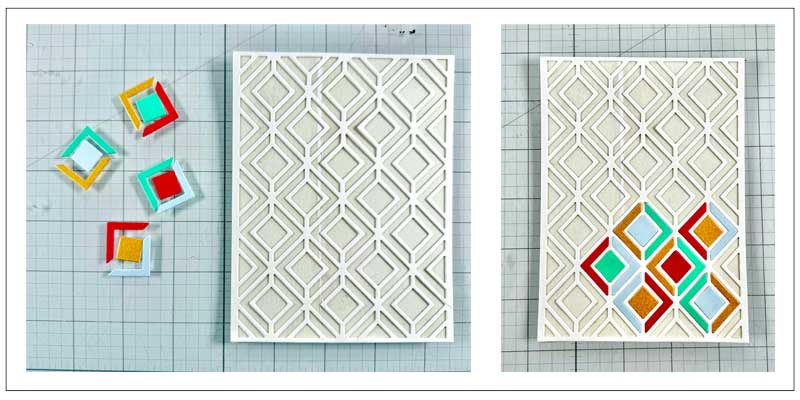
A few more tips are: First, cut a solid panel the same size as the inlay die (A2-4.25″x5.5″) grid, then cover it with a double-adhesive panel. Finally, remove the release paper and apply your Diamond Lattice grid on top. Using the adhesive sheet (see supply list) gives you ‘stick’ everywhere you need it and prevents glue from getting everywhere and creating a sticky mess.
My next tip is to choose your colored cardstock, cut out the pieces with the inlay die, then lay out your diamonds with the accompanying side pieces before you begin. Keep to the pattern as you add pieces to your panel. It saves a lot of frustration!
The final tip is to start in one corner and work your way out. This method gives you a consistent and cohesive result rather than the helter-skelter approach! See pics below
After all the pieces were arranged and pressed in, I chose a sentiment for each. I used one from Kristina Werner’s Framed Scripted Hellos and another die set from Kristina: A2 Detailed Frames. By the way, the little flowers and sprigs were leftover cutouts from the Spellbinders Floral Spray die set.
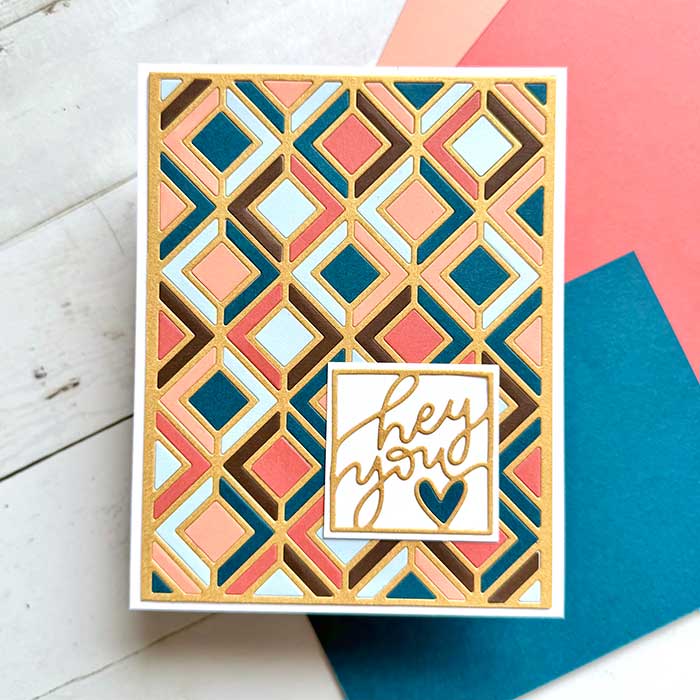
To finish, each panel was mounted on a slightly larger and complementary panel and card base.
I hope you enjoyed today’s papercrafting adventure. Let me know which is your favorite! ♥
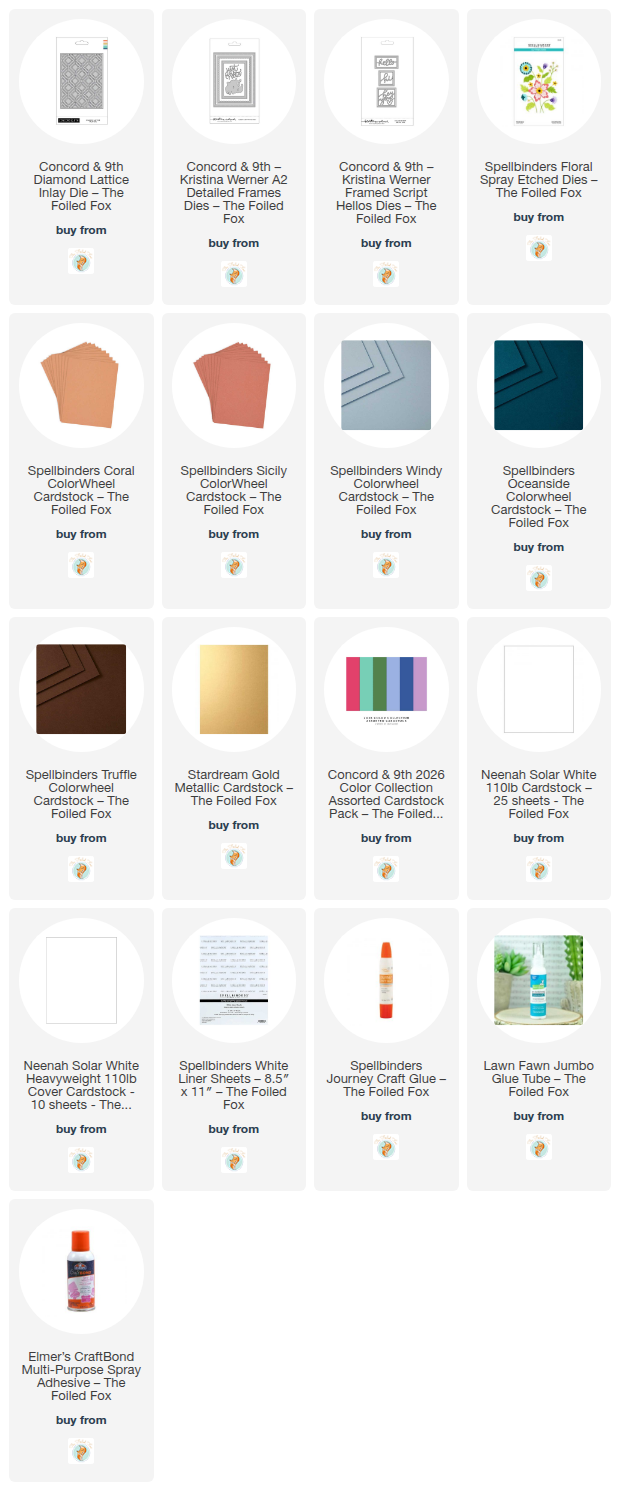
Goodies Used: