A Joyous Holiday Wreath
Hi Crafty Friends,
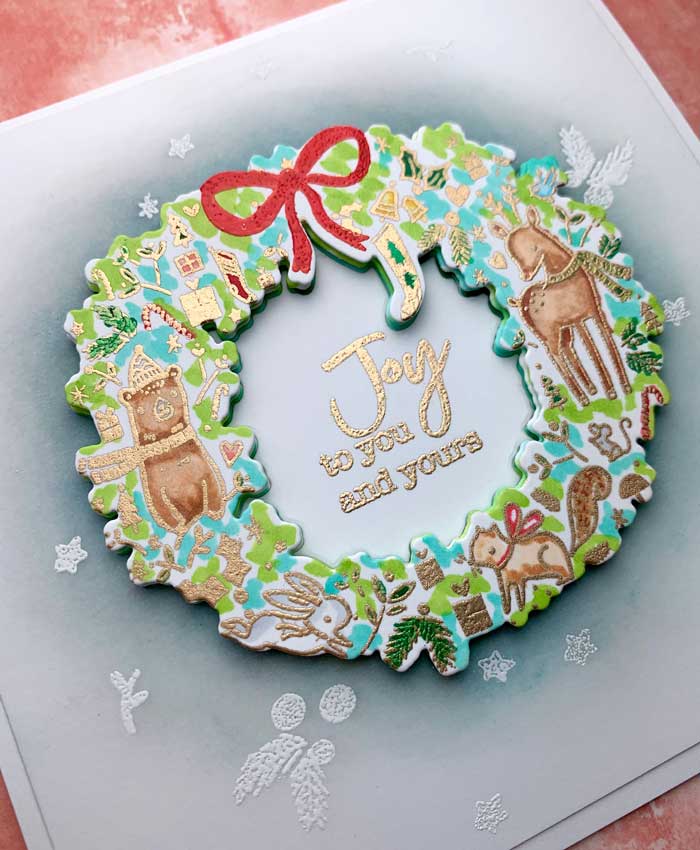
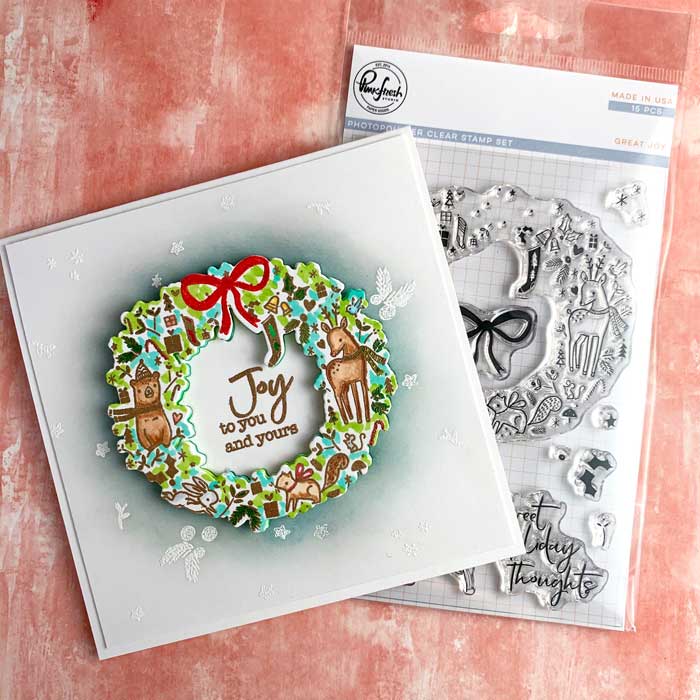
Today is an exciting one since it is our pleasure to announce the two winners from the Holiday Traditions event Heather Telford and The Foiled Fox hosted. Plus, we are featuring another card design. This one is using a charming wreath from Pinkfresh Studio, called Great Joy.
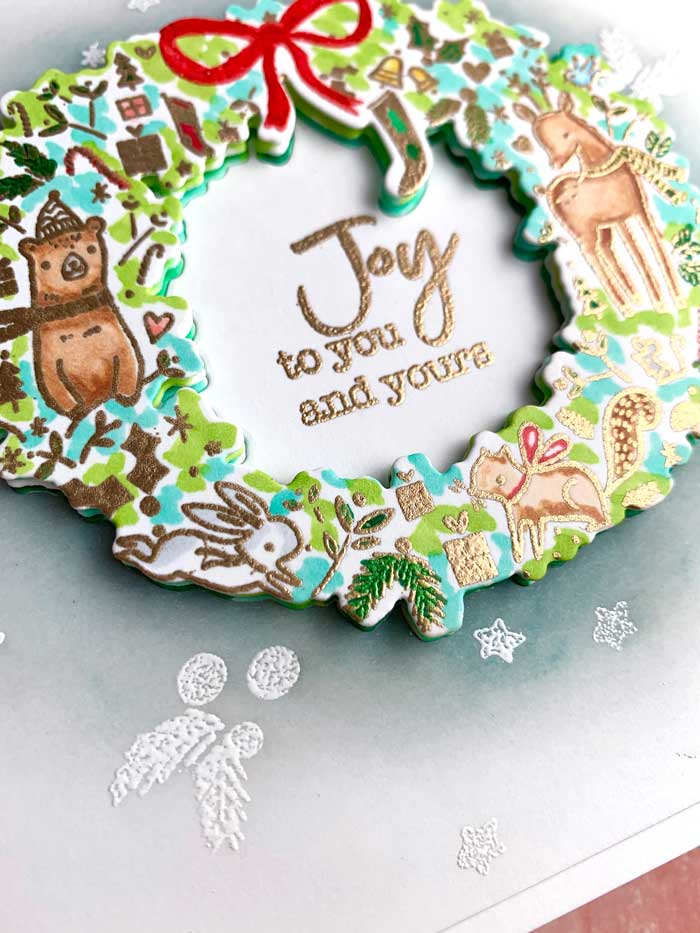
The wreath has so many cute and festive animals and holiday things in it. It was quick to color and fun to make.

Before, I add a few notes about creating this card design, I want to take a moment and thank each and every one of you for participating in our Holiday event. Heather and staff at The Foiled Fox LOVED reading all your lovely comments. It makes it all worth while – thank you, thank you! Now, on to the winners: Pat Moore and Lois Hecksel – congrats to you both. Check the note I left for you at the end of this post, ok?

I began by creating a Neenah 110lb. white card base. My card base was 5.5″ when folded. It was then set aside and I jumped into creating the body of the card by stamping the wreath design with Versamark ink onto a piece of Neenah 110lb. white card stock. The wreath was then sprinkled with Ranger Rose Gold embossing powder and heat set.
I used all Copic markers to color the wreath. There wasn’t much to do, just the background with a blue-green and light green marker and the rest with browns, reds and greens. A list of the colors are listed in the supply list.
When the coloring was done, I stamped the bow onto the wreath with Versamark ink and used Carnation Red embossing powder and heat set it.
With the coloring done, the next step was to cut out the wreath using the coordinating die. While I was at it, I also cut two more plain (not stamped) wreaths. When I was ready to cut the last one, I centered it on a square of Neenah 110lb. white that was slightly smaller than the card base so that I could also use the whole square as my top panel.
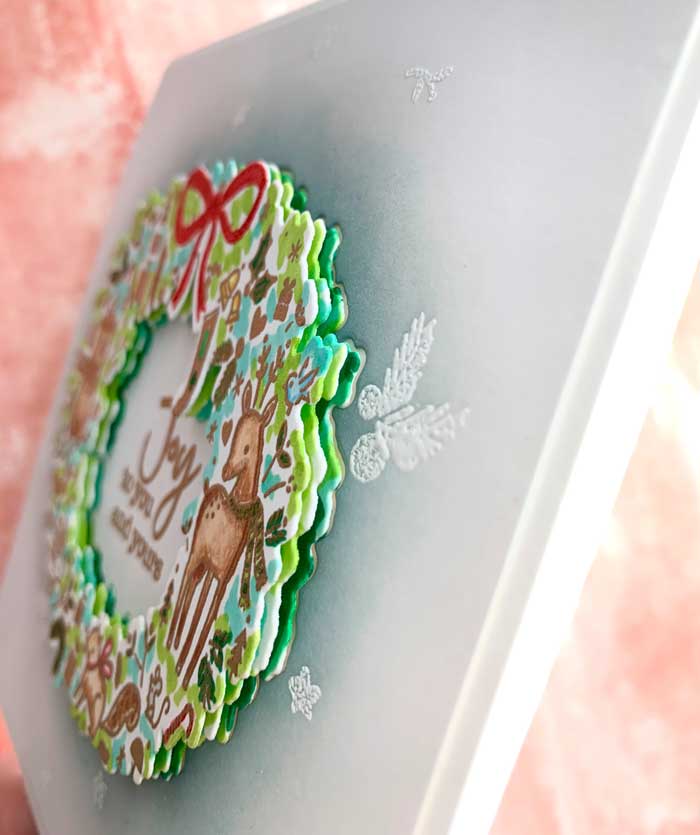
Now I had three wreaths in hand, one that I stamped and colored previously and two plain ones. I colored the inside and outside edges of the two plain ones with the same blue and green Copic markers as before. To add depth and dimension, I also used darker greens on the third wreath cut-out.
Next, I stacked each wreath on top of the other with strips of foam tape in between to separate the three wreaths. The darker green one on the bottom, next the blue and green one and the stamped and colored one on top. You can see what I mean in the image below.
Remember when I cut the wreath from the square slightly smaller than the card base? Well, now I was ready to stamp the outer edges of this square with cute little elements that are included in the stamp set. I stamped them with Versamark ink again and embossed with white embossing powder. With a blending brush, I very lightly added Tumbled Glass and Evergreen Bough distress oxide ink to the edges where the wreath had been cut out.
Using one of the centers from the cut-out wreaths, I stamped the sentiment using Versamark ink and heat embossed it with the same rose gold embossing powder.
Now it was time to put it all together. To do this, I mounted the stamped and cut out square that I had colored with the distress inks onto the card base. Next, I pressed the triple-high wreath into the cut out space and added the sentiment. It is pretty cool that it all snaps in perfectly!
And, there we have it, all done! Thanks so much for joining me today.
~ ~ ~ ~ ~ ~ ~ ~ ~ ~
And, for the awesome winners:
Pat Moore and Lois Hecksel – congrats!! Please check your emails for your coupon code. Oh, and if you don’t see it, check SPAM – their favorite hiding place!
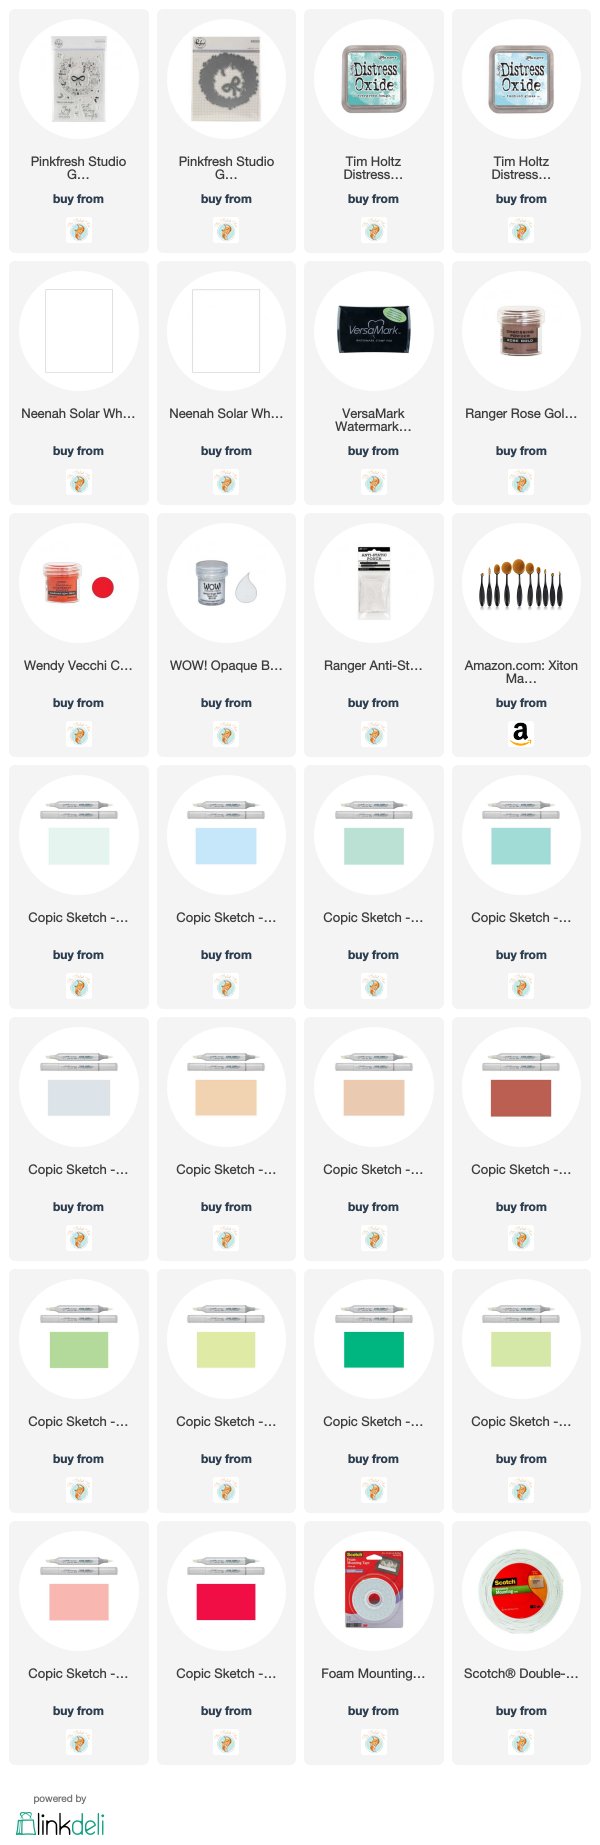
Goodies Used:
Sorry, the comment form is closed at this time.

November 14, 2019
Cynthia
I like the shadow effect around the wreath which makes it stand out more. Looks like a fun wreath to color!
November 18, 2019
Shauna Todd
Thanks for your comment! We love to hear from our readers. And, yes, it is a simple, fast and fun wreath to color.