Merry and Bright by Joan
Hi Crafty Friends,
We are over-the-moon to share a stunning holiday card design by Joan Bardee of Dear Paperlicious (IG: @dearpaperlicious). You know if you follow Joan (and you definitely should if you don’t!) that she is totally awesome and she has the most creative ideas! The drooling begins…

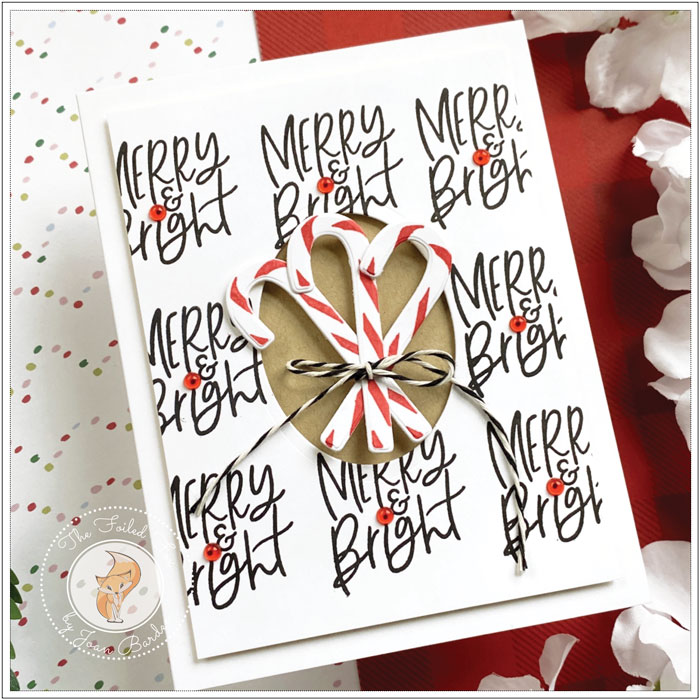
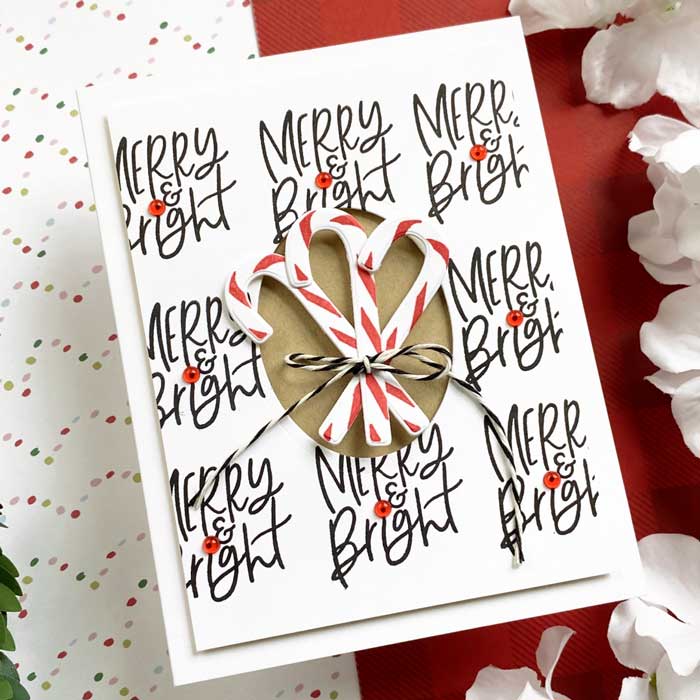
Hello! I’m thrilled to be sharing this fun and colorful card made with a great new holiday set, Festive Mugs, by Papertrey Ink.
The set includes a variety of fun mugs, including a great stacked image, but I chose to use just the candy cane stamp and coordinating die and one of the sentiments. I have plans for those mugs, though!

This was pretty easy to make:
- Stamp Merry & Bright on white cardstock in a grid pattern using black ink. I used the MISTI to help align.
- Trim to 4” x 5 and 1/4”.
- Die cut an oval in the center. Set aside (in a place where you will find it!!)
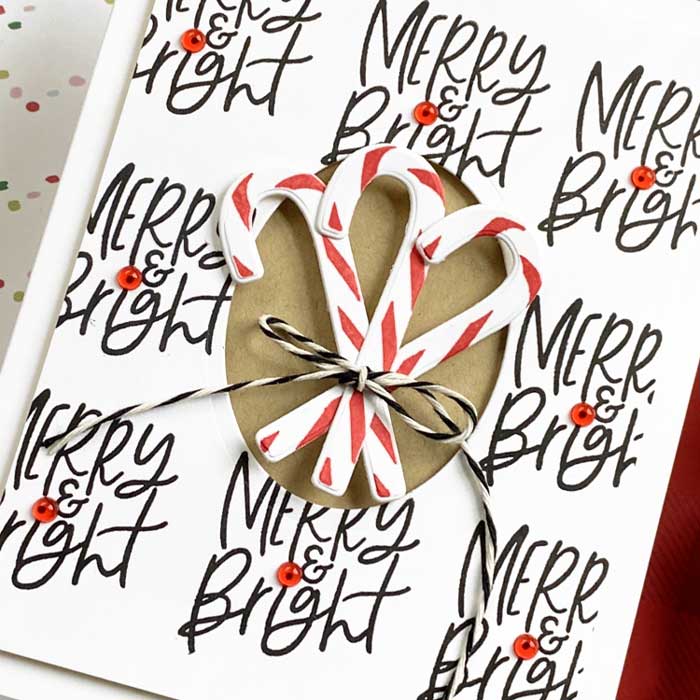
- Stamp the striped candy cane 3 times in red ink on white cardstock and die cut each candy cane.
- Adhere the candy canes together with glue and wrap with black and white twine.
- Cut a piece of kraft cardstock to fill in the oval space and adhere to the center of an A2 white card. Kraft adds some contrast and there’s something about the combination of kraft, white, and red that screams Christmas.
- Snack time!! LOL
- Find that Merry and Bright panel and adhere it onto the A2 card using foam tape or other dimensional.
- Add more foam tape to the back of the candy canes and adhere as shown.
- Sit back and enjoy the card!
- Second guess the whole thing and look through your embellishments. Find something red and add to the dot over each “i” in “Bright.”
- Now sit back and quit second-guessing!!

Please let me know if you make anything with this set, as I would love to check it out. You can find me on Instagram under Dear Paperlicious or my blog, also Dear Paperlicious.
Learn more about Joan:
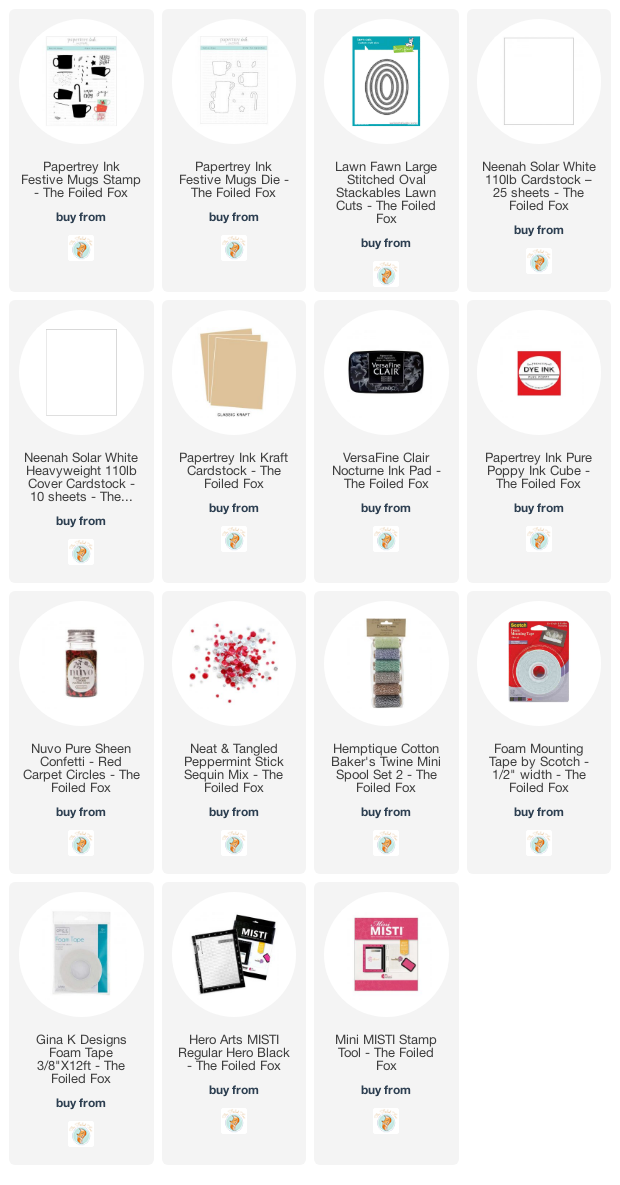
Goodies Used:
Sorry, the comment form is closed at this time.


October 28, 2020
SmilynStef
How fun to see your smiling face & awesome card design here.
October 30, 2020
Michele F
Joan, this is so fun and festive! Could it be Christmas without a few candy canes?
=]