A New Feathered Friend
Hi there,
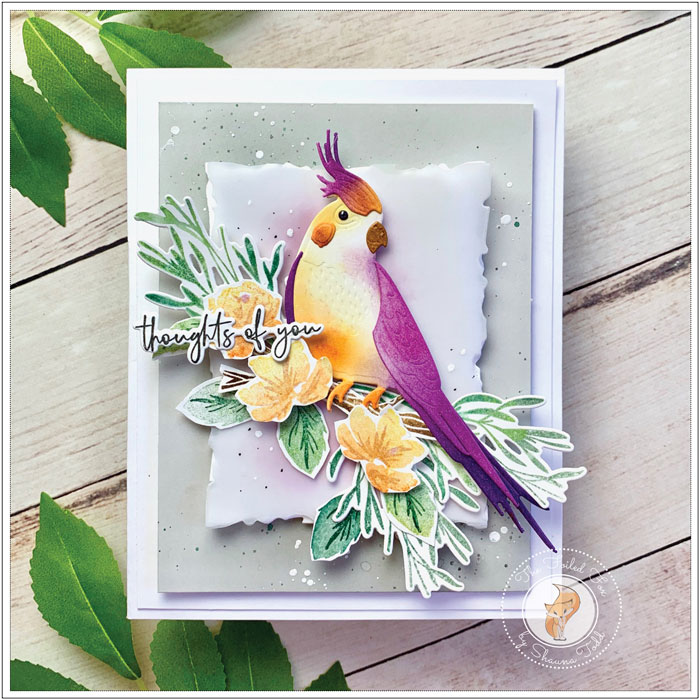
A few days ago, Papertrey Ink, an Ink To Paper collection released their latest stamps and dies. Included in that release was this gorgeous bird, Feathered Friends 9, and a fantastic die set from their Love to Layer line called Torn Edges. We have combined these two great sets in this new project and have created a video to view.

This card design has a few base layers, namely a white card base, then a slightly smaller white card panel. The next layers are demonstrated in detail in the video. Take a look below to see all the ins and outs of this card design!
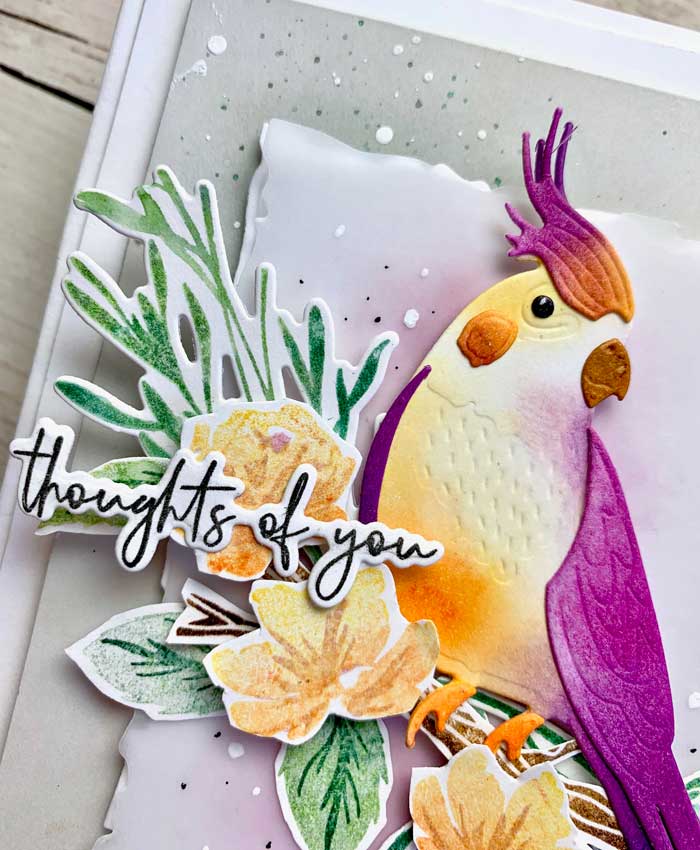
Now that you have had a chance to see the video. Here are a few close-ups to give you a better look.

The star of the show is of course the fabulous Feathered Friends 9. I chose to color him in yellows and purples. I think the vibrant colors really set him off, don’t you?
In the video, I have called out the colors used for each step. You can also see all the goodies used at the end of this post.

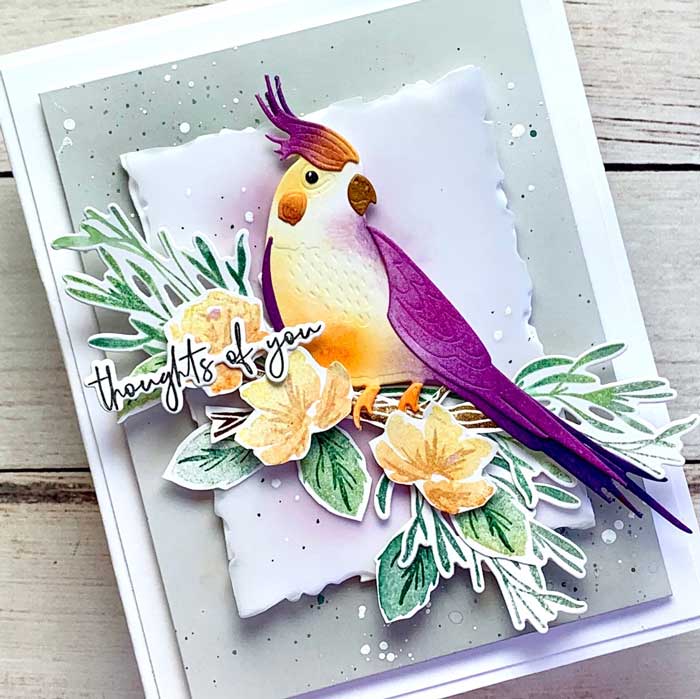
In the above image, you can see the branch, flowers, and foliage that were created to adorn our little bird friend. The Wreath Favor Box Sentiments stamp and die set and the Brighter Days stamp and die set lent a helping hand.
All the foliage and bird are set upon a Torn Edges panel of white card stock and vellum. It is popped up with a little foam and set on another panel made from Soft Stone cardstock where inks, Weathervane, and Ocean Tides ink, were blended, then splattered with those ink colors and my trusty white ink, Dr. Ph. Martin’s Bleedproof white.
The sentiment was borrowed from the Effortless Beauty stamp and die set. In this set are three wonderful and versatile sentiments that are simple but are soooo useful!

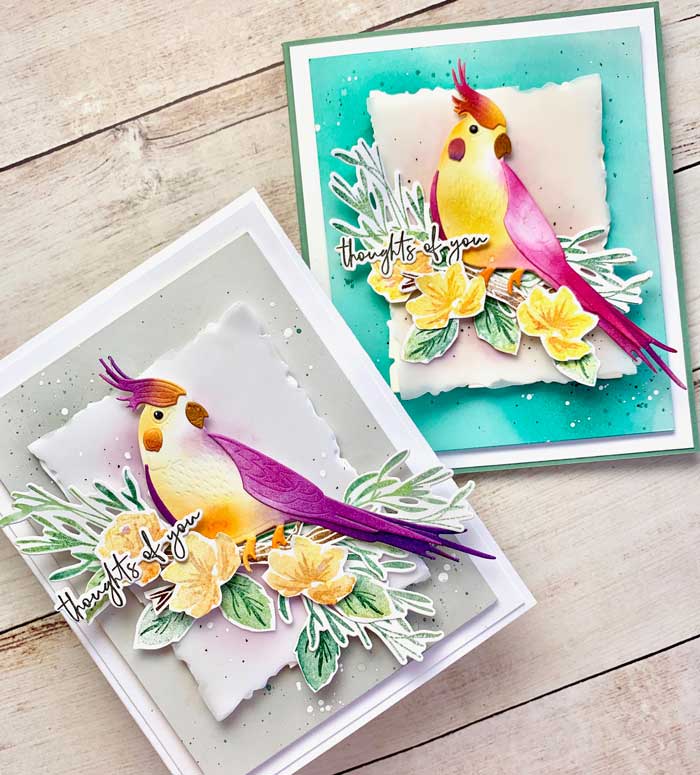
Just to give you another color combination option, above is a picture of a card made with Aqua blues. Since I had also made the same bird in pinks and yellows, I didn’t want him to go to waste. So I created a second card but changed out the Soft Stone panel for an Aqua Mist. The aqua mist panel was ink blended with Hawaiian Shores ink, then splattered with Tropic Teal, Sumi ink, and bleed-proof white ink. The card base was made from Ocean Tides card stock.
I hope you enjoyed the video and project… we hope to see you next time! ♥
Goodies Used:
Sorry, the comment form is closed at this time.


March 26, 2021
Jan Metcalf
BEAUTIFUL!!!
March 26, 2021
Shauna Todd
Thank you so much!
March 27, 2021
Stephanie Clapper
What a fantastic video! It was a real treat to watch you bring your bird and card design to life. (without the fast forward.) I learned some new things and techniques! I love how you bring in different inks, adding the Raspberry Fizz to your purples made the most gorgeous color. The way you used your panels and vellum is so creative. Thank you Shauna, for sharing how you made your lovely card! I love it! 😊💜
PS Maybe I’m being fussy but I thought I’d share this with you. I noticed some of your ink labels (or the tops) are soaked with ink. I had that same problem and couldn’t understand why, so I tried something that has made a difference. Now when I open a new ink cube, I don’t just cut along the perforated line. I use my craft knife and cut a bit of the paper “label” off – from both sides of the perforation. That way, bits of the paper “label” don’t touch the inside and soak up ink. I’ve had good luck with it so far. Have a great weekend!