A Daisy Dream
Hi Creative Friends,
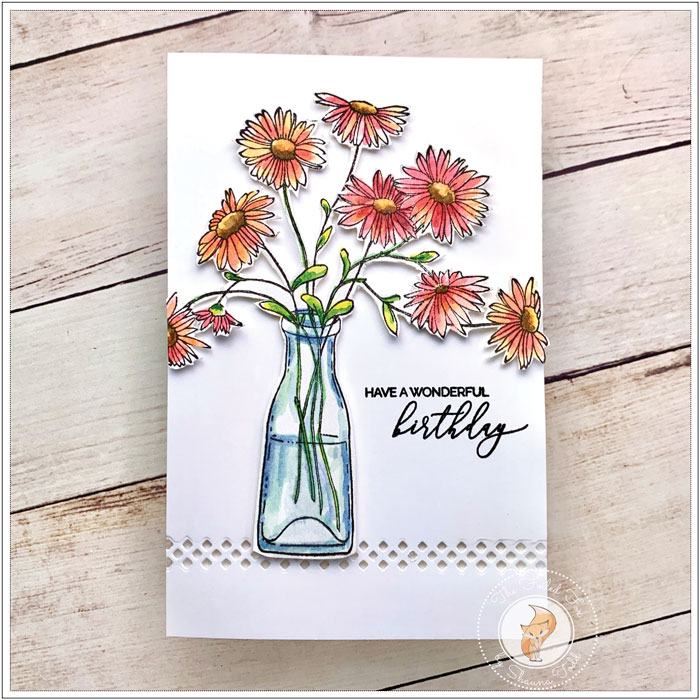
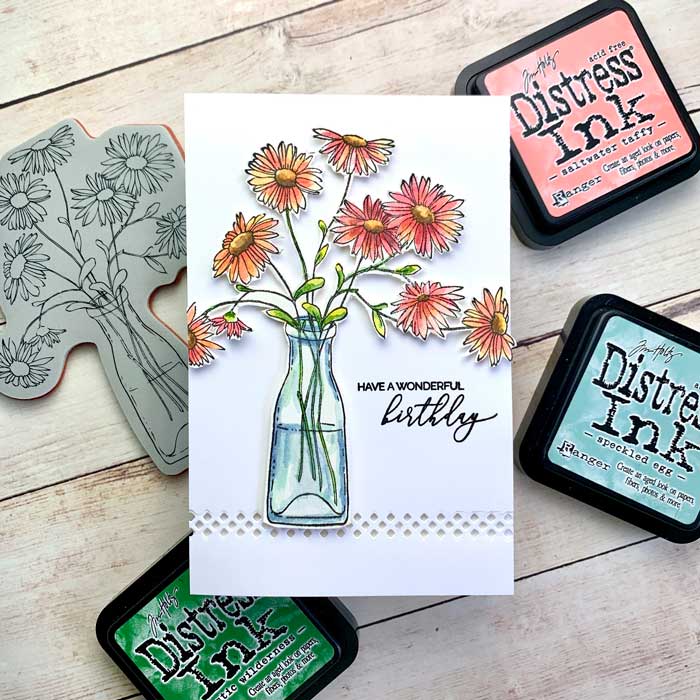
I am popping in for a weekend sharing of a new card design. This one uses the charming Daisy Dream stamp by Penny Black. It is a simple design but the cheery flowers really are all you need to send a special birthday wish or hello.

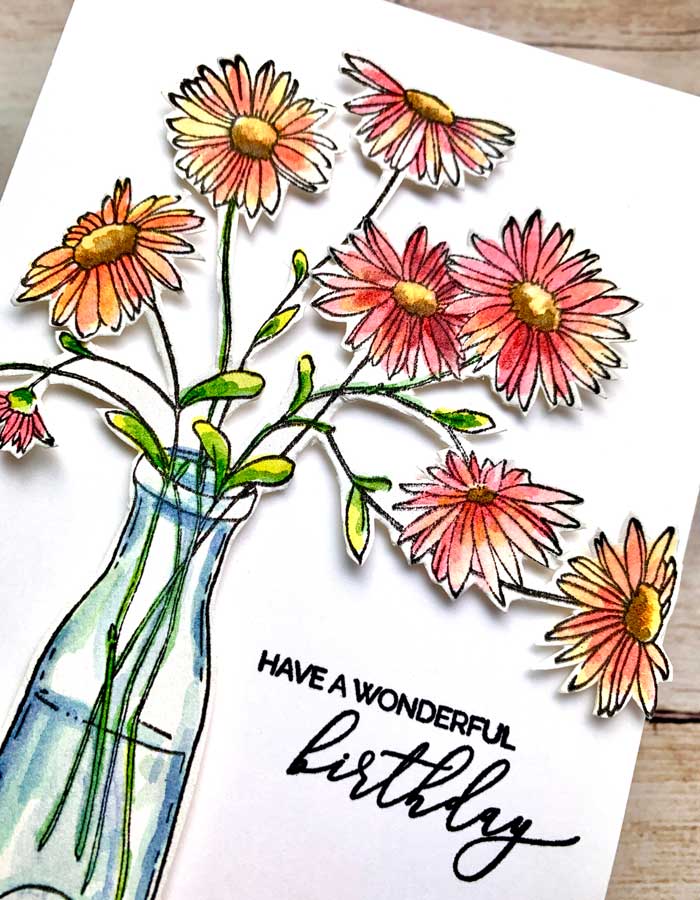
I chose to watercolor the flowers so I first stamped the Daisy Dream image onto a piece of watercolor paper using a waterproof ink like Versafine Black Onyx, a real favorite of mine! After stamping, I started my painting by smooching a few distress ink colors on my glass mat. I used Saltwater Taffy, Festive Berries, Candied Apple (for shading), Ripe Persimmon for the petals, and Squeezed Lemonade, Rusty Hinge, and Vintage Photo for the centers. The stems and leaves were painted first with Crushed Olive and then followed up with Rustic Wilderness. Once all the flowers were painted, I lightly colored the vase using Speckled Egg and a little Salvaged Patina (by the way, the supply list below also included the mini-sized ink cubes of the same colors when available in case you prefer that size).

When all the painting was done and armed with a small pair of detail scissors, I jumped into fussy cutting out the floral display. I know it must sound crazy but I really wanted dimension and to use a border die in the background and the only way to achieve that is to fussy cut!
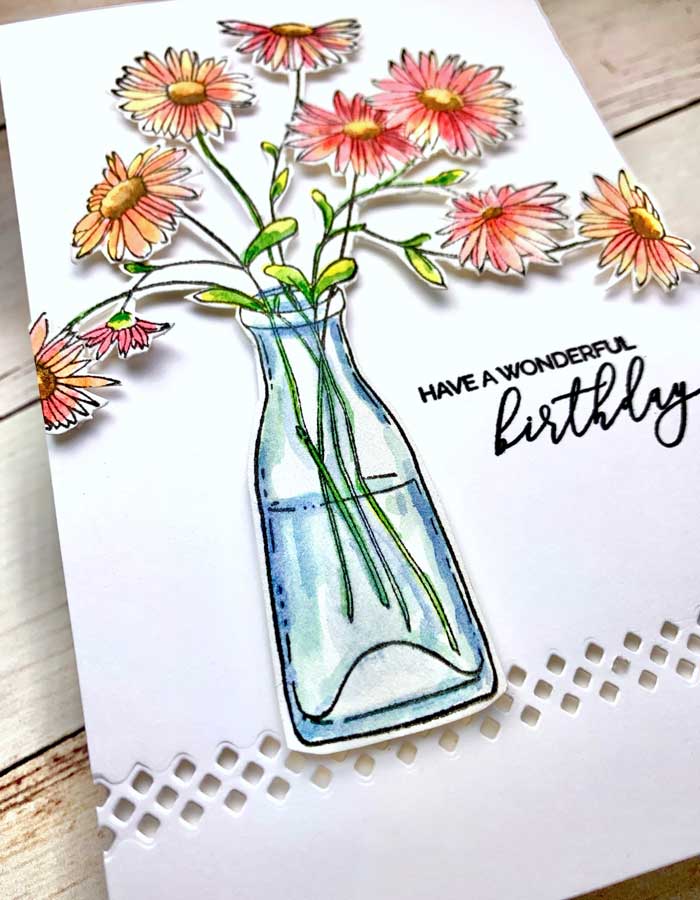
Whew, the fussy cutting was done (it really wasn’t bad at all!), I added squares of foam tape to the back of each flower and the vase then set it aside for now.
Next, I made a white card base that was a little taller than the usual A2 size. I decided 4 1/4″ x 6 1/2″ was a good size for the base when folded. I also created a panel for the front that was the same size, then cut the cute little border using one of the dies included in the die set by Penny Black called Cut Out Borders.

Before I assembled the card, I stamped the sentiment using Versafine Black Onyx ink and a stamp positioner to get it just right.
Now, it was just a matter of adding the bordered panel to the front by adding a foam backing, adhering it to the front, then peeling off the release tape to the back of the floral display and pressing it in place.

I toyed with adding color to the background and/or a few embellishments which would have been nice too. But in the end, I decided to keep it very clean by letting the white background speak for itself! ♥


