Elegant Seashells
Hi Creative Friends,
Now that it is officially summer, it’s time for a card design to take you back (if only mentally) to a lazy day at the beach. The Simply Graphic Seashells die set is perfect for creating such a card.
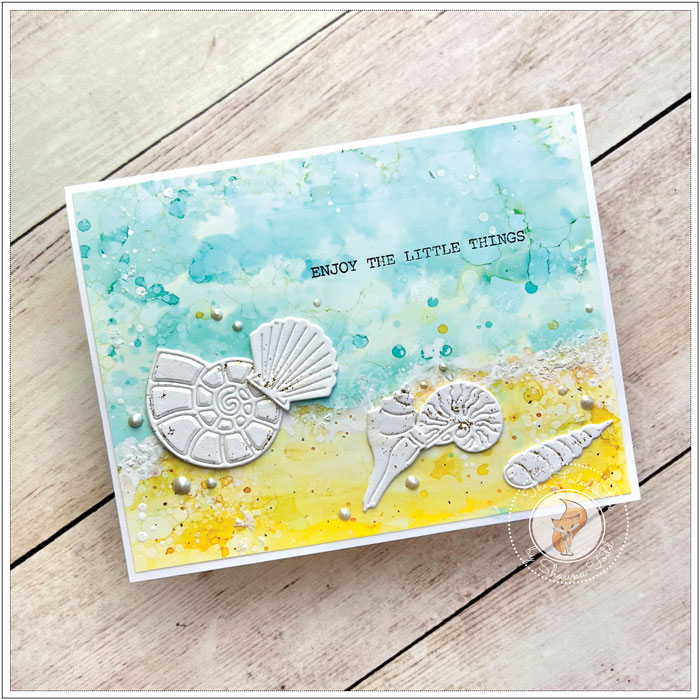
I started with a white A2 cardstock card base and an alcohol ink cardstock panel. As you know, you must use synthetic paper, like Yupo or Tim Holtz’s alcohol ink cardstock, when you use alcohol inks. I have listed all these papers in the supply list below so you can choose which one you prefer. All of them work.
If you choose the heavy Yupo paper, then you are able to heat emboss it too — but caution — don’t stay too long in one place with your heat tool when embossing otherwise you will warp the paper. Then you will likely have a devil of a time getting it flat again!
But, with that said, let’s move on to the fun part. I haven’t used my alcohol inks in quite a while. I love the vibrant colors alcohol inks give you, along with interesting patterns in the ink.
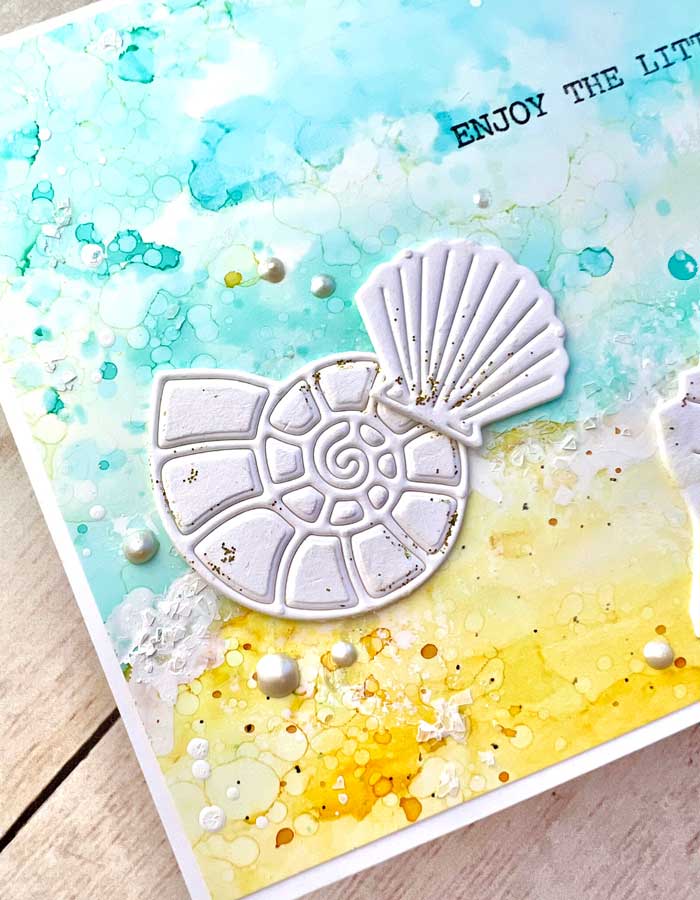
I started with Butterscotch ink and placed a few drops on the bottom 1/3 of my panel, then used drops of alcohol solution, my blower, and an alcohol brush to move the ink around. I only used this one ink for the ‘sand’. Letting the ink pool in some areas and leaving other areas nearly white. This variation of color gave the ‘sand’ a more realistic look.
Next, I added drops of Aqua ink for the water, then using the alcohol solution and blower, just like before, I moved the ink around. For the darker areas, I used a dash of the Stream ink.
After I was satisfied with the results and the ink was dry, I added Dr. Ph. Martin Bleedproof ink where the sand meets the water for a foamy water look as it washes ashore. Before the ink dried, I sprinkled chunky glitter to give it more dimension and a tiny bit of sparkle. To finish the panel, I splattered dots of white ink on both the water and sand areas, then set it aside for now.
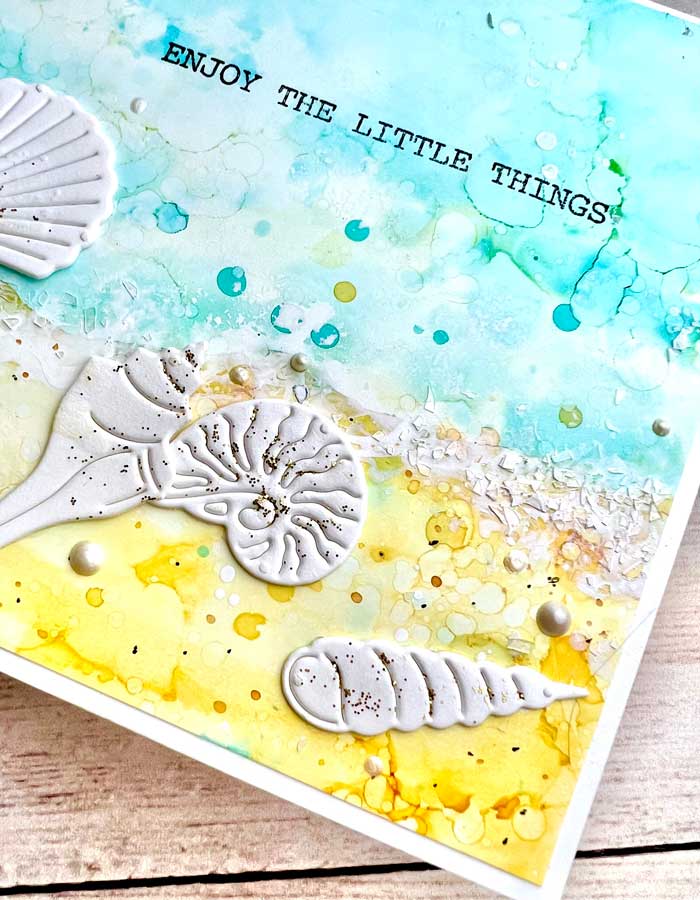
While the panel was drying, I cut out all the seashells in the wonderful Simply Graphic die set using an extra heavy paper (see supply list). Then with my finger, I lightly spread flecks of gold stickles on the shells.
To assemble, I trimmed the alcohol ink panel to be slightly smaller than the A2 card front and mounted it on the top of the card base. I arranged and glued down the seashells, then using a Copic marker, I added dots of brown in the sand area, along with dots of black from a 01 Mangaka marker.
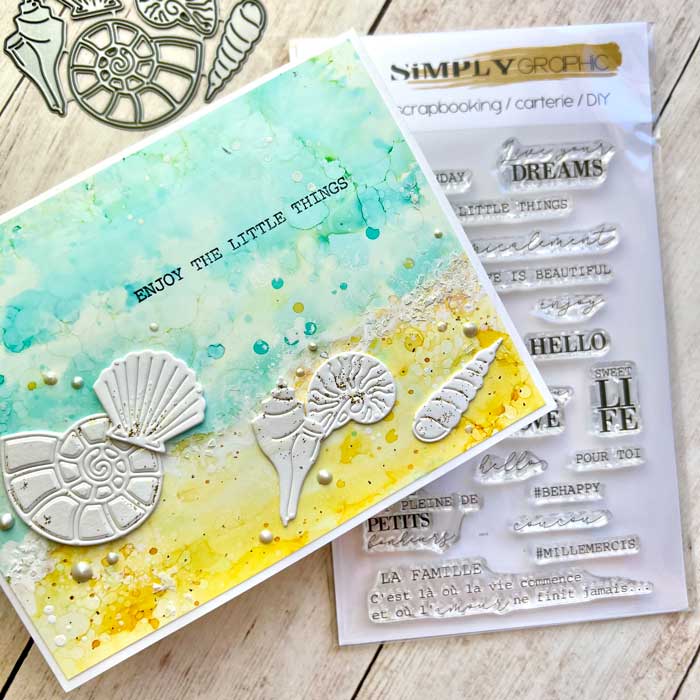
To finish, I stamped the sentiment using Stazon ink (by the way, any other kind of ink would never dry and would smear with handling – ugh!). Also, a note: if I had used heavy Yupo paper, I could have heat embossed the sentiment instead.
My final step was to squeeze on some Nuvo Ivory Seashell dots to embellish. ♥
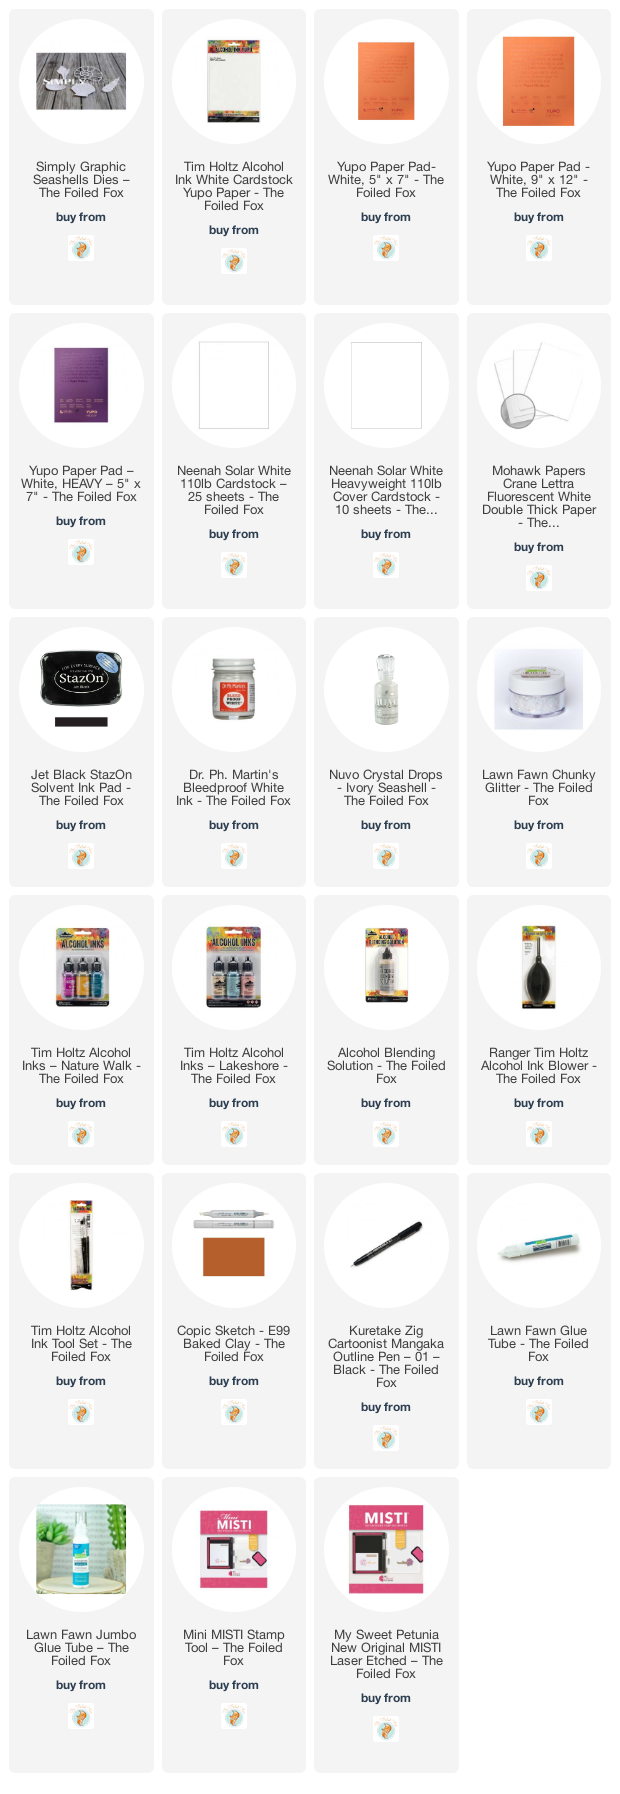
Goodies Used:
Sorry, the comment form is closed at this time.




June 27, 2022
Lori Kobular
Your card is absolutely gorgeous!! I love the colors of the water and beach and those sea shells are delightful!!
June 28, 2022
Shauna Todd
Oh, we are so glad you like it! Thanks for commenting.