Winter Bears Going Home
Hi Creative Friends,
As I mentioned in our last post, we love bears and Penny Black has a charming collection of winter bears in a few of their new stamp sets. The set I am using today is called Winter Bears and it is packed with adorable bears.
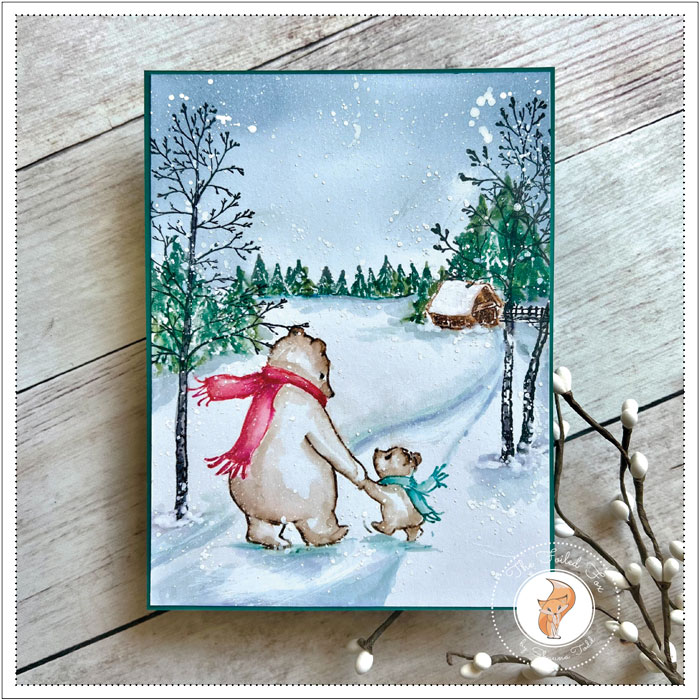
These little bears really hit a cord with me! I grew up visiting Yellowstone Park many times in the summer, every summer and since it has been a while since I was a young girl, it was when the bears were everywhere and roaming freely throughout the campground. So, when I saw this set I just had to use it.
I started with a Bristol paper panel. Since the paper is 9’x12′, I cut it into 4 pieces of 4 1/2″x6″ and used one of those. With the panel mounted in my stamp positioner, I first positioned the Snowy Settlement stamp where I thought the horizon line should be.
Using a green Tombow marker, I colored the line at the bottom of the treeline (where the trees meet the snow) and stamped it. This gave me a line where the sky meets the snow. Next, I covered the line with masking paper and stamped again, giving me a line on the masking paper that I could then trim and place over the snow area, leaving the sky free to color.
Leaving the stamp and paper panel in place (important not to move it!), I blended on Speckled Egg distress ink for the sky, then added Stormy Sky distress ink around the top and sides.
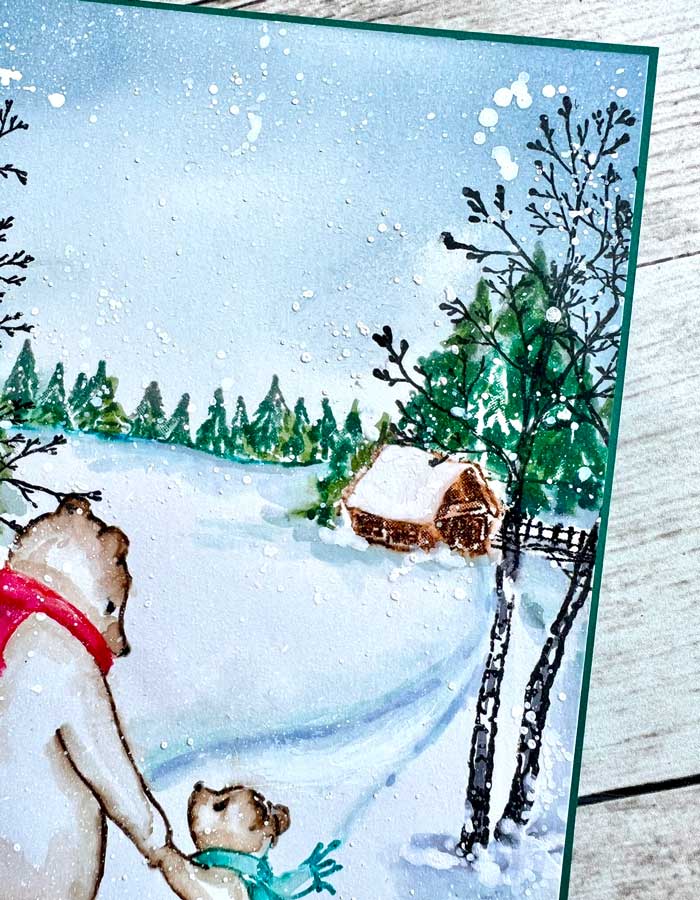
With the sky done, I was now able to remove the masking paper and continue with my stamping. I added the small trees and the trees on the left of the stamp by coloring directly on the stamp with green Tombow markers, lightly spritzing them with water, then stamping them onto the paper. If you aren’t sure about how this technique works, take a look at one of our previous videos here. You will see the Tombow markers allow you to pinpoint the areas where you want ink applied and leave the other areas alone. For instance, I didn’t ink the large cottage on the left so it is as if it didn’t exist at all!
I continued to add color to the trees and stamping until I was satisfied with the result, then moved on to the little cottage on the right. I colored just the cottage and the little fence with a brown Tombow marker, spritzed and stamped just like before. Once the cabin was done and I didn’t want to restamp any areas, I cleaned off my stamp and then moved the stamp up a little higher so I could stamp a few larger trees to the right of the cottage (be sure to cover the cottage with a little masking paper before stamping the trees. You don’t want to stamp over the cottage.) Whew! it takes a bit to explain this technique but I assure you it takes no time at all to stamp in the trees and cottage!
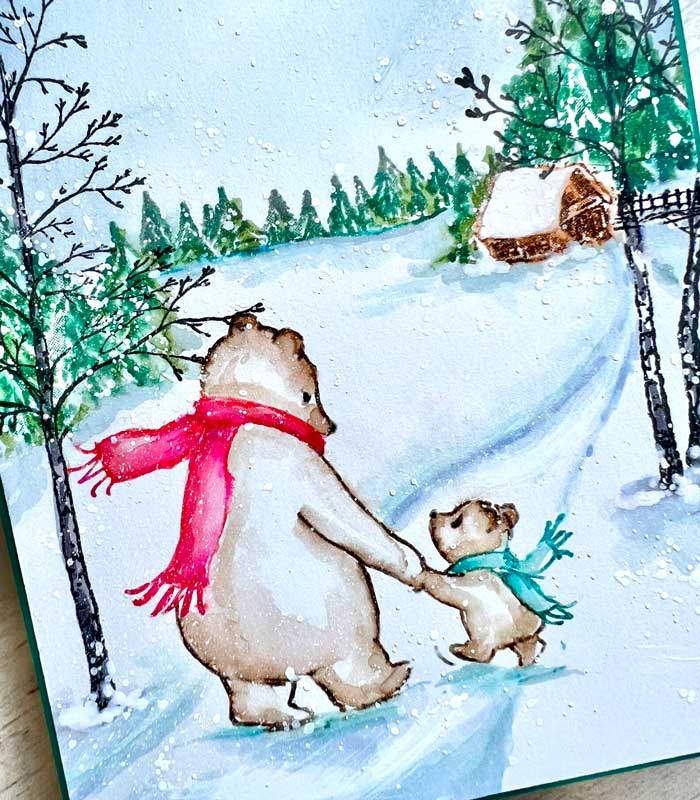
Now with the basic scene in place, I removed the Snowy Settlement stamp and placed the Winter Bears stamp in place, then colored the bears with a brown Tombow marker and their scarves with festive color. I used the same technique as before, coloring the stamp with markers, lightly spritzing, and stamping. Once the stamping was done, with a damp paintbrush, I urged the ink from the outline of the bears toward the center and lightly colored the bears and their scarves.
Next, using a pencil, I very lightly sketched a path to the cottage. This will serve as my guideline for where I will add more ink but first, I will stamp in the bare trees. I used the Woodsy stamp set from Penny Black but any bare tree will work. I stamped these with Versafine Black Onyx ink. This ink gives such nice crisp lines!
To finish my scene, I mixed a watery mixture of Chipped Sapphire and Stormy Sky distress ink and added some shading over the tree line and the others trees. I also added some to outline the path to the cottage and under the bare trees. At the same time, with a gray marker, I colored in the trunk of the bare trees.
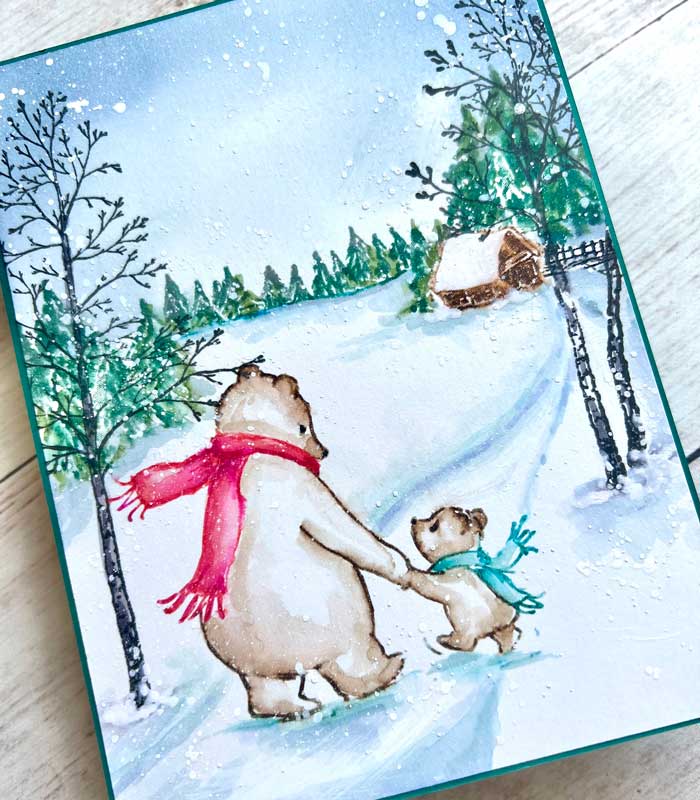
My last touches were to splatter white ink (Dr. Ph. Martin Bleedproof ink) over the scene for some falling snow. When the panel was dry, I mounted a slightly larger dark green (Jawbreaker) panel onto the back, then onto a white card base.
I love creating scenes and when I can add my beloved bears, it makes it perfect! I hope you will give it a whirl! ♥
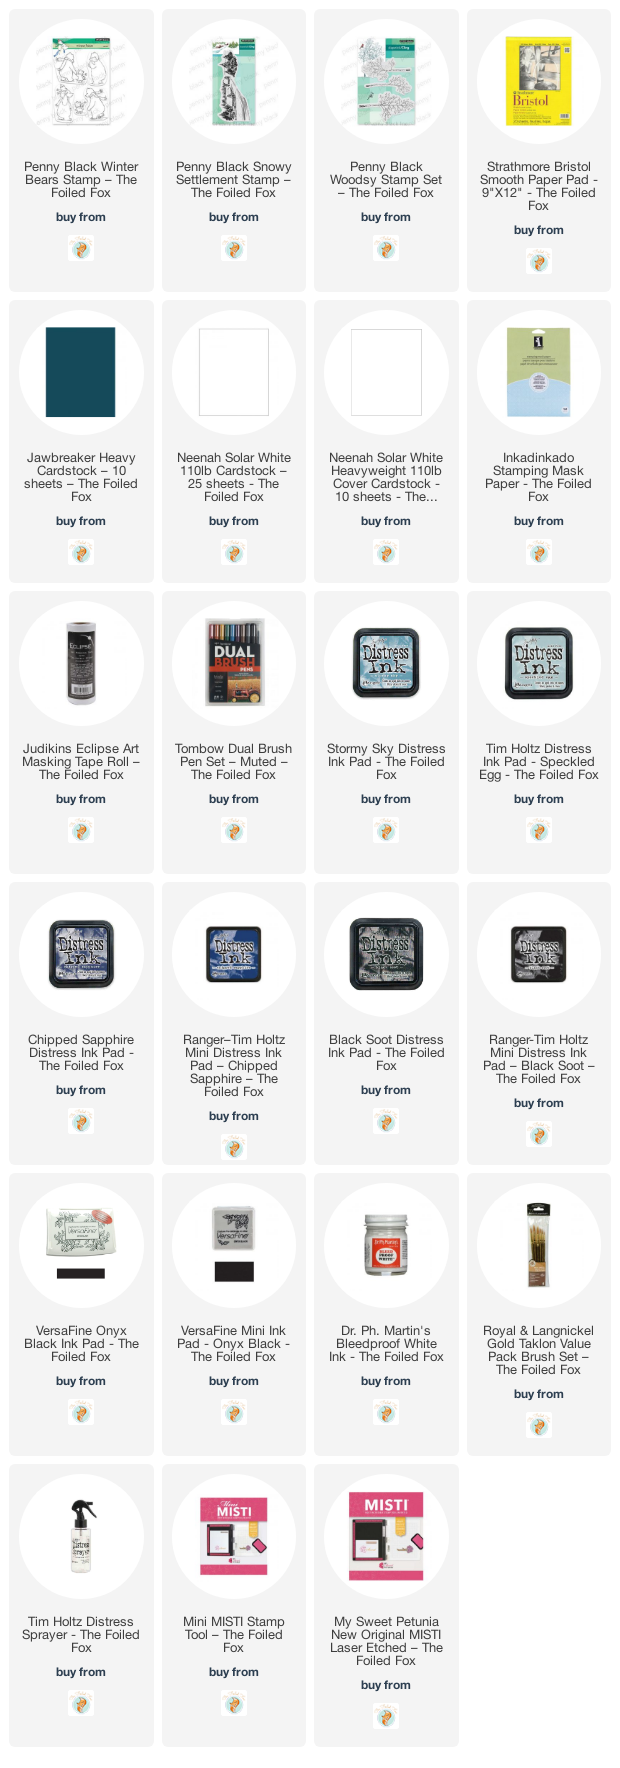
Goodies Used:
Sorry, the comment form is closed at this time.




October 12, 2022
Jan
This is adorable!
Would love to see this made on YouTube.