A Window Garden Welcome
Hi Creative Friends,
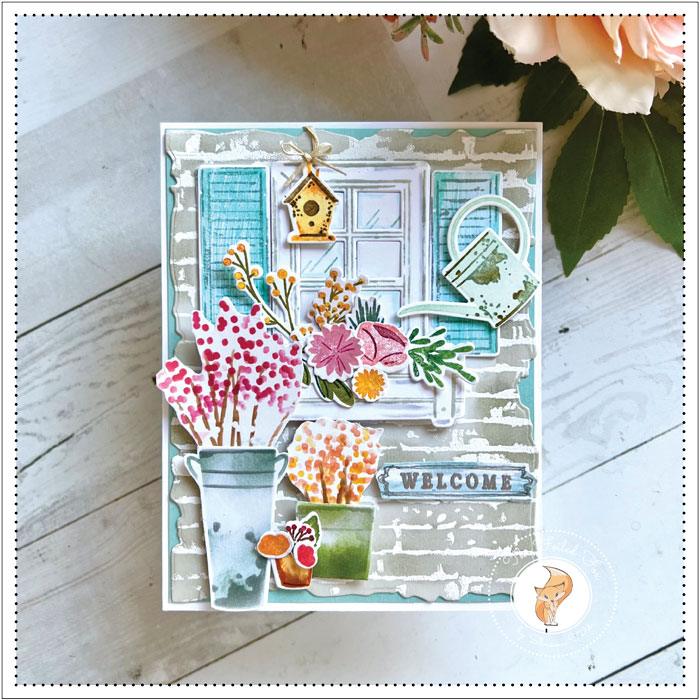
I am sharing a sweet flowery card design using a charming stamp and die set called Window Garden by Papertrey Ink. It has all the makings to create a cheery window scene.
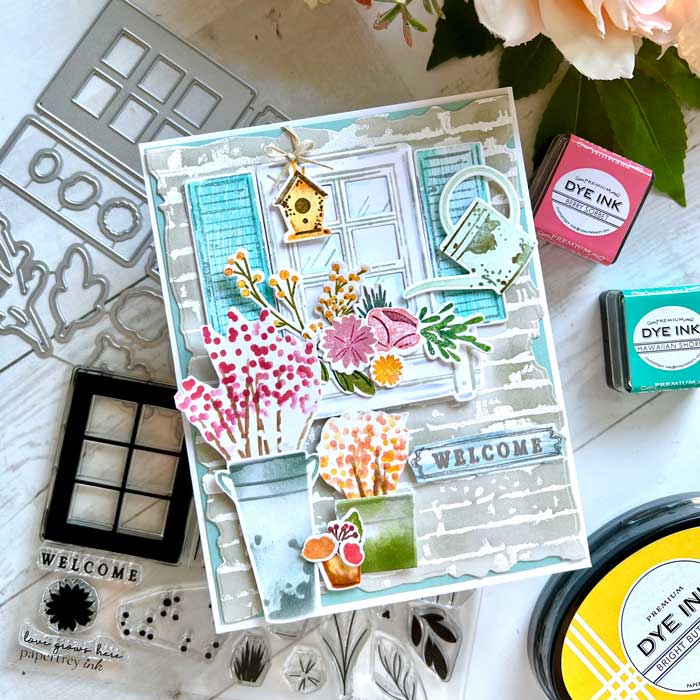
Whenever I start a project and I need to get my creative juices going, I usually start by cutting out all the pieces of the die set, then stamping them. So, after cutting them all out of white cardstock, I mounted everything in my stamp positioner and got to work stamping them. I like to cut first, then center each stamp over the cut-out. For me, this method gives me a better placement.
To color the pieces, I brought out my collection of Papertrey Ink ink cubes (see colors used in the supply list below) and started mixing and matching colors to give me a variety of flowers and colors. I did the same for the window, window box, and birdhouse.
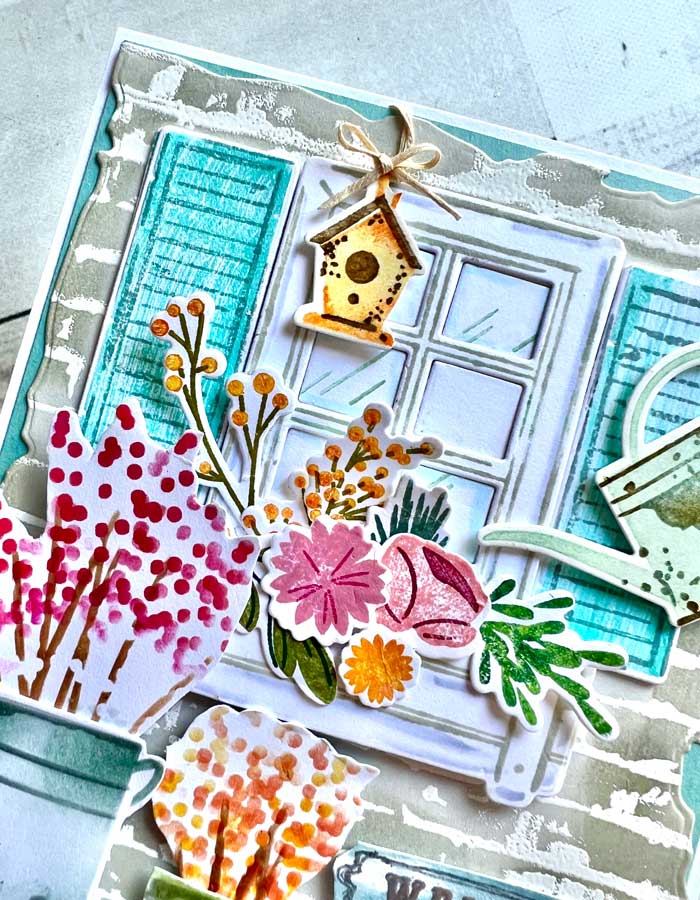
Once everything was stamped, I loosely arranged them on a piece of copy paper. This gave me an idea of where to go next. For instance, after doing this, it was apparent that I seriously needed a background. (By the way, the shutters were the only thing wiped with Speckled Egg distress ink, then stamped the detail with Iced Spruce distress ink.)
I chose the brick stencil by Papertrey Ink to make that happen. Using a piece of Soft Stone cardstock, I pounced on some anti-static powder, placed the main brick stencil over top of the panel, then generously blended on Versamark ink. Once finished, I sprinkled white embossing powder, tapped it off, and heat set it.
To finish the panel, I lightly blended on a little Weathervane gray ink to give it more definition. The panel was then cut out using the largest Torn Edges die.
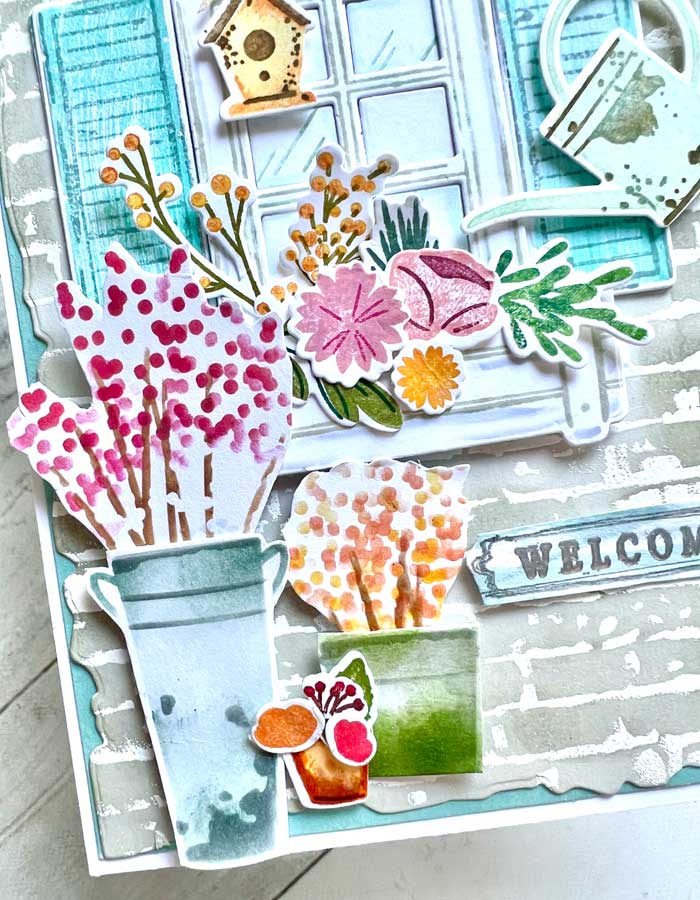
My scene was coming together but I still needed a few more pots of flowers. The Garden Fresh stencil has a charming tall pot and a few sprigs of flowers. So, using this stencil, I made two pots with flowers, then cut them out.
I was ready to put everything together. The brick background was mounted onto an A2-sized Pool blue card stock panel, then the window, shutters, window box, and all the other goodies were arranged, then mounted with foam squares.
The hanging birdhouse was mounted with foam squares, a tiny bow, and string. Once mounted, the whole assembly was mounted onto a slightly larger white card stock card base.
For a simple sentiment, I swiped a little Speckled Egg onto a strip of white cardstock, then embossed the word ‘Welcome’ using Gunmetal embossing powder. I added a few lines with a pen to form a plaque, then cut it out and mounted it.
This completes my flower-filled card design. I hope you liked it and that it gave your a bit of inspiration! ♥
Goodies Used:


