Burst of Blooms
Hi Creative Friends,
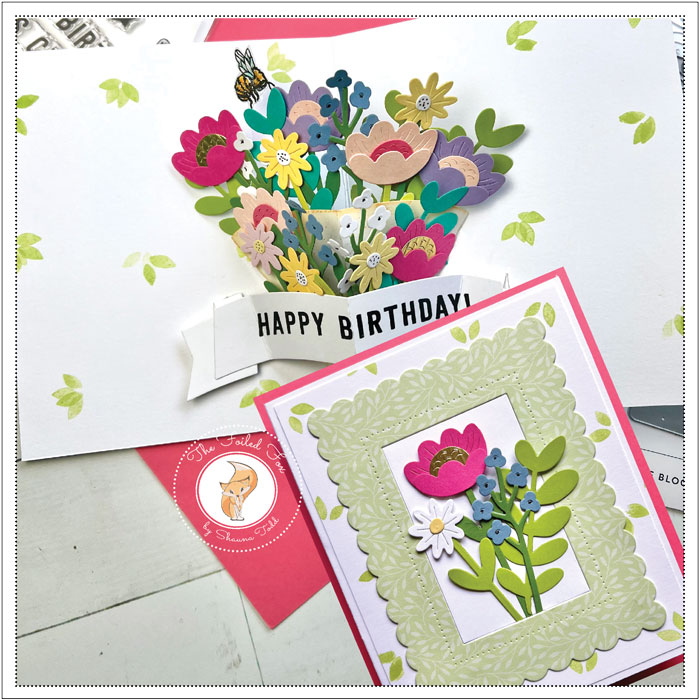
Today I am sharing something super fun. It is an interactive card with a bouquet bursting out of the card. To help make that happen, I used the Concord & 9th Burst of Blooms and Pop-up Burst Base.
My daughter is having a birthday and I always look for something fun and innovative to make for her. The older she gets, the more of a challenge it becomes. When I saw this set from Concord & 9th, I knew I had found it… for this year at least!
I have to admit, at first, I thought this project was a little daunting. If you feel that way too, don’t! It is much easier than it looks and once you get into it, it becomes very logical and easy to understand. To help you through the technical stuff, Concord & 9th has a few great videos. The most important one is the one that demonstrates the making of the pop-up. I have linked it here for your convenience. I highly recommend viewing this short video before starting.
I cut out my Pop-Up base from white cardstock. After cutting it out and before folding, I lightly stamped it using Penny Black’s Letter Background stamp and shaded the edges with Antique Linen and Tea Dye distress inks. You can completely skip this step and leave it the color of the cardstock.
The next step is to fold and mount it. The folding is outlined well in the video and easy to do.

I know the card base is meant for an A2-sized card. But as you see in the video, if you want taller flowers or elements in the center, the flowers will stick out the side when you fold it. Since I wanted a full bouquet, I made my card base 5×6.5″ when folded, eliminating the problem of the flowers sticking out the side.
On to the flowers. I save all my larger scraps for projects like these. They came in handy for the flowers, leaves, and stems. I cut a bunch of them and assembled them with a little glue. The flowers were then arranged and glued onto the pop-up base. I started with the ones in front and added the ones in the back. Be mindful of the fold. Don’t place any flowers over the fold or too far on the edges.
Tip: To check your work, fold your card often while adding the flowers to make sure none are getting crushed. You can also check out this video too for further tips.
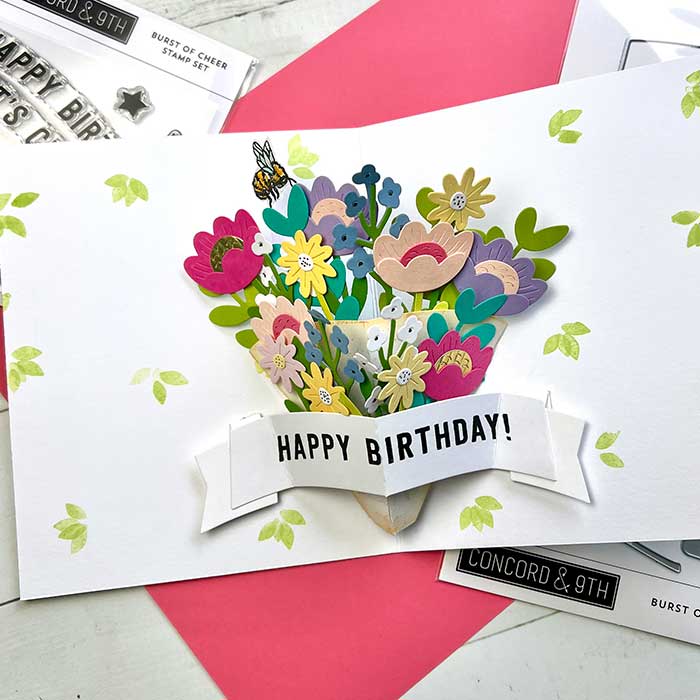
I added the Happy Birthday banner next. The pieces are included in the Pop-up Base die set. I cut them from white card stock and stamped them with Versafine Onyx Black ink, then adhered them to the card. The instructions on how to do that are included in the previous linked video.
I didn’t know how I wanted the inside of the card’s background to look but with the flowers done, I felt it needed something. So… I stamped leaves, using the leaf stamp in the Burst of Blooms stamp set and Sprout ink (all the supplies are listed below).
For the front of the card, I cut a slightly smaller panel from white cardstock, stamped it with the same ink and leaves stamp, then added it to the front of the card base.
Next, I created another panel by adhering a piece of patterned paper to white cardstock, and then cutting it out using Papertrey Ink’s Fantastic Front: Scalloped Frame. I added it to the front and used a few leftover flowers and leaves to decorate the center.
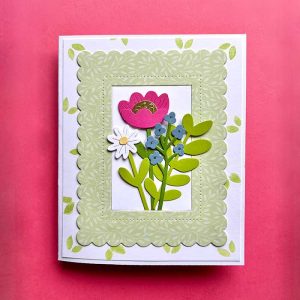
I only had one last step. The card is chubby when closed so the set comes with a belly band. Since my card was a little larger, the belly band wouldn’t fit. My solution was to add pretty pink burlap string to close.
I hope you enjoyed the project today and I hope you will give it a whirl. You will be glad you did! ♥
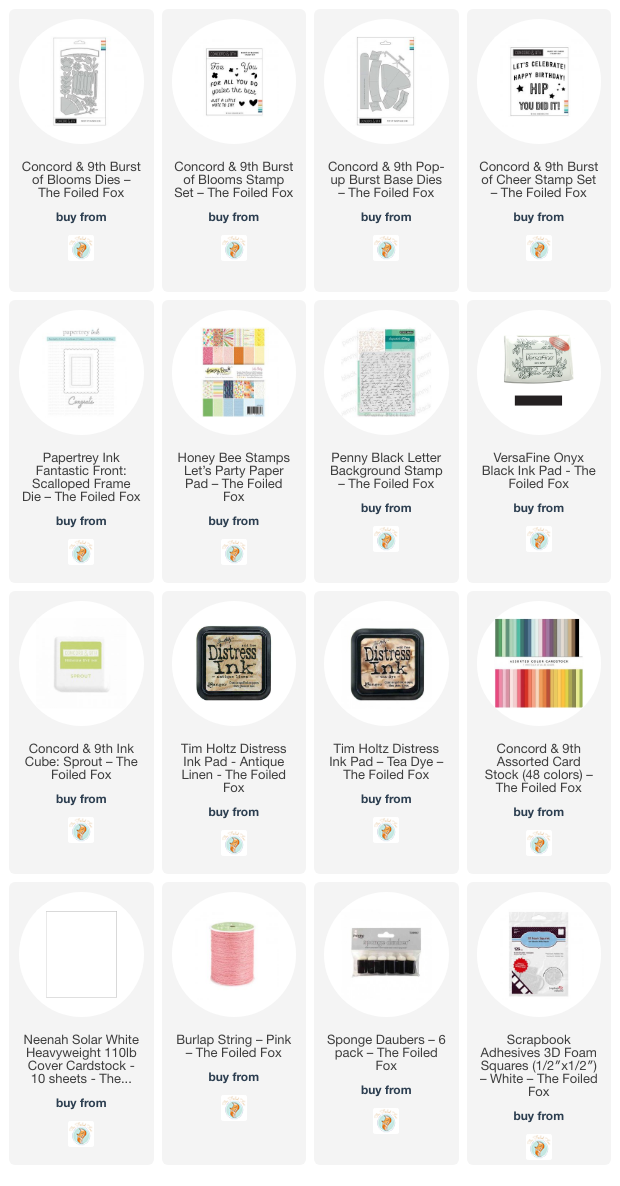
Goodies Used: