A Bold Happy Birthday
Hi Creative Friends,
I am changing the theme today from holiday to birthday – you can never have enough birthday cards, can you?
I fell in love with this bold, color-block Happy Birthday die set from Spellbinders. It helps create a very special birthday greeting. Another great thing about it is that all you have to do is change the color scheme to create a whole different look. Since this card is for a special birthday for a guy, I wanted masculine colors, but I think it would be fantastic with each letter a different color or choose more feminine colors. Either way, I love the look you get with one simple die set!
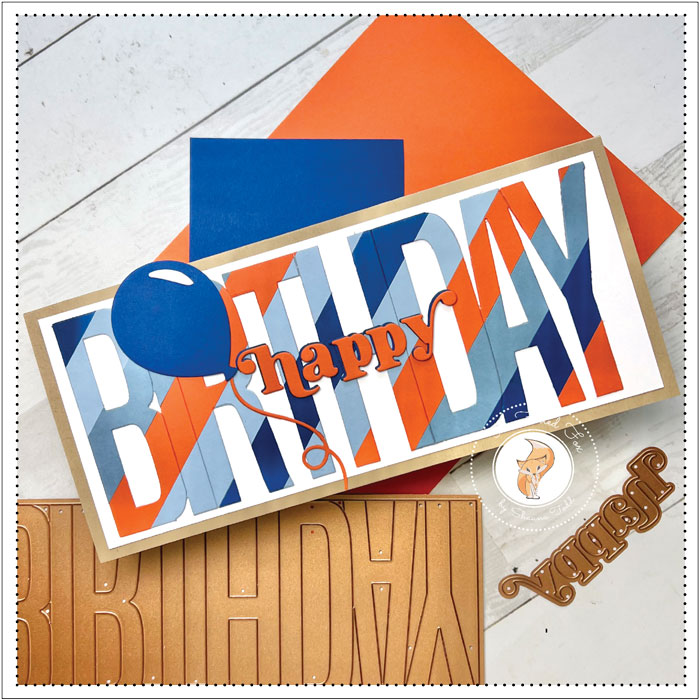
For this card. I decided to up the game a little by adding diagonal stripes of color. To do this, I cut a piece of white card stock larger than the birthday die, then cut a few stripes of 3/4″ colored card stock. Since this card was made for a man, I choose a few blues and a dark orange. Check out the supply list below for the exact colors.
Hint: For a precise fit, make sure the strips are clean and have straight cuts.
For a different look, vary the widths of the strips for more color and pattern variations.
Next, I cut a piece of the double-sided adhesive sheet the same size as the white panel, then applied it to the front of the panel. By peeling off the release paper, it revealed a sticky front, ready to apply the colored strips.
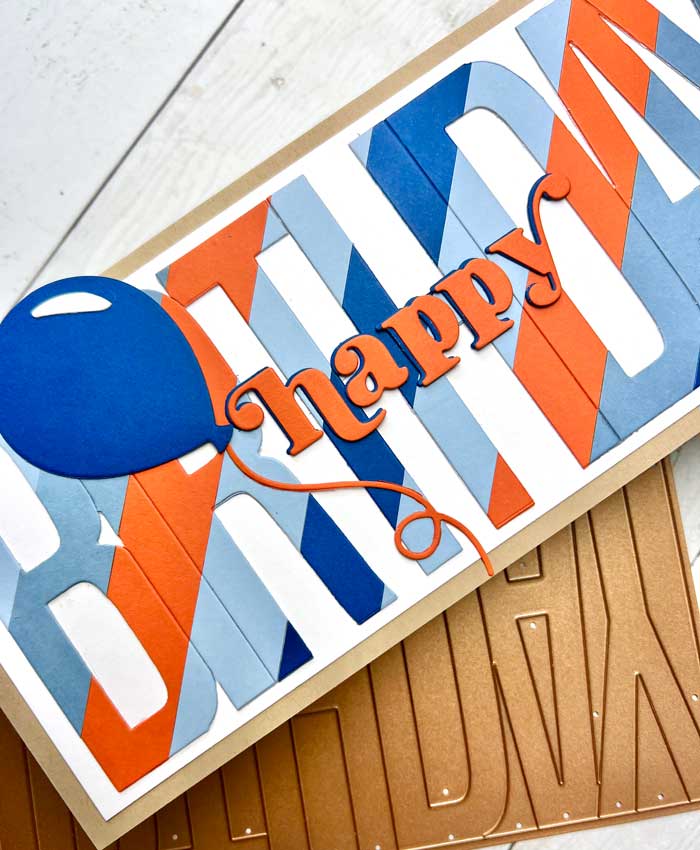
Starting in the center and finding a 45° angle, I adhered the first strip of colored cardstock. From there, I added more strips, varying the colors and making sure to butt each strip extremely close together.
When the whole panel was complete, I cut out the word birthday. At the same time, I cut out 2 blue ‘happy’ words (die is included in the set), one dark orange, and two blue balloons.
To mount the birthday word, I cut a white cardstock panel slightly larger than the word, then arranged and glued the word to the panel. When done, this panel was applied to a Kraft card base that was larger yet.
The only thing left to do was to add the ‘happy’s” and balloon. The two blue ones were stacked and glued together, then orange letters were added, slightly off-set.
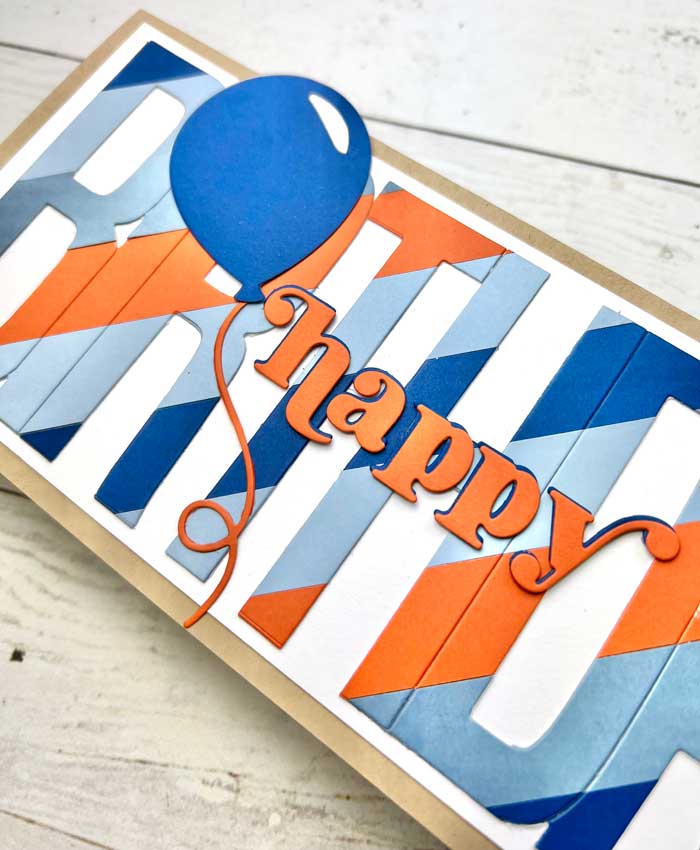
For the final touch, I stacked and glued the two cut balloons (by stacked two together, it makes the balloon very sturdy), then added them to the card front.
And there we have it, all done. ♥
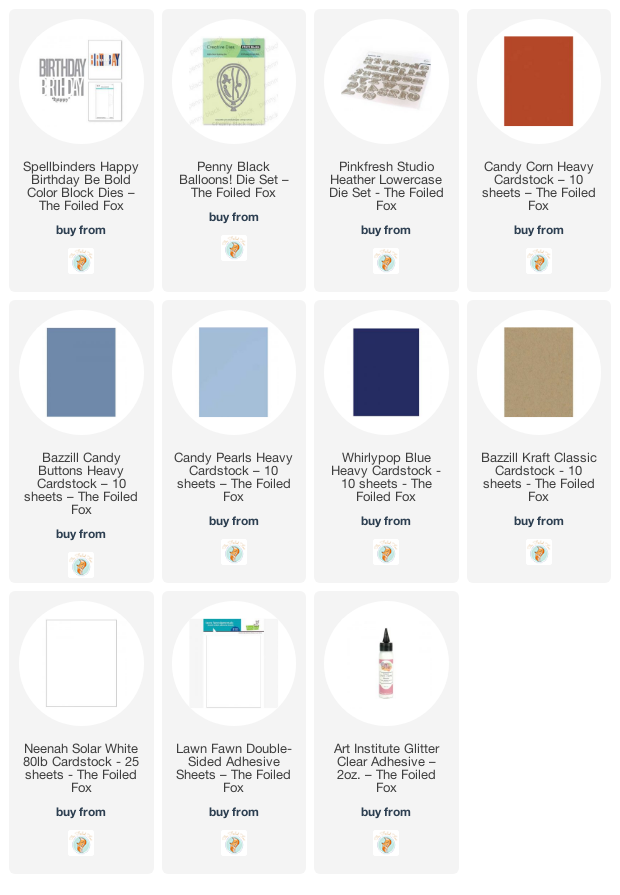
Goodies Used: