A Christmas Bouquet
Hi Creative Friends,
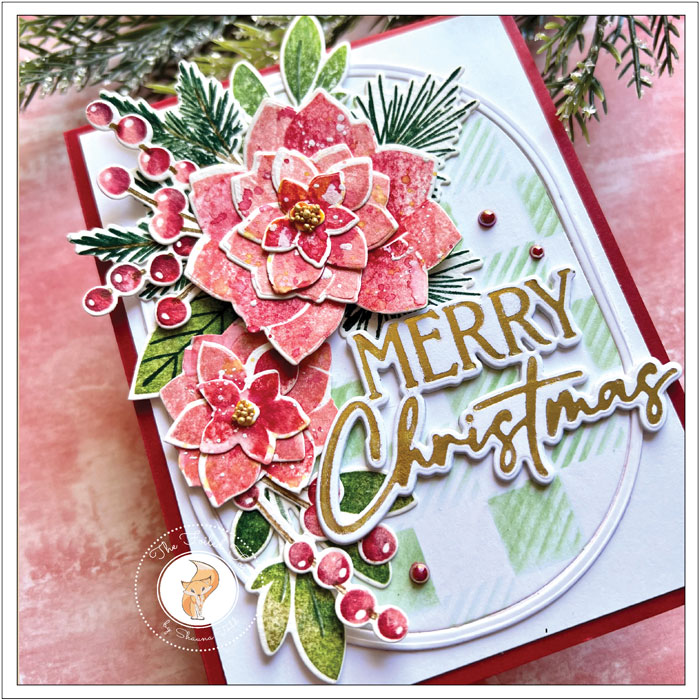
Thanks for joining me today. I am sharing a new card design that features the glorious new stamp and die set by Papertrey Ink named Christmas Bouquet. This set is complete with Christmas berries and sprigs of pine, not to mention the beautiful poinsettia flowers.
Let’s jump in and get started!
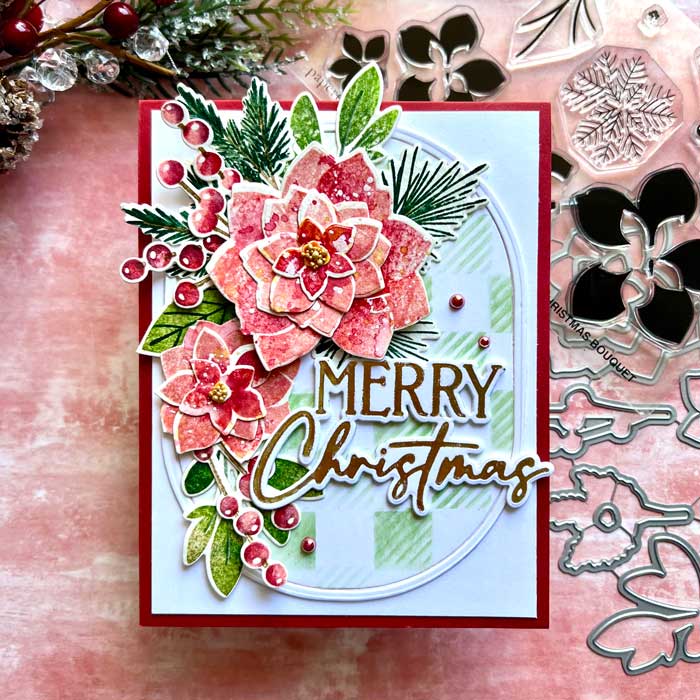
Using a piece of white cardstock, I cut out two ovals from the Stylish Ovals set, then stacked and glued them together and set them aside. Then, with one of the ovals from the Stylish Oval cut-out, I stenciled on a plaid pattern using the Buffalo Plaid stencil and Ocean Tides ink, both of them Papertrey Ink.
With the foundation pieces done, I attached a white panel onto the front of an A2 Peppermint red card stock card base, then added the cut-out oval frame and its plaid insert, and set it aside.
Next, I got started on the flowers and foliage. To begin, using a piece of cold-pressed watercolor paper, I cut out all the pieces in the Christmas Bouquet die set (plus some extras), and then mounted them in my stamp positioner.
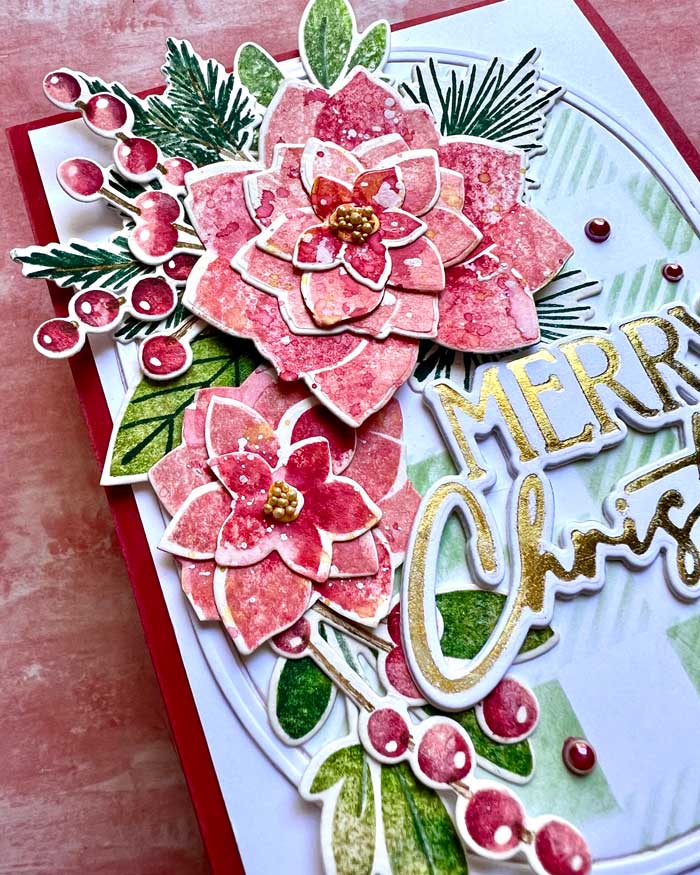
I positioned the coordinating stamps and began stamping. Using a few Papertrey Ink ink cubes I inked, lightly spritzed, then stamped the pieces. For most of the pieces, I love to use a combination of colors. I used Berry Sorbet, Lovely Lady, and Pure Poppy for the flowers, Pinefeather for the pine sprigs, and Simply Chartreuse, New Leaf, and a dash of Pinefeather for the leaves, making sure to lightly spritz the stamps before stamping to allow the inks to blend and mingle. For the berries, I used Cocoa Bean for the stems, then Lovely Lady, Pure Poppy, and Autumn Rose ink cubes.
For the flower pieces, I lightly splattered them with a watery mix of Pure Poppy, then dots of white ink, then set them aside to dry.

When dry, I assembled all the flower pieces, stacking them to create a dimension flower. For the centers, I glued yellow prills to the piece cut-outs and then mounted them in the middle of the flowers.
Before assembly, using my Glimmer hot foil machine from Spellbinders and following the directions in the manual, I gold hot foiled the Merry Christmas from the Papertrey Ink Merry Christmas Hot Foil set. When done, I cut out the Merry Christmas and a couple more white card stock blanks that I could layer behind the Merry Christmas to give it more dimension and strength. After all, it has to withstand the mail delivery!
Now with everything ready to assemble, I arranged the flowers and foliage, adding foam squares to the back of the flowers and tucking the foliage underneath here and there.
To complete the picture, I added the Merry Christmas sentiment and a few red pearls for a little more sparkle. ♥
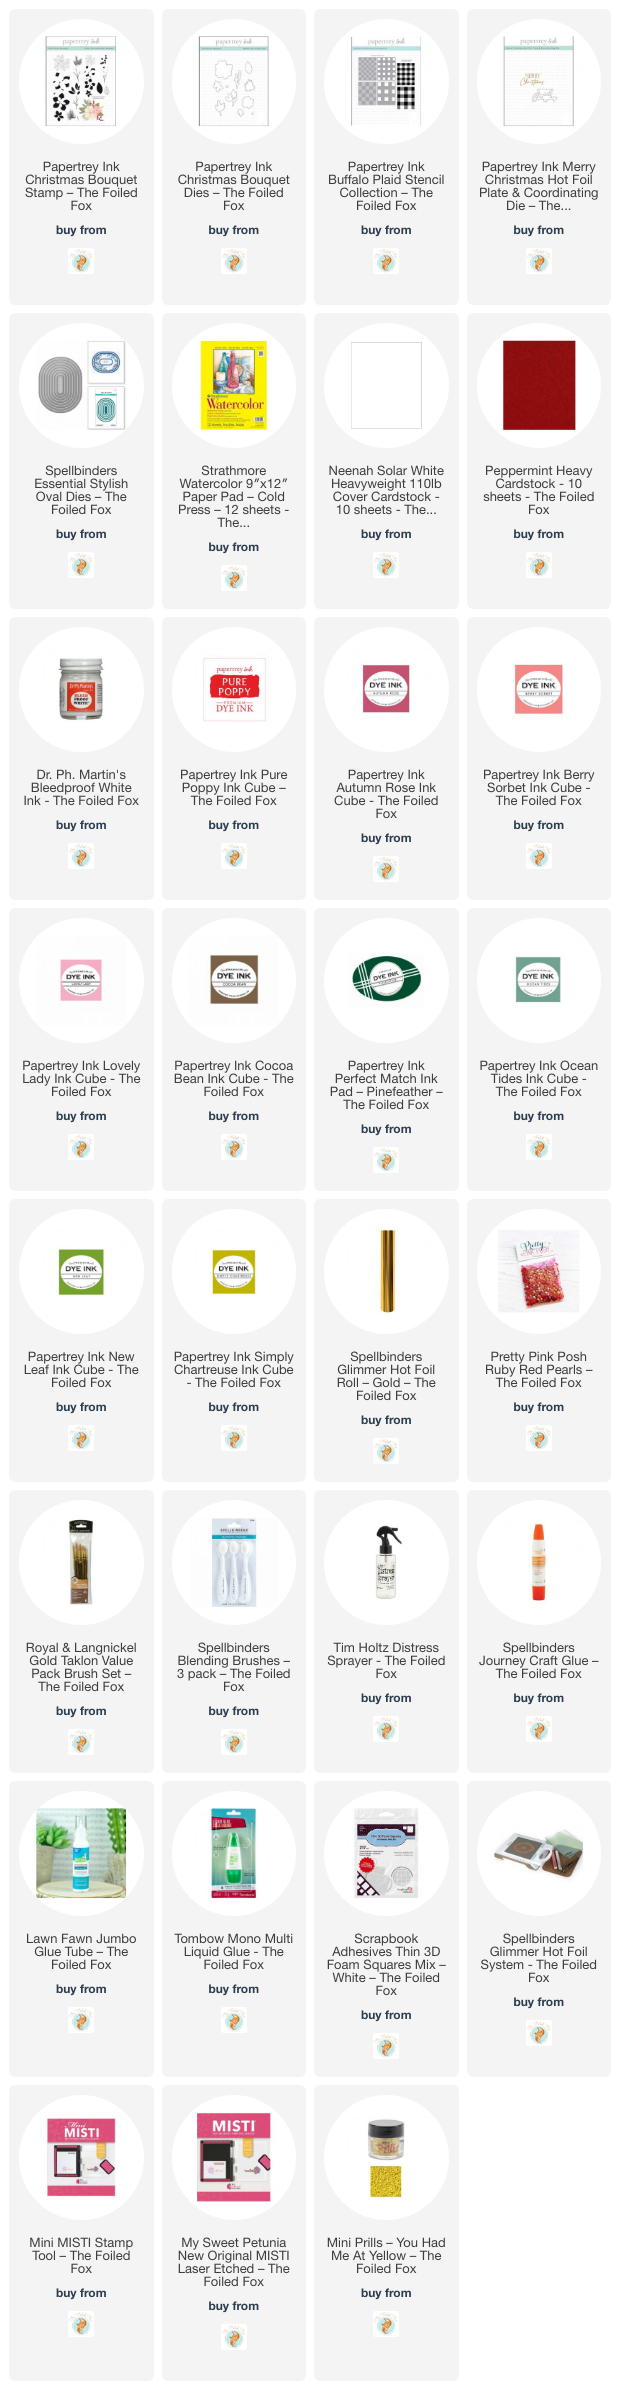
Goodies Used:
Sorry, the comment form is closed at this time.

October 13, 2023
Wanda Cullen
Wow! What a stunning design! Your floral coloring is amazing!!!
October 13, 2023
Shauna Todd
Thank you Wanda! I hope your knee is healing nicely!
October 13, 2023
amy tsuruta
Oh so pretty and elegant!
October 13, 2023
Shauna Todd
Thanks Amy!