A Holly Merry Christmas
Hi Creative Friends,
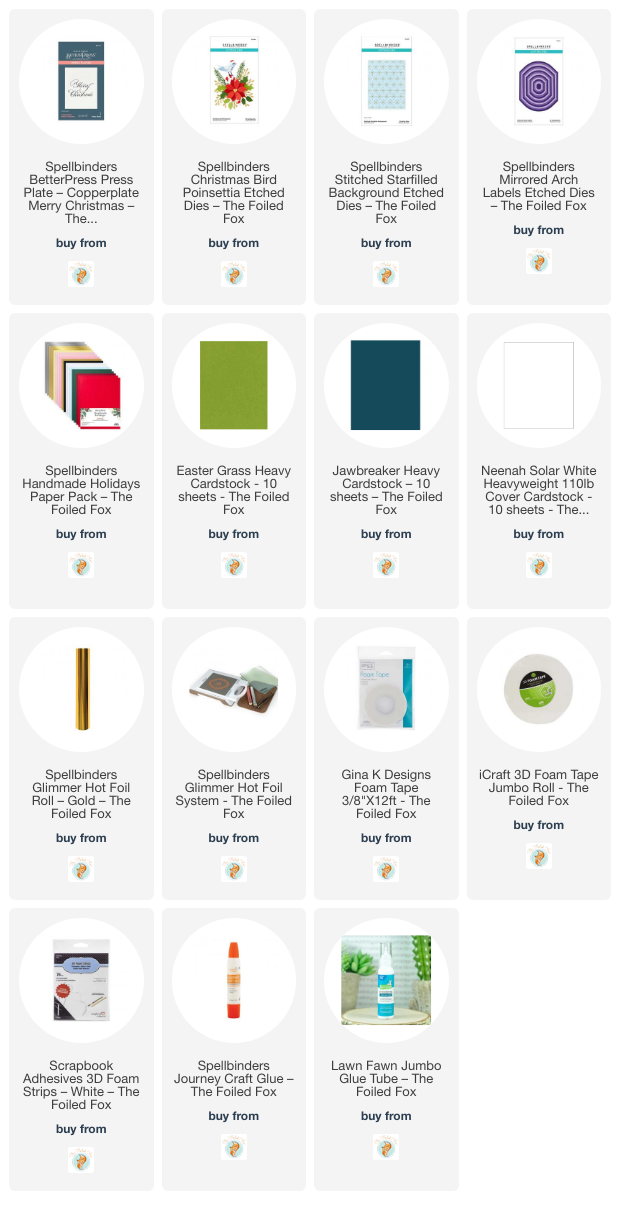
We just got in some awesome new goodies from Spellbinders so I am giving a few a try. For this project I am using Copperplate Merry Christmas, Christmas Bird Poinsettia, and Stitched Starfilled Background. All fantastic sets!
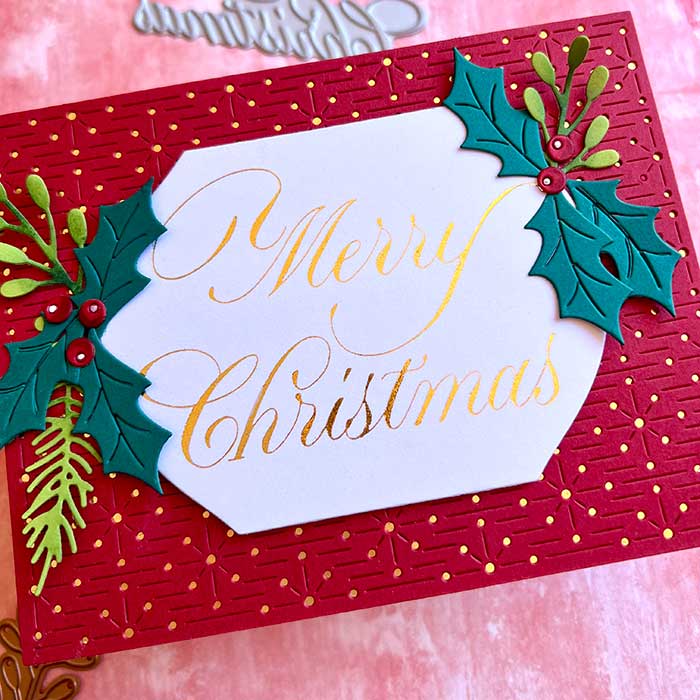
I started with the Merry Christmas. Using my Spellbinders Glimmer system, gold foil, white cardstock, and the new Copperplate Merry Christmas Betterpress Press Plate, I gold foiled the sentiment with this press plate. As you may remember, you can foil or letterpress with a press plate but you CAN’T letterpress with a Glimmer plate, so I was good to use this plate either way.
So, following the Glimmer system instructions, I gold foiled a piece of white cardstock with the “Merry Christmas” sentiment. Once the foiling was done, I cut it out using another wonderful set from Spellbinders, Mirrored Arched Labels, then set it aside.
Next, I cut out a panel using the new Spellbinders Stitched Starfilled Background. I cut it from red cardstock but chose not to stitch it this time. Instead backed it with gold foil cardstock, then mounted it onto an A2 card base and set aside for now.
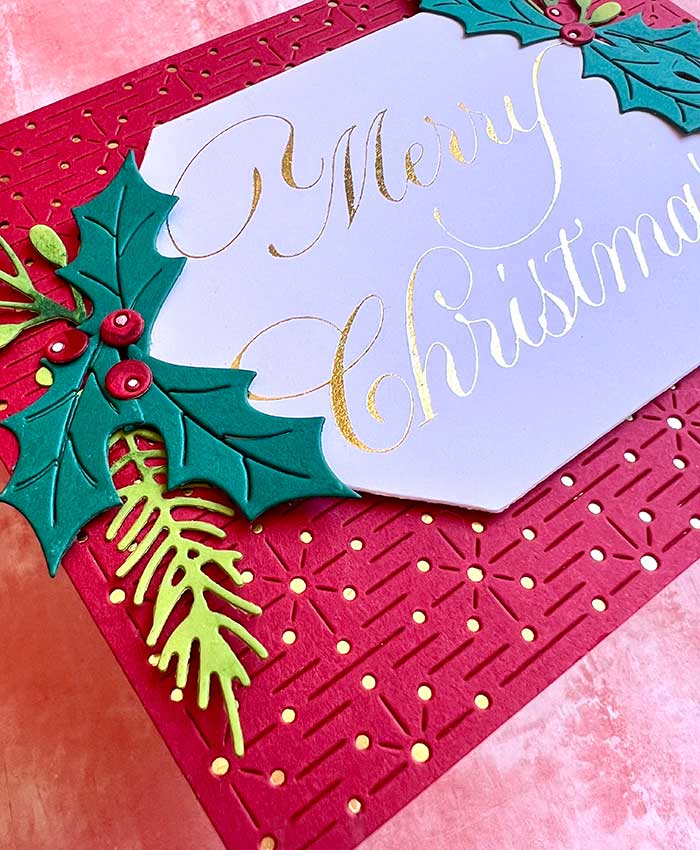
I used the new Christmas Bird Poinsettia die set next. This set is loaded with so many beautiful foliage dies, plus a cute little bird. I used a few green cardstock papers like Easter Grass and Jawbreaker and a bit of red to cut out the holly, green sprigs, and red berries.
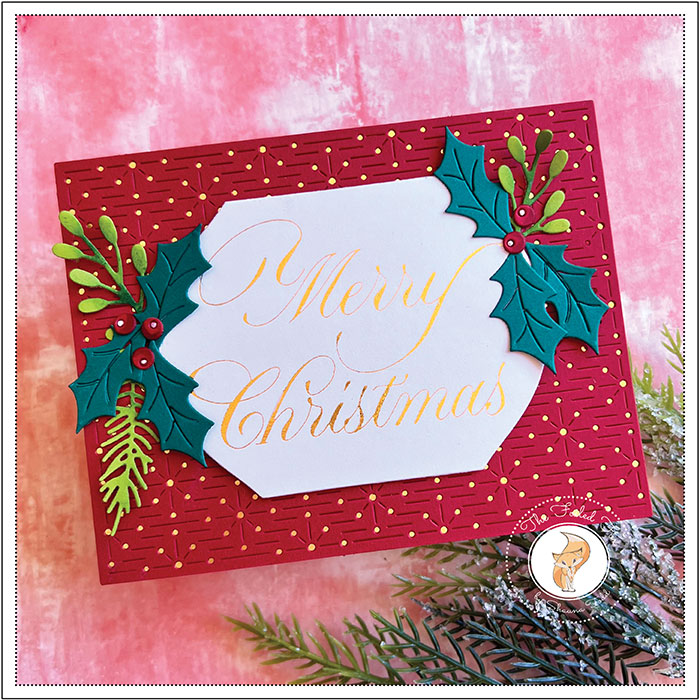
Time to assemble. The Merry Christmas plaque was mounted with foam tape and the foliage and berries were tucked here and there and adhered with a few foam squares or glue.
YAY! the card was done and I love how it turned out! In fact, if you are looking for a card design to mass produce, this one would be a good contender! ♥
Goodies Used: