A Lovely Letter
Hi Creative Friends,
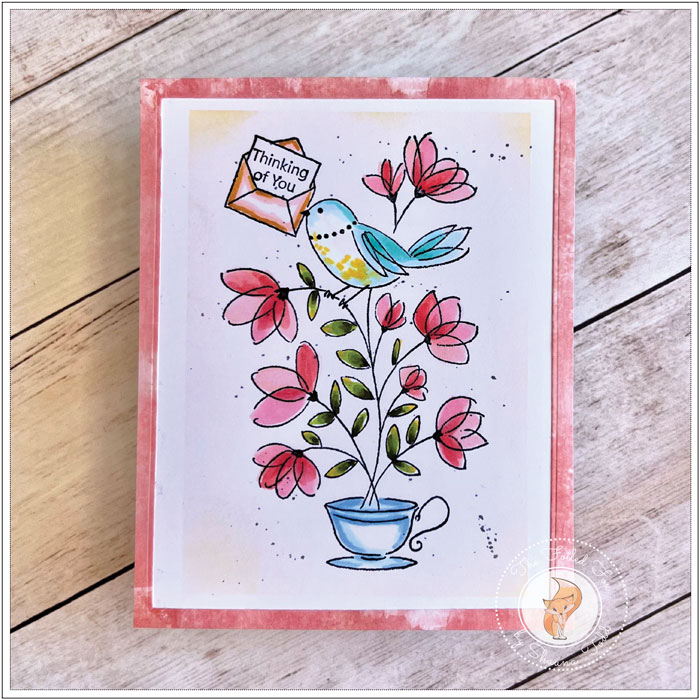
I am popping in with a sweet card design using the charming Lovely Letter stamp by Penny Black. It features an adorable bird atop a spray of flowers. It has three cheery and useful sentiments that you can stamp on your letter.
This stamp really speaks for itself so you need little else to make a super cute card.
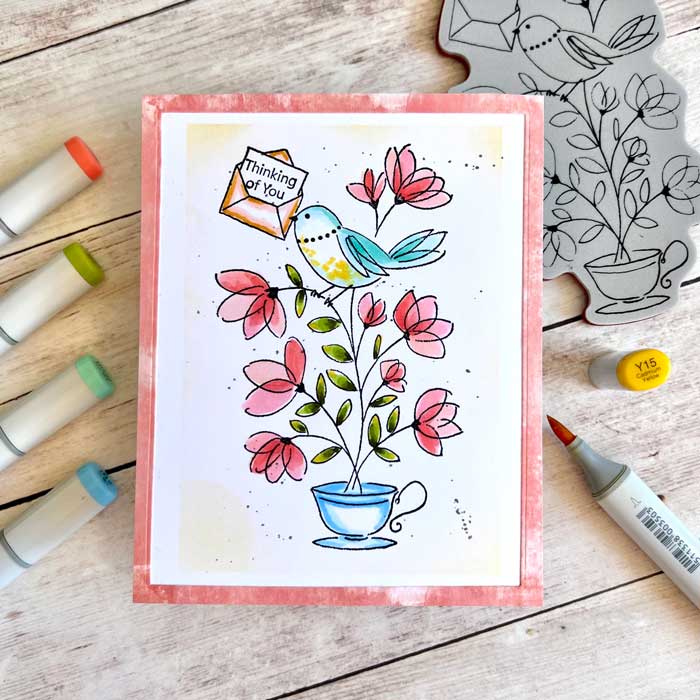
For this card, a white card stock panel was made, then the image was stamped using alcohol marker-friendly ink like Luxe Memento black ink. Stamping this using a stamp positioner is really helpful so that you can restamp it if necessary for a crisp image.
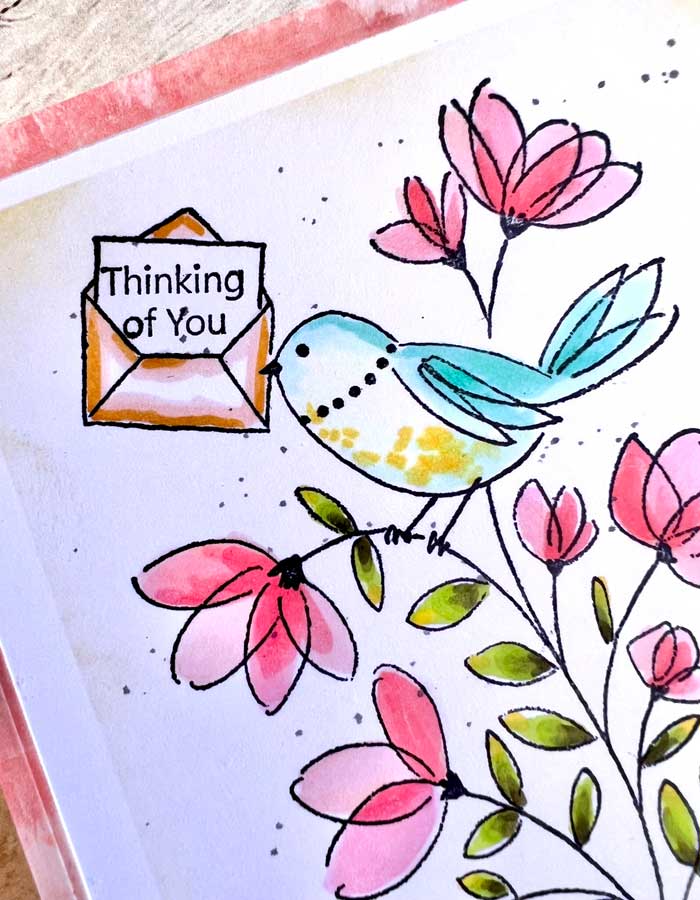
The stamp set comes with three sentiments that are perfect for almost any occasion. I chose the “Thinking of You” and stamped it onto the letter.
Once the stamping was done, I taped the edges of the panel onto our work surface. I used iCraft’s Pixie removable tape so that when I peeled it off it wouldn’t take a layer of paper with it! The edges were taped evenly around so that it created a lovely border, then the edges were ink blended with Antique Linen distress ink. I know it looks faint in the pictures but sometimes the camera just doesn’t pick up everything our eyes do – ugh! But trust me, the border shows more distinctive in real life.
Now onto the coloring. I used Copic markers here but this design lends itself nicely to water coloring too. But since I didn’t stamp on watercolor paper, I used alcohol markers to color.

The coloring was simple. I used R01, R22, AND RV11 for the flowers and the leaves were colored with YG03 and G99. The bird was colored with BG0000, BG15, BG32, and Y15. Finally, for the teacup and letter, I used B000, B12, and E00, YR24 respectively.
With the coloring done, I added a few black dots by splattering a loose mixture of Black Soot distress ink and water.
I mounted the panel to a white card base that was the same size when folded but I felt it still needed a little pizazz so I created a border by cutting a panel from a beautiful Alexandra Renke paper that was the size of the card base, then used a rectangle die to cut out the center. This created a very nice, crisp skinny border. Since the design needs a little more height than A2 size, I used the largest outline die from the Fluted Classic Rectangles by Spellbinders.
The border was mounted in place with a little glue for the finishing touch and the card was done – YAY! ♥
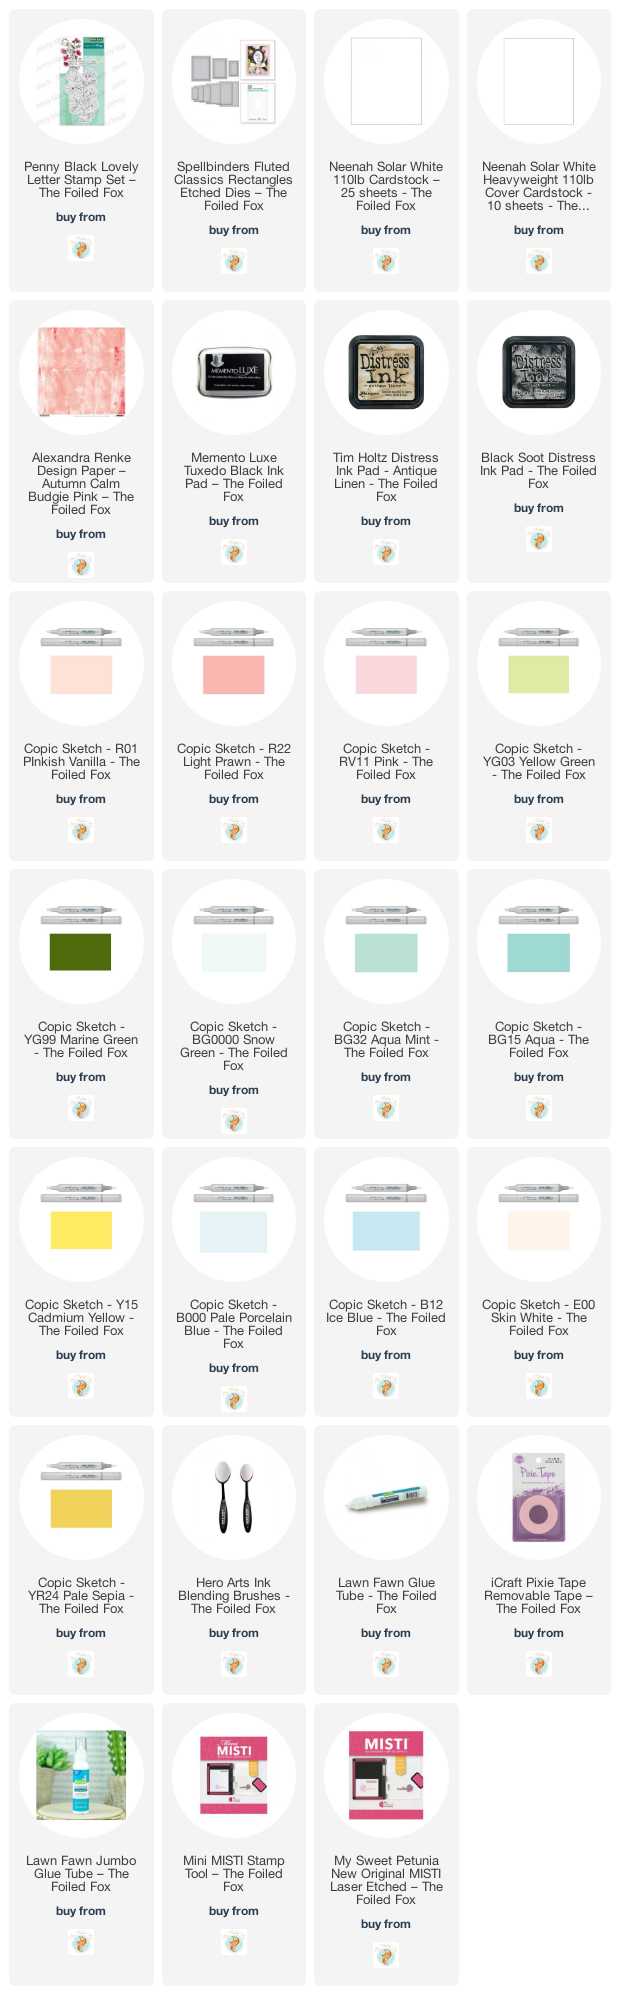
Goodies Used: