A Merry Holiday Ornament
Hi Crafty Friends,
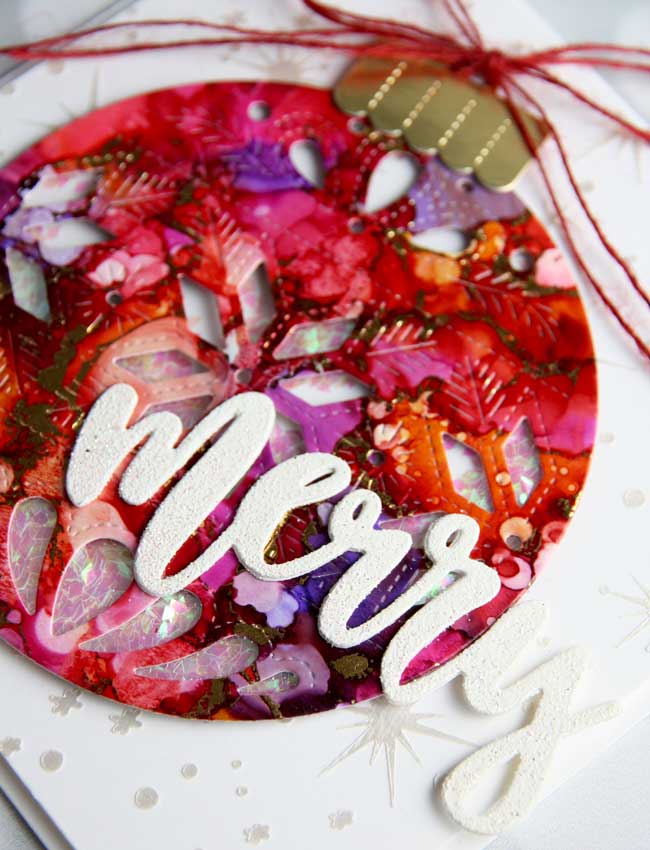
Today’s card design is a big, beautiful ornament that is sure to bring a smile to any holiday recipient. It is made using the Concord & 9th Ornamental dies and a few vibrant alcohol ink colors. The ornament die has wonderful cut-outs to enhance the design and makes it a natural for a shaker.
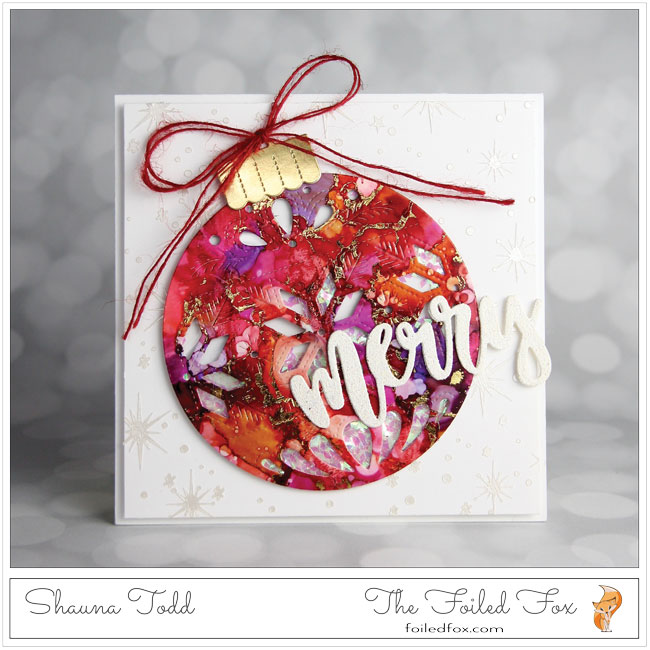
This card starts out by creating a collage of alcohol ink colors on a piece of Yupo paper. I randomly added drops of Flamingo and Amethyst (Beach Deco), Shell Pink (Countryside), Sunset Orange and Purple Twilight (Summit View) onto Yupo paper and allowed the inks to pool in some areas so they were a little thicker there. I love these thicker ink areas since those are the best places for the foil to stick!
So, with that in mind, you will never guess what is next. With the completed inked panel, I placed a piece of gold foil over the top, shiny side up and ran it through my Heidi Swapp Minc (a plain laminator works great too). The heat from the Minc (or laminator) magically transferred the foil to the thicker inked areas, creating a wonderful veining effect. All you have to do is peel off the foil when cooled and VIOLA!
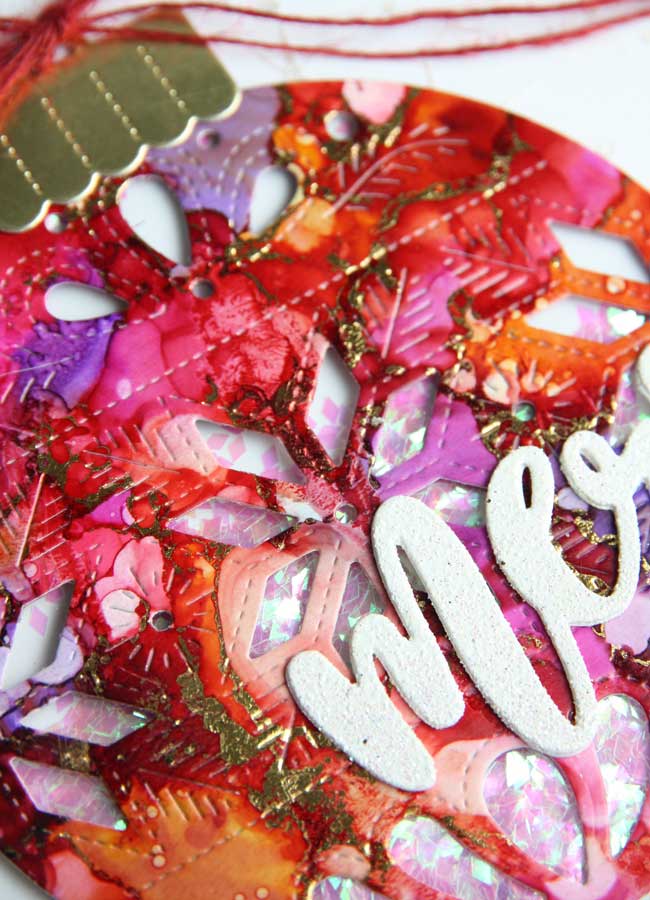
Next, using the ornament die, I cut one ornament from the alcohol-inked paper. This ornament die has a beautiful design that gets embossed into the paper when you run it through your die-cutting machine. It also cuts out a star snowflake design.
While I was at the die cutting machine, I also cut the ornament top from a scrap piece of gold foil paper and three “Merry’s” from white cardstock. I then glued the three “merry’s” together, creating some dimension and liberally applied Versamark ink on the top and heat embossed it with WOW! Sparkling Snow embossing glitter powder.
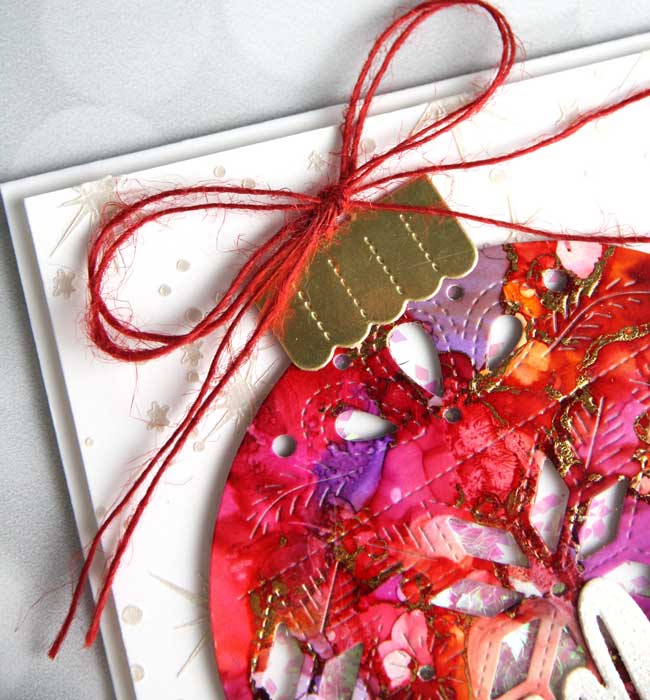
With the sentiment done, I started in on making the ornament a shaker. As I mentioned, it is perfect for this since it has wonderful cut-outs. So, to do this, I adhered a piece of acetate to the back of the ornament cut-out, added foam tape all around the perimeter of the ornament, filled the center with some diamond-shaped confetti from the Nuvo Cross My Heart confetti mix and then placed a plain piece of cardstock that had been cut to the shape of the ornament over the back, letting the foam tape stick it together. To finish the ornament, I attached the gold foil top and tied a bow with some red, thin twine.
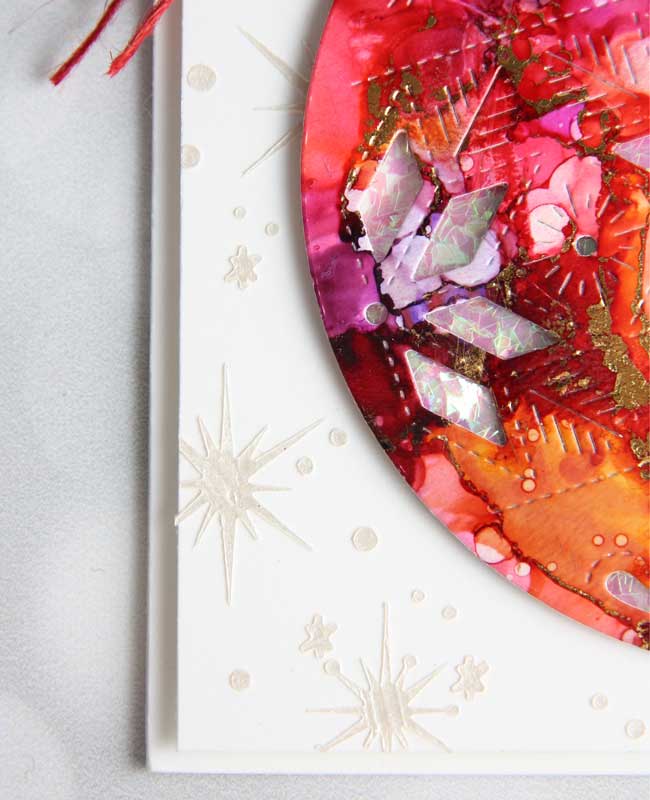
To get started with the assembly, I made a white square card base from Neenah white cardstock and also cut a white panel, slightly smaller than the card base. I decided the white panel looked a little stark so I stenciled on a design using the Carta Bella Christmas Sky stencil – the Star Celebration stencil is a good one too) and Pearl Viva Decor Modelier Creme. This texture paste dries very quickly so I didn’t have to wait long to put everything together.
All that was left was to add the textured white panel to the card base with a little foam in between, then the big ornament was next. The sentiment was applied and there it is… another card to send for the Holidays – YAY! ♥
Goodies Used:
Sorry, the comment form is closed at this time.

December 10, 2018
Lorraine Buttner
Lovely card! I was wondering, what heat temperature do you use when adhering the foil to this inked yupo paper?
December 11, 2018
Shauna Todd
Thanks for your kind comment. As for the heat, if I remember right, it was 3 or 4. I know 5 is too hot. Hope that helps!
December 13, 2018
Lagene
Gorgeous ornament card! I love the foiling on the alcohol inked ornament!