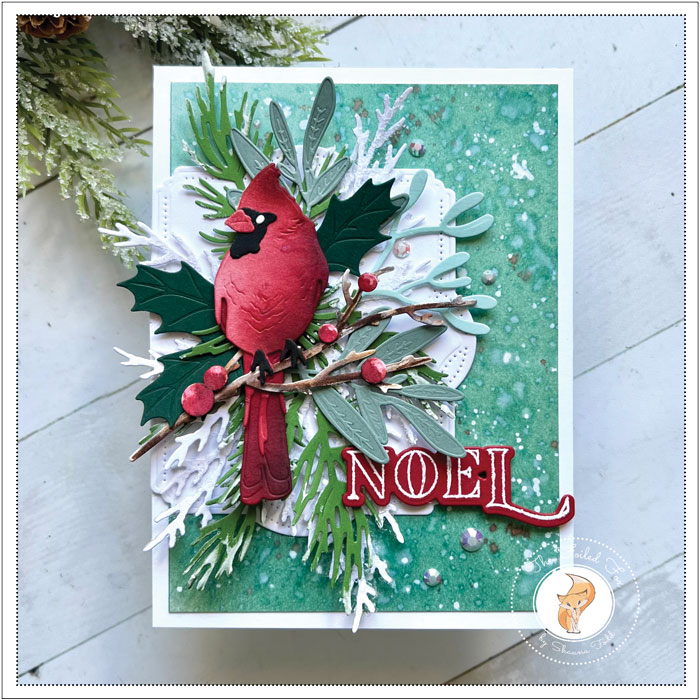
A Noel Cardinal
Hi Creative Friends,
Thanks for joining me today. I am sharing a new card design that features one of my favorites… birds! This one is from the Honey Bee Stamps Winter Birds, accompanied by the wonderful Winter Greenery.
I began this adventure with a 4.5×6 white card stock card base and a 4×5.5 piece of Bristol paper. With the card base set aside, I began blending on Evergreen Bough and Broken China to the panel. When it was completely covered with ink to my liking, I splattered the panel with a loose mixture of Broken China and water. I followed it with a mixture of Chipped Sapphire, then did the same thing with Walnut Stain distress inks. Finally, I ended up with splatters of white ink. I set it aside to dry.
In the meantime, I cut out all the pieces of the Winter Bird. I used Bristol paper and a scrap of licorice twist for the black parts. The body parts were then colored with Lumberjack Plaid, Aged Mahogany, with a dash of Black Soot along some of the edges. This cute little bird was then assembled. Hint: Honey Bee Stamps includes a reference card on how it goes together – AWESOME!
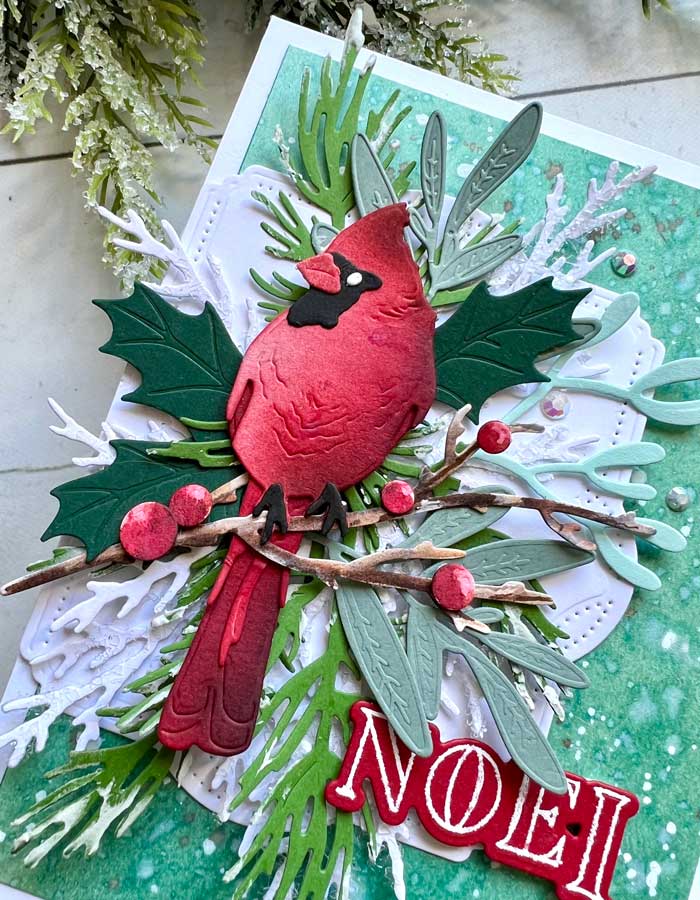
Once the bird was done, I moved on to the greenery. I used a variety of colors of green cardstock, plus white to cut out numerous pieces from the Winter Greenery die set by Honey Bee Stamps.
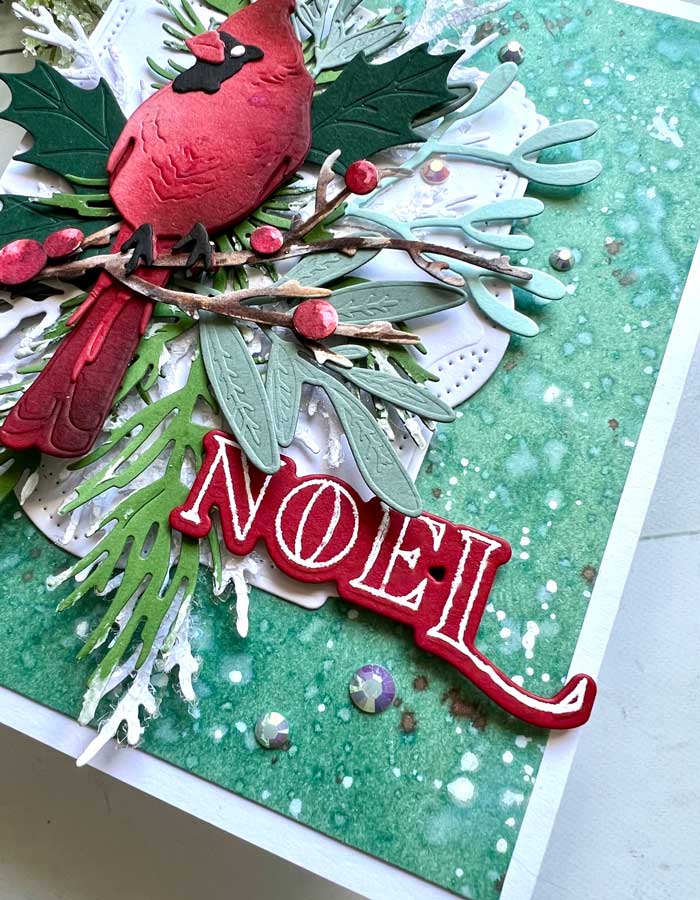
For the branch, I used white card stock and a few Tombow markers (you know, I love me some Tombow markers. They are fabulous for this!). The berries were colored with Worn Lipstick, Lumberjack Plaid, and Aged Mahogany distress inks. The white foliage was covered with glue and then sprinkled with chunky glitter and the green pine sprigs were dipped in opaque texture paste for the snow.
I needed one more thing before assembly and that was a contrasting base for all the greenery and bird to sit upon. So, using a piece of white cardstock, I cut a beautiful and decorative base using the Papertrey Ink Alluring Brackets die set.
Now I was ready. I mounted the splattered panel to my card base, then mounted the decorative Alluring bracket, and then the fun really started. I arranged all the foliage pieces and glued them down in the center. The bird was added last with a few foam squares.
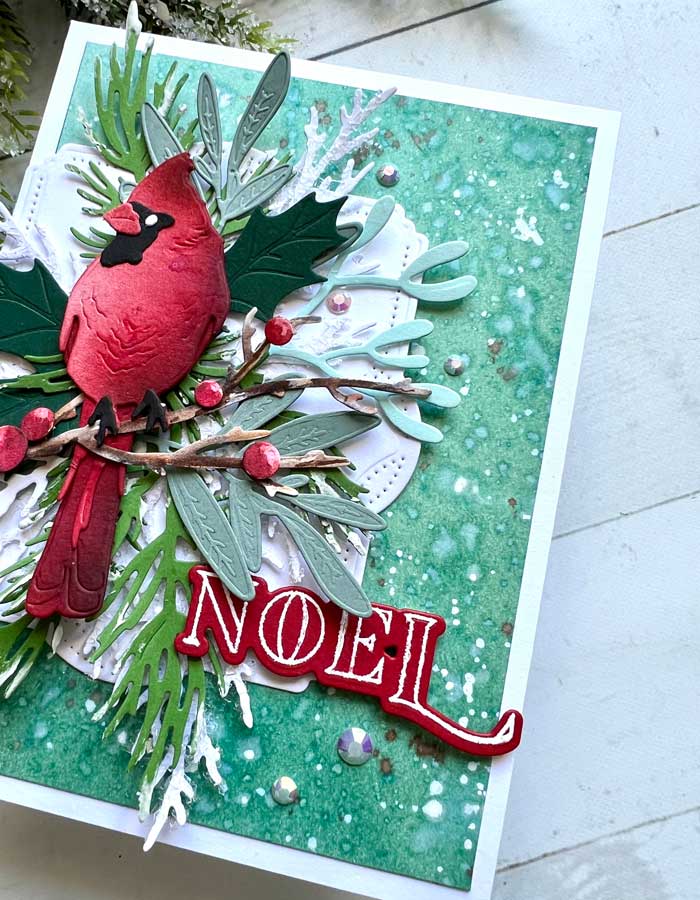
For the sentiment, I stamped “Noel” from the Peace, Love, and Joy stamp set by Honey Bee Stamps using Versamark ink, then heat embossed it with white embossing powder. The Noel was then cut out using the coordinating dies.
Finally, the Noel was mounted with foam squares. A few Glacier jewels were added for extra sparkle. That completed our card design for today! I hope you enjoyed it and will give it a whirl! ♥
Goodies Used: