A Rainbow Of Color For Father’s Day
Hi Crafty Friends,
Soon another Father’s Day will be upon us so I had to get busy and create a Father’s Day card for my husband. He loves getting a handmade card but after so many years it is getting hard to come up with something original, not to mention that masculine cards are always a challenge for me! But I have mustered all my masculine gusto and am sharing my latest… a bright and bold rainbow Father’s Day card.
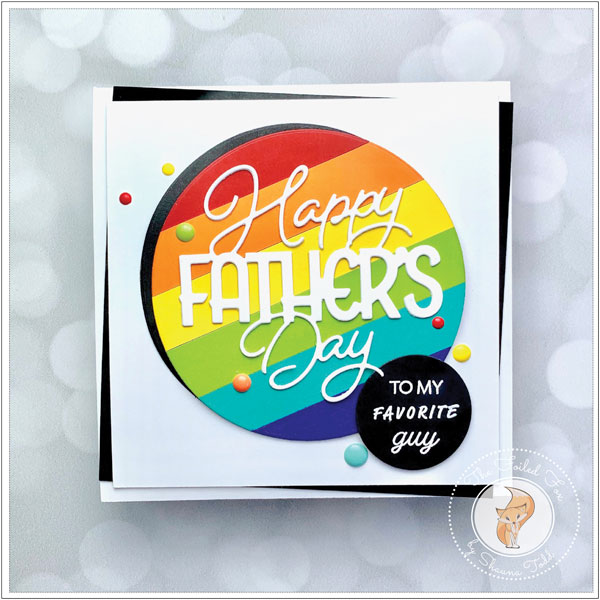
The focal point of the card design is the circle of rainbow colors. To create the circle, I could have just used rainbow paper but I much prefer making my own, this way I can choose my own size and color combinations and it gives a beautiful result. So, with this in mind, this is how I always make rainbow paper.
Starting with a piece of white card stock, I applied a sheet of double-stick paper (Stick-It-see supply list below) on top. Then, cut 6 strips of card stock, each of a different color, peeled off the release paper on the double-stick paper, and applied one strip after another, butting them as close as I could next to one another. Once all the strips were adhered, I ran the whole thing through my die-cutting machine. This helps press all the strips even closer, giving it a cohesive look. Now I have my very own rainbow paper!
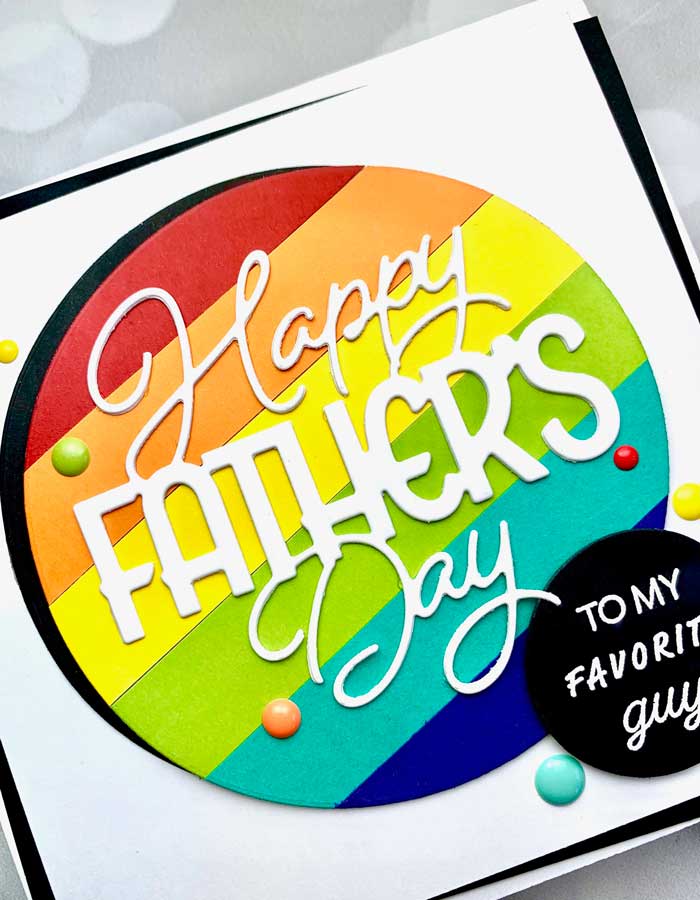
With the rainbow paper made, I cut a 4″ circle from it and at the same time cut a 4″ circle and 1 1/2″ circle from black card stock. While I was in the cutting mode, I also cut 2-Happy Father’s Day sentiments from the Papertrey Ink-Ink To Paper Happy Father’s Day die.
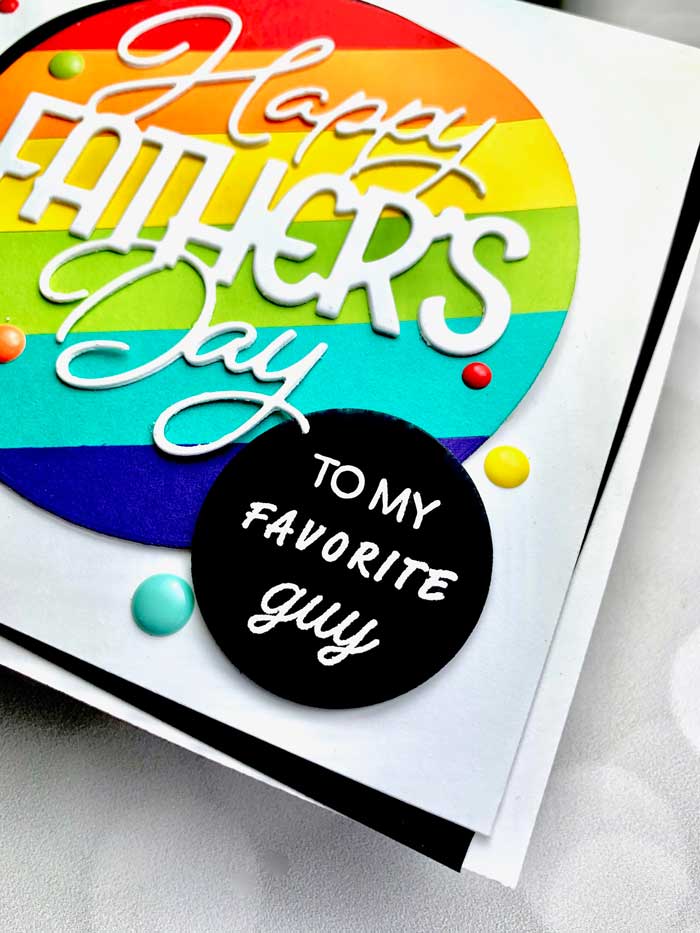
Next, with the small black circle in hand, I stamped ‘To My Favorite Guy” using the Papertrey Ink – Ink To Paper Just Sentiments-Father’s Day stamp set using Versamark ink, then heat embossed it with white embossing powder.
All the pieces are done so it was time to assemble the pieces! I started with a square white cardstock card base AND a slightly smaller white cardstock panel, as well as a square black card stock panel the same size. The black panel was mounted on the back of the white cardstock panel, slightly askew, then added to the front of the card base.
The black 4″ circle and the rainbow circle were layered together, with the black circle offset and attached to the front. The two ‘Happy Father’s Day” sentiments that were cut earlier were stacked on top of one another and glued. It was then added on top of the rainbow circle.
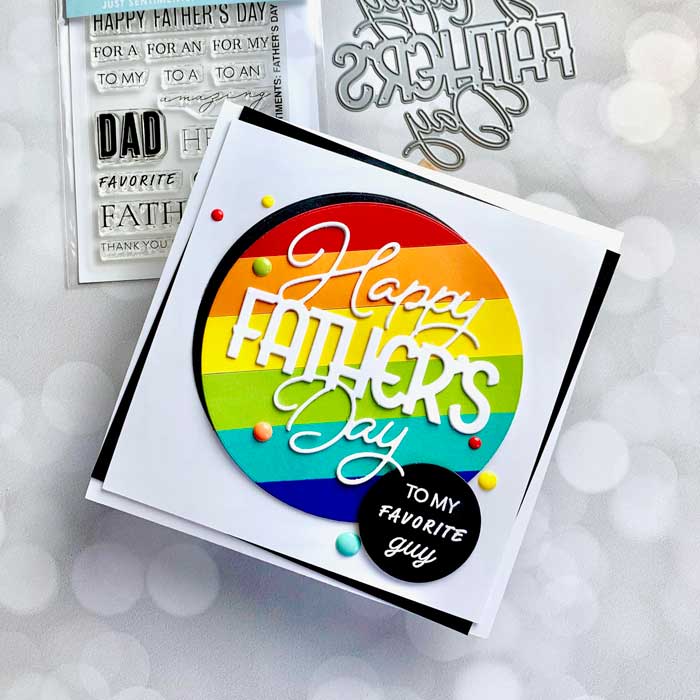
To complete the card, the “To May Favorite Guy” circle was added with a bit of foam tape and a variety of different colored enamel dots was sprinkled about.
Whew! … there we have it, a 2020 Father’s Day done (early even) and ready to give! ♥
Goodies Used: