An Eclectric Garden Bouquet
Hi Crafty Friends,
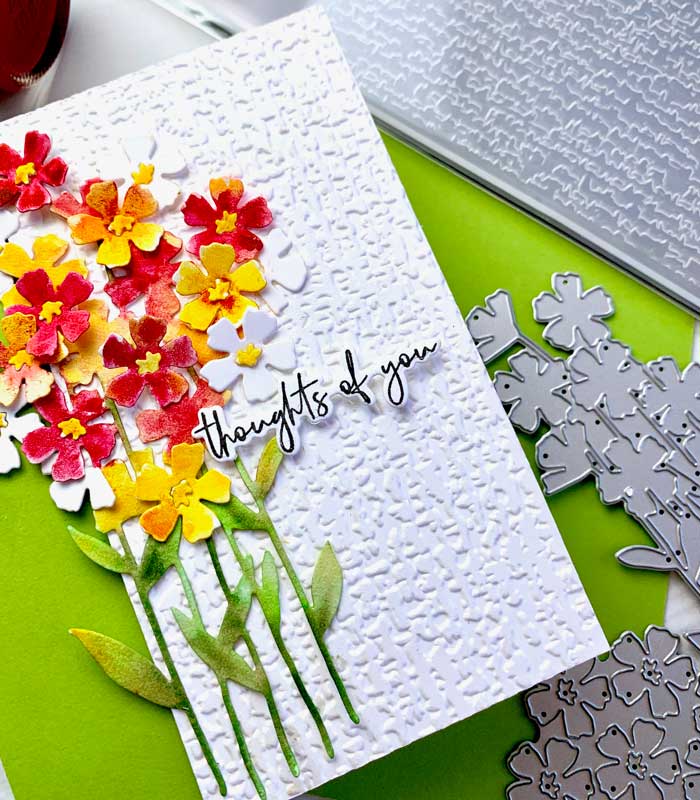
Today I am sharing a beautiful new die set by Concord & 9th called Eclectic Garden. This set was so much fun. I love all the small flowers it creates.
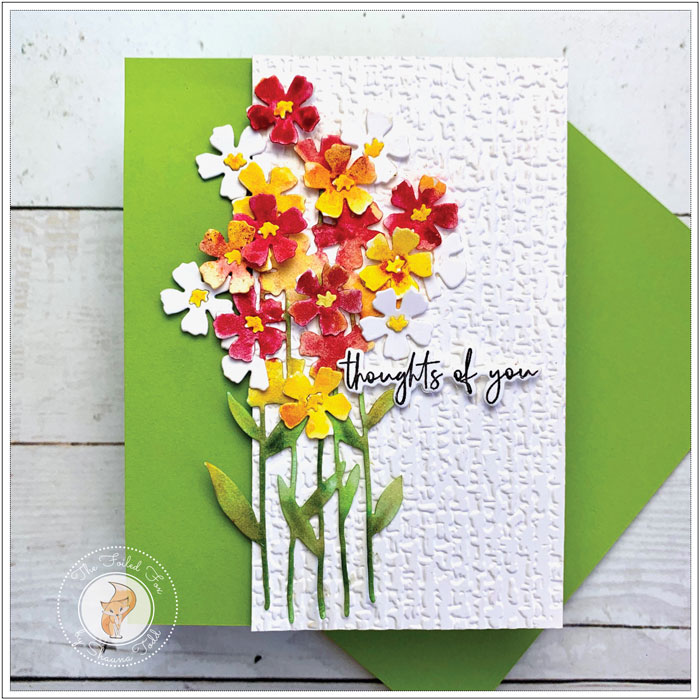
This card design is easy to make. I started with a white card base, a green panel, and a piece of double-thick, 100% cotton Crane Lettra cover paper at a hefty 220lb (twice the usual weight). This heavy card stock is so awesome! When embossed with the Altenew Organic Linen 3D embossing folder like this was, it creates dimension and deep impressions all at the same time… with no need for foam tape! The Easter Grass green panel was adhered to the card base and the embossed white piece was added on top.
With the basic card base done, I moved on to the really fun part. Using a piece of watercolor paper (I used hot-pressed but any will do), I cut out flowers with their stems using one of the dies in the Eclectic Garden set and extra flowers with the circle of flowers die. While I was at it, I cut out some flowers from a piece of Neenah 110lb. white card stock. This gave me enough flowers to make a full bouquet.
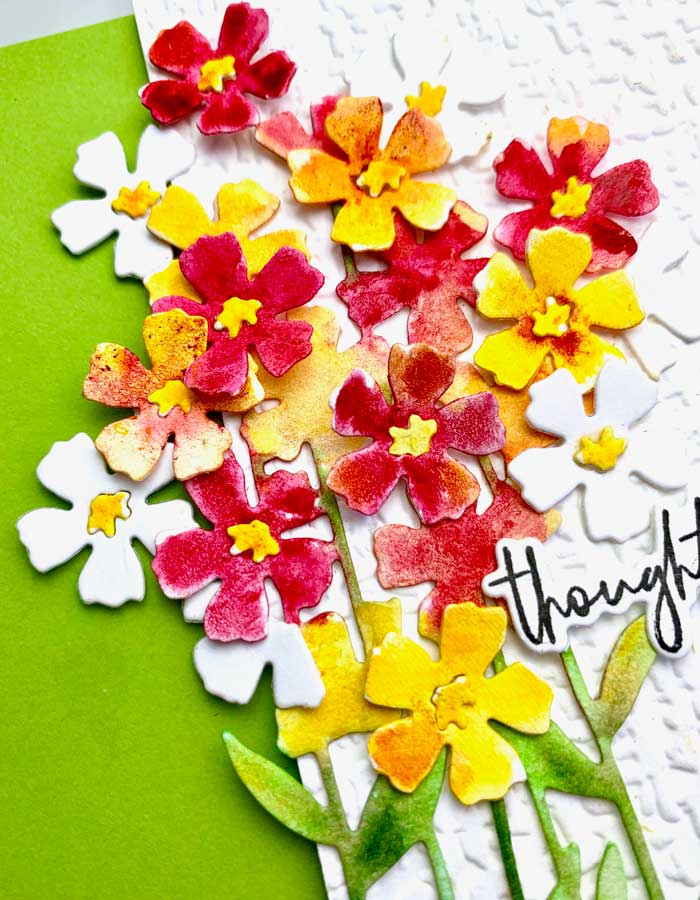
With the white card stock flowers aside, I laid out all the flowers, stems, and leaves I cut out of watercolor paper onto my glass mat. With a very wet brush, I brushed water onto every piece. I wanted them good and wet. Then, using the Dr. Ph. Martin Hydrus Gambage and the Deep Red Rose respectively, I dropped a tiny droplet of paint onto each flower and spread it around with my brush. I used the Hydrus watercolors because they are soooo vibrant and all that brilliance was transferred to the flowers.
For the stems, I used the very versatile Karin markers (I love these markers!). A green marker made it easy to color the thin stems, especially in-between the flowers!
With all the coloring done, I laid out all the flowers and leaves onto a paper towel and let them dry.
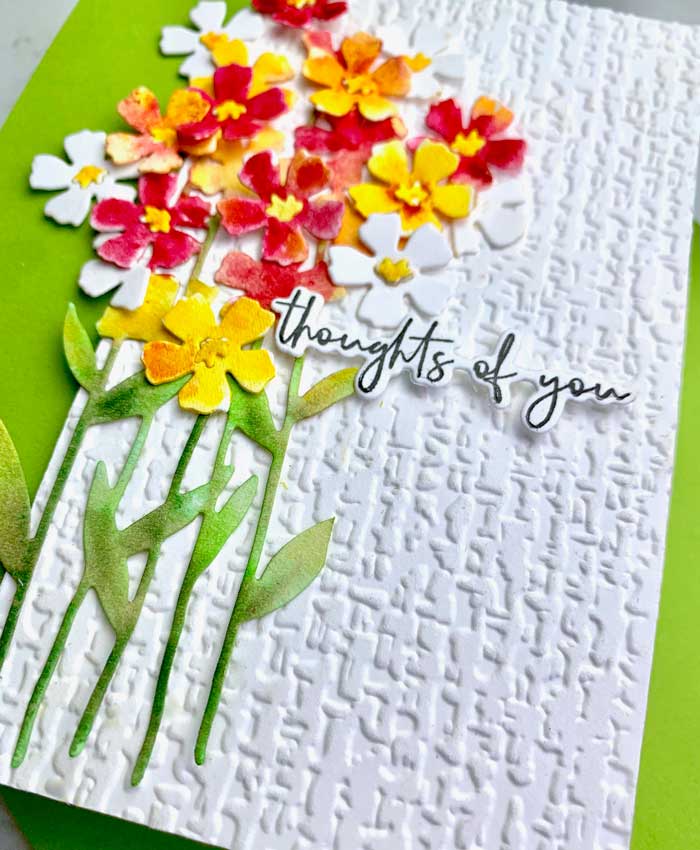
While I was waiting for the paint to dry, I got out my stash of sentiments I had previously cut out and stamped. I have fallen in love with the sentiments that are cut around the letters like they are in the Papertrey Ink – Ink To Paper Effortless Beauty stamp and die set. This set has a few sentiments like this and I cut out and stamp a bunch of them so I have them around for moments like this!
Once the flowers were dry, it was time to assemble. I glued down the flowers and leaves, then started to arrange each separate flower. Using a glue dot on the back of each loose flower, I pressed them into place, and gently curved up the petals, then added the sentiment with a few more glue dots.
And there we have it… all done! I hope you enjoyed it! ♥
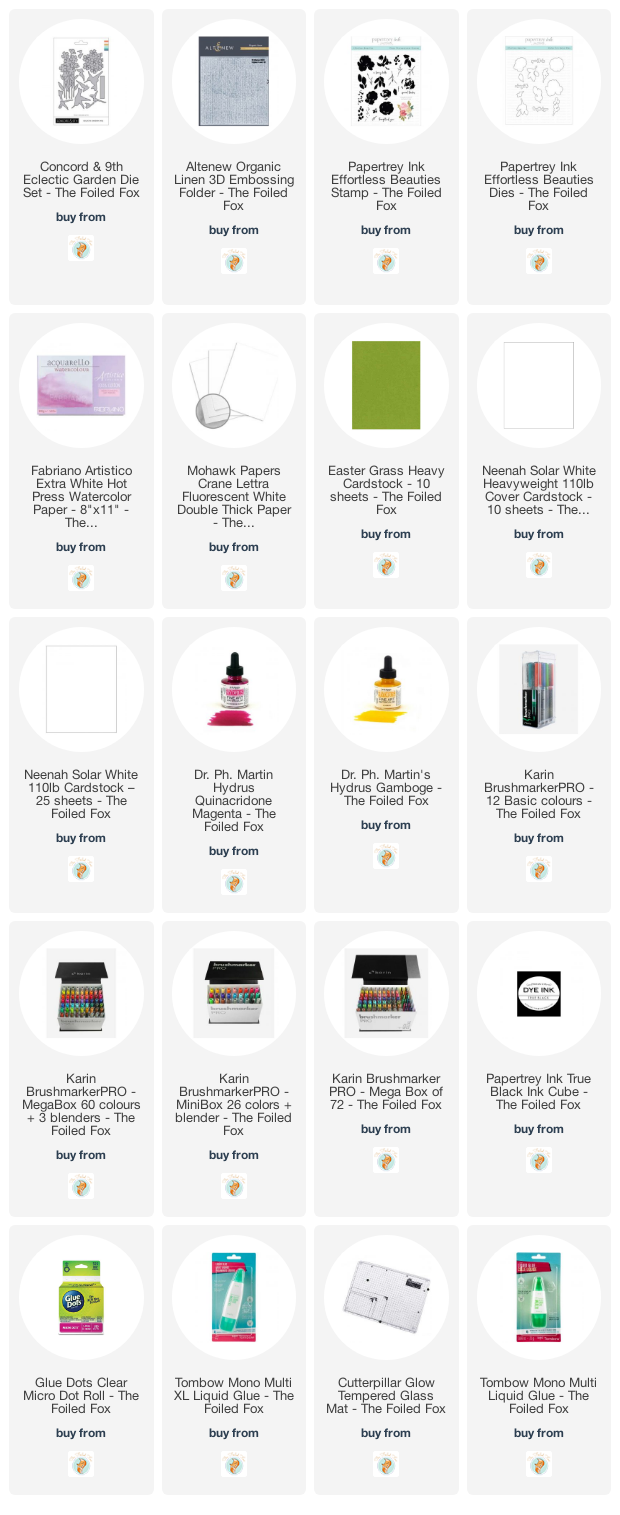
Goodies Used: