Awesome Radiant Bloom and New Alcohol Inks
Hi Crafty Friends,
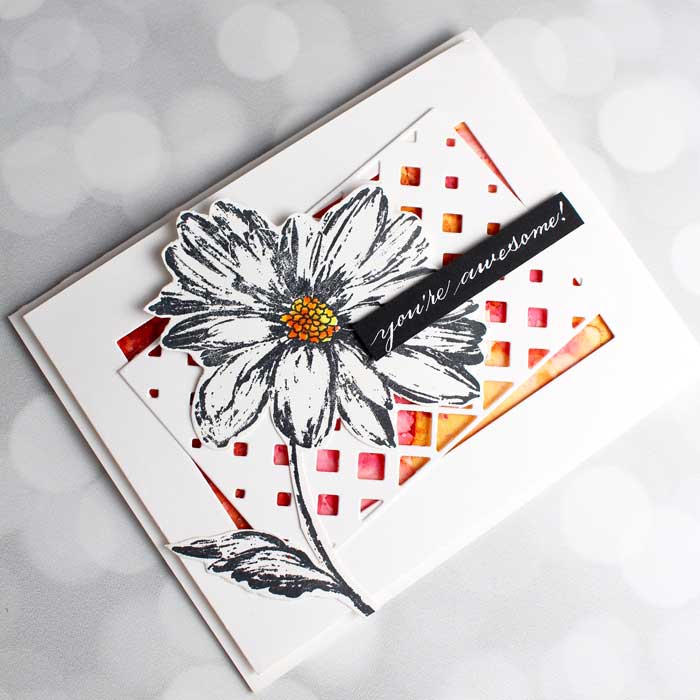
I am just popping in real quick to send you a greeting. This one is for you, our readers, ‘cuz you’re AWESOME! The card design uses a few new stamps and dies from the new release by Penny Black. The big sketchy flower stamp, Radiant, is perfect for being the center of attention and the Diamond Cut die creates a wonderful backdrop!
Oh, and don’t miss tomorrow’s post when we feature a suite of gorgeous designs by Heather Telford, an amazing talent and artist.
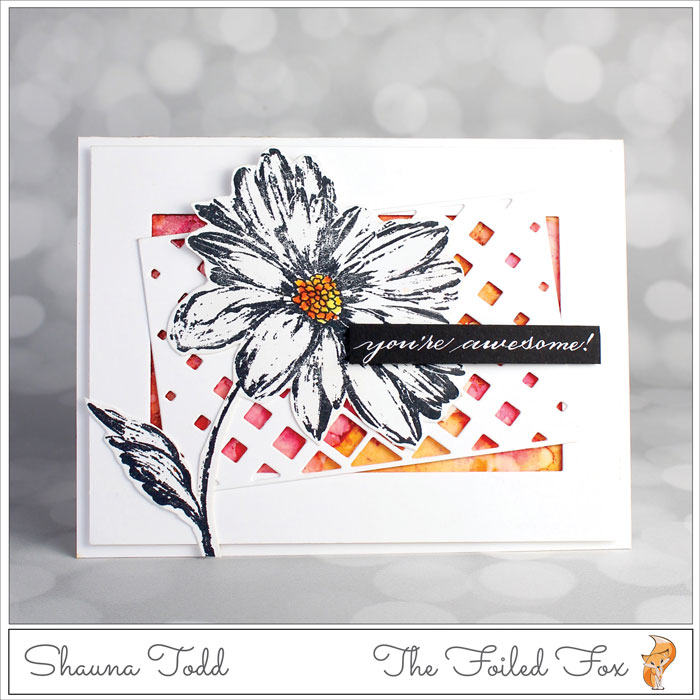
This is a quick card design with big impact. I started with the Radiant cling stamp by Penny Black by mounting it in my MISTI so I could stamp it a few times for a good impression. I used black Versafine ink on Neenah white 110lb. card stock. After I was satisfied with the stamping, I colored the center of the flower using a few Copic marker colors (Y06, Y17, and YR07). The flower was then cut out using the matching die.
Since I was already cutting the flower out, I centered the Diamond Cut die on an A2 panel (4.25″ x 5.5″) of Neenah white card stock and ran it through my die cutting machine. I then set it aside while I created a background to add a little color.
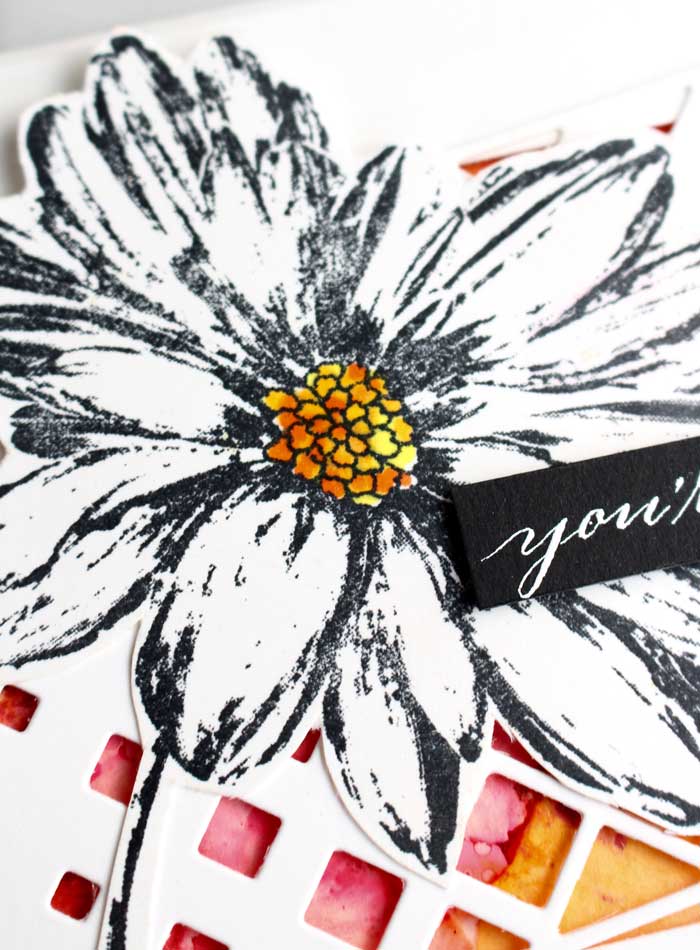
I was intrigued by the new Tim Holtz pearl alcohol inks so I thought I would give them a test run. With a piece of Yupo paper, I first splattered some alcohol blending solution onto a piece of Yupo paper. After the inks were well mixed (and before the alcohol evaporates off the paper), I dropped random bits of color and then splattered more blending solution using a brush. Since these new pearl alcohol inks have mica in them they don’t blend and spread quite as much as the regular alcohol inks so I also added a few drops of pink and yellow regular alcohol inks for brightness and contrast.
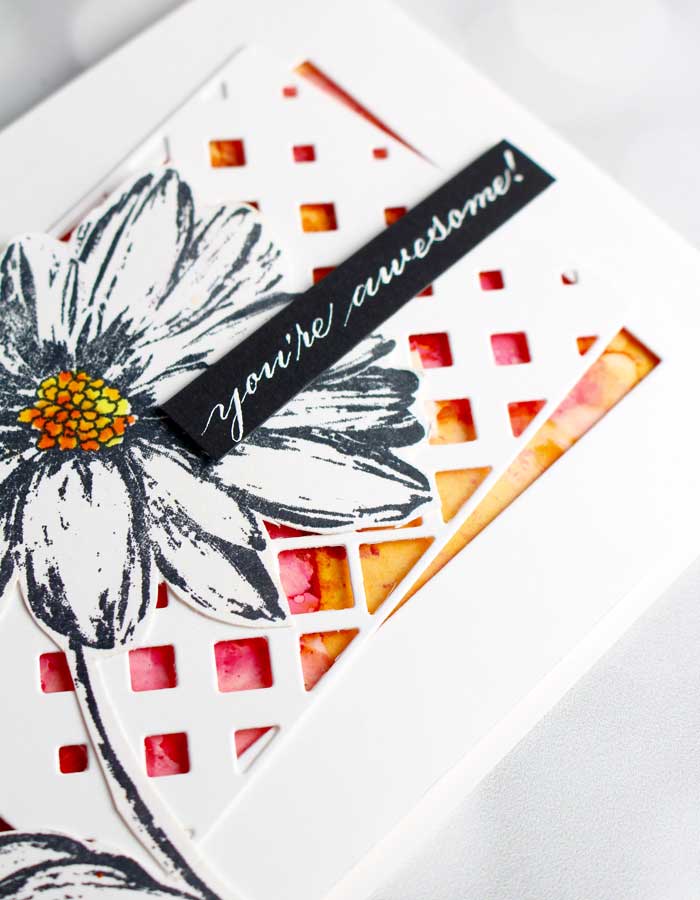
While the inks were drying (it just takes a minute), I readied a white card base slightly larger than the white frame. I then added foam tape to the back of the white frame and also tiny slivers of foam tape on a few of the center sections of the diamond cut-out.
The alcohol-inked panel was trimmed to a slightly smaller size than the frame. Then, I placed the frame over the colored panel after removing the release paper. Next, I adhered the frame and background to the front of the card base. I added a little tape to the corners of the center diamond cutout, peeled off the release paper on the slivers of foam tape and mounted it askew over the frame and background.
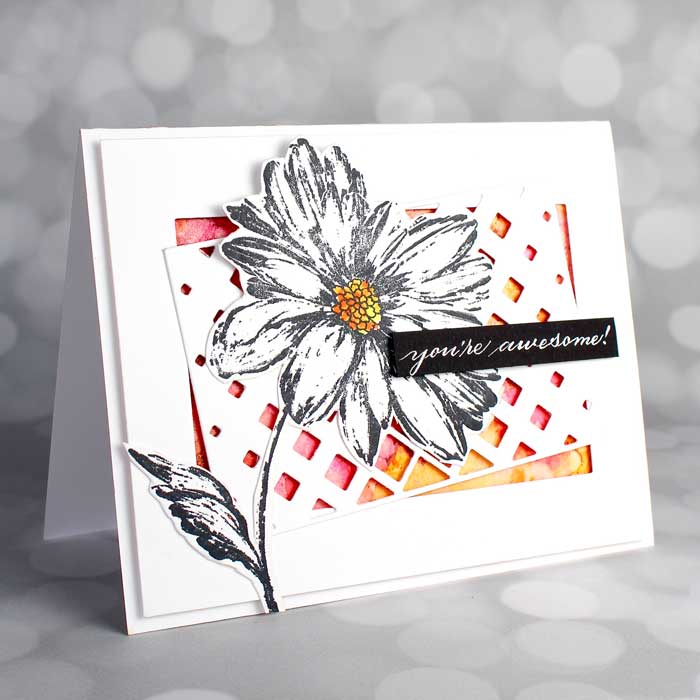
The only thing left to do was to mount the flower and the sentiment. So, with a bit of foam tape on the back of flower and glue on the leaf and stem, I pressed it into position.
I like to squeeze in a little hand-lettering when I can so I hand-lettered the “You’re Awesome” sentiment using Dr. Ph. Martin Bleedproof White ink on black cardstock. Of course, if hand-lettering isn’t your bag, then find the sentiment that strikes your fancy and use that by stamping it onto black card stock and heat embossing it with white embossing powder.
With the sentiment strip mounted, that was all there was to it to finish the card. I hope you enjoyed this quick design. Stay tuned for Heather tomorrow!

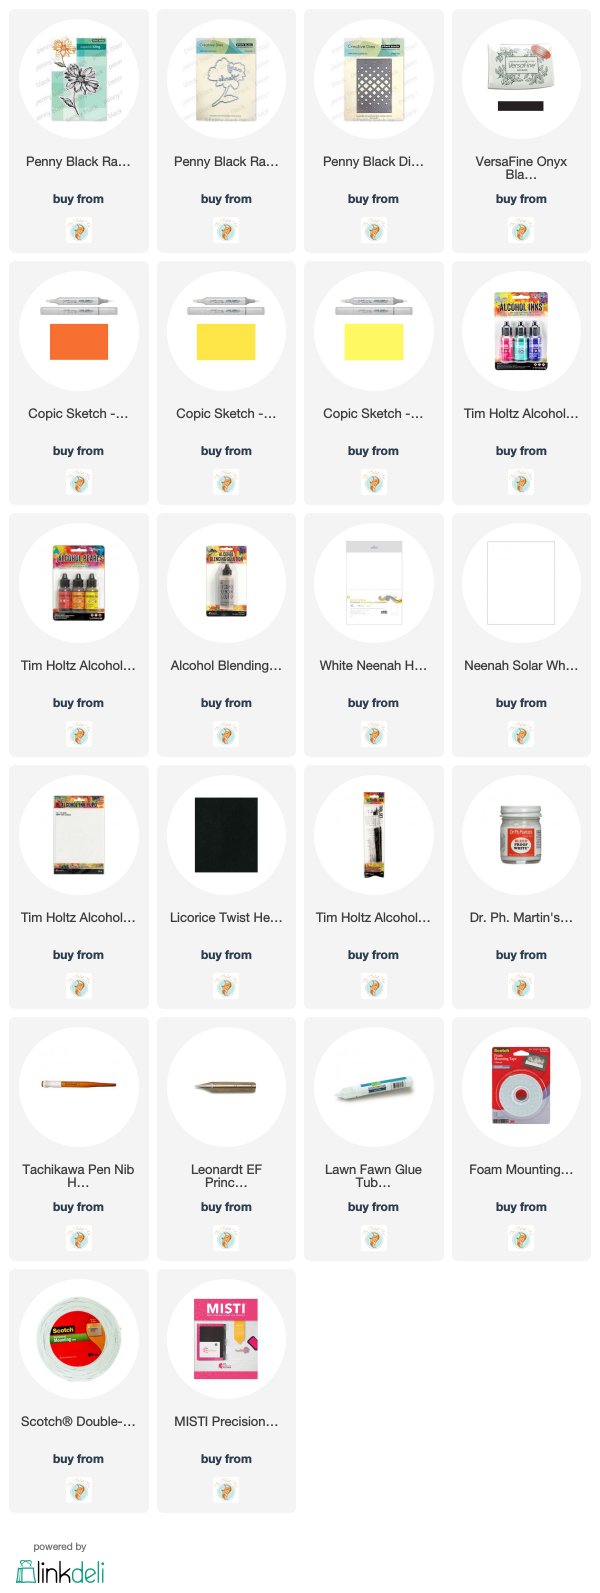
Goodies Used:
Sorry, the comment form is closed at this time.


February 27, 2019
Suzy
I love how unusual the combination of the diamond cut die with the “feathery” petals on the flower. THE VIBRANT COLORS OF THE BACKGROUND BRING THE FLOWER TO LIFE. the added touch of color for the flower’s center ensures deliver of an impactful message.
well done.