Beautiful Mixed Blooms
Hello, my sweet creative friends,
Today I am sharing a project that is bursting with flowers, perfect for wishing someone a happy birthday! I had so much fun making this card! I used the charming Mixed Blooms by Pinkfresh Studio. You have lots of versatility with Mixed Blooms. You can use the stamp alone, stencils alone, or together, whatever your pleasure!
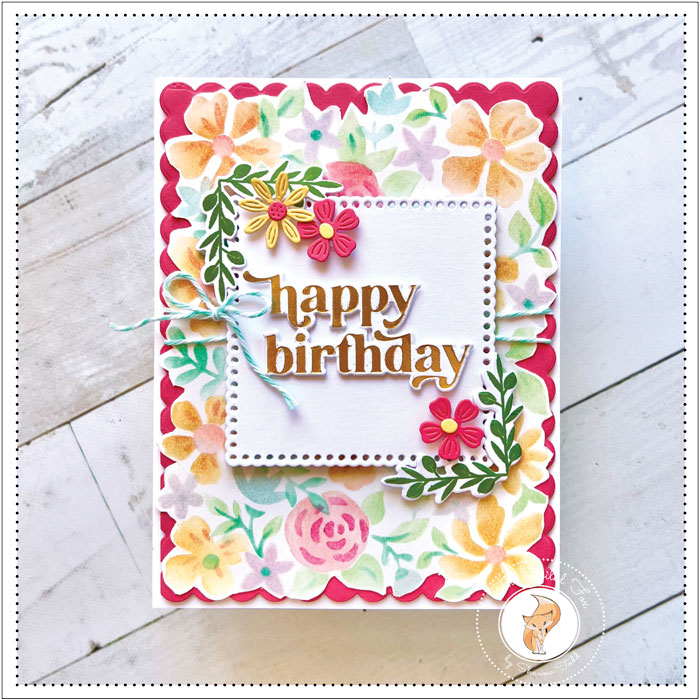
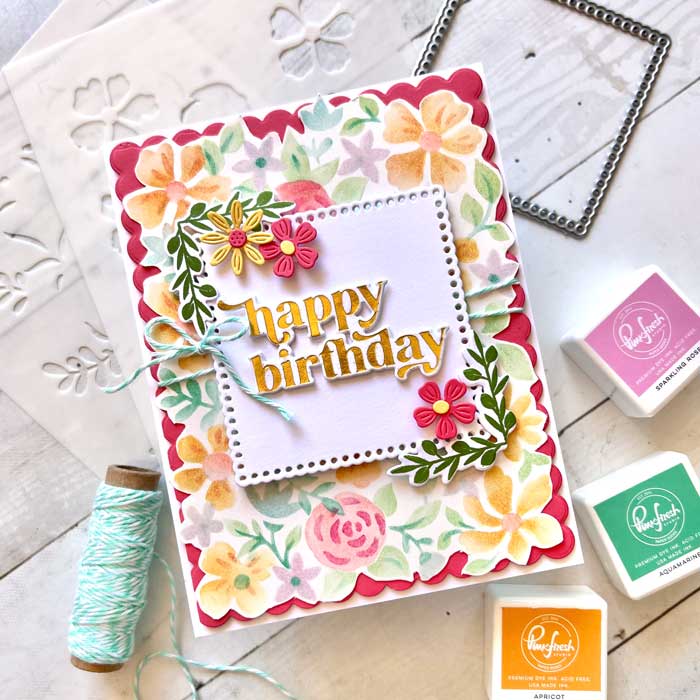
It all started by creating a floral background. I used a mix of Pinkfresh Studio ink cubes and a Bristol paper panel. I love their color palette. It is so bright and cheery!
You can either use the stamp and color it yourself or follow along with the 5 layering stencils in the stencil set, or of course, you can just use the stencils. Whatever method you use, you get a wonderful floral background.
Once I was finished coloring, I fussy cut around the edges. If you don’t have a nice pair of detail scissors, Spellbinders has an awesome new one. I added it to the supply list below in case you are interested.
Next, I cut out a Candy Heart pink cardstock panel using the Lawn Fawn Scalloped Rectangles. I stacked the floral background and this scalloped one together, then added a foam backing to pop it up.
Some twine was wrapped around the middle, then the whole thing was added to a white card stock card base.

A pierced white card stock square was cut using the Love To Layer: Squares by Papertrey Ink and a thin piece of foam was added to the back. It was then stacked on top of the floral background.
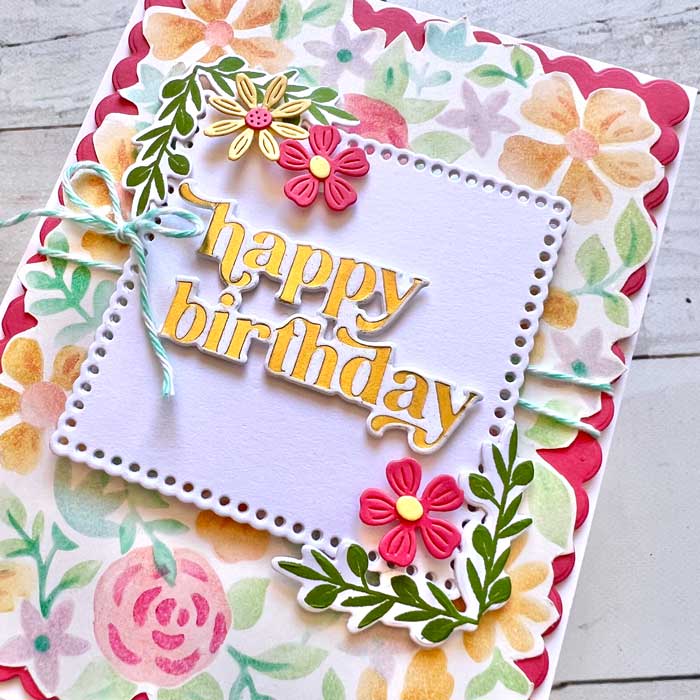
To add some embellishment to the white square, I stamped and cut out leafy corners using the Corner Decor stamp and die set by Papertrey Ink. I also cut out a few flowers using some scraps of color cardstock and the Mini Blooms set by Spellbinders.
For the sentiment, I brought out my Spellbinders Glimmer system and hot foiled in gold “Happy Birthday” from the Pinkfresh Studio Perfect Sentiments hot foil plate. It was then cut it out using the matching die.
With all the pieces done, I mounted the leafy corners with a few small foam squares, then added the flowers and sentiment.
I was all done and happy with the result… I hope you were too! ♥
Goodies Used: