Birthday Celebration
Hi Everyone,
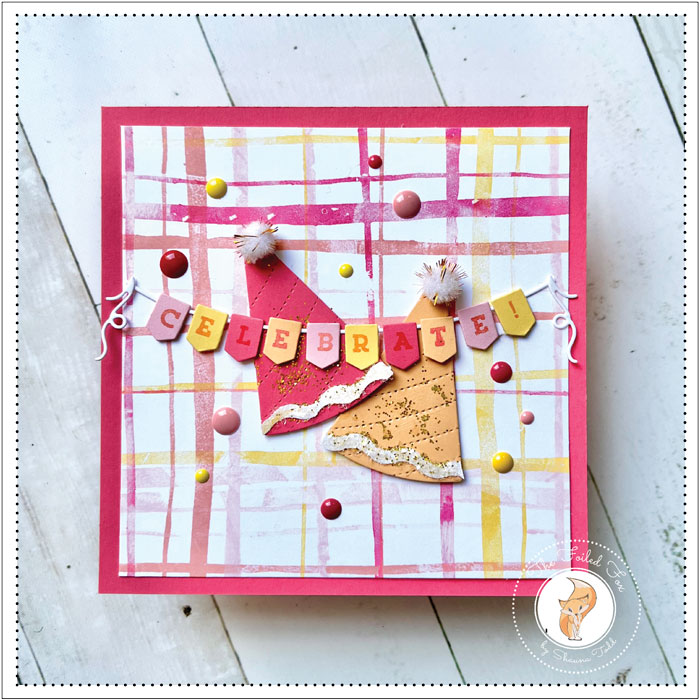
Last time we shared a delightful Hello Friend card featuring a colorful plaid background made using Concord & 9th’s Markered Turnabout. Well, we loved that background so much, we couldn’t stop at just one card design. This time we used cheery pinks and yellows and made a fun birthday card. We also used the new, very clever, Bitty Banners stamp and die set.
Let’s kick things off by creating the plaid background. Using a 5.75″ square white cardstock card panel mounted in our stamp positioner, and the Markered Turnabout stamp centered over top, we first stamped using Honeysuckle ink (see supply list), rotated the paper one-quarter turn, stamped using Ballet Slipper. We repeated these steps two more times, each time using a different color ink. For these last two rotations and stamping, we used Grapefruit and Buttercup inks. All these inks are from the awesome Concord & 9th ink collection.
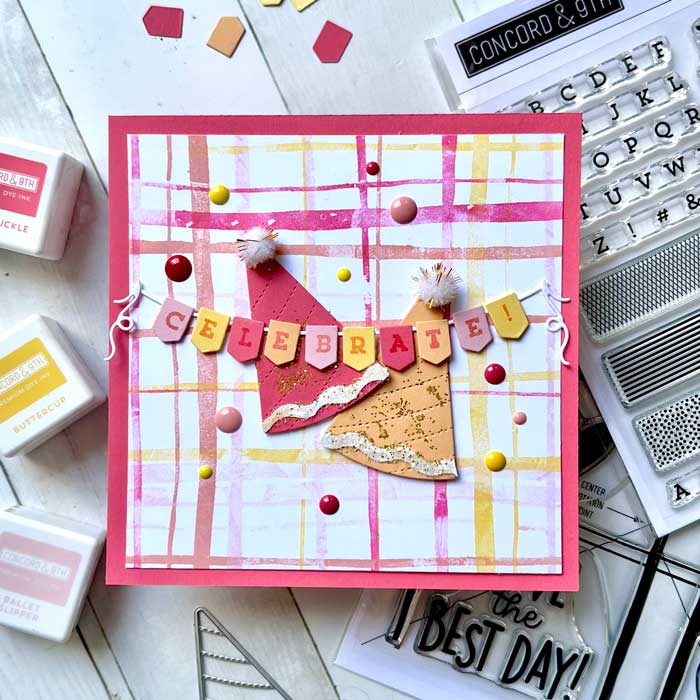
Next, we cut out some party hats and different colored Bitty Banners. All the papers used were from the Concord & 9th Assorted Cardstock pack. In the pack are all the colors that coordinate perfectly with their inks. With matching inks and papers, it makes it super easy to mix and match!
To stamp the letters on the banners, we used the coordinating Bitty Banners stamp set. The way these stamps were designed was brilliant! It makes quick work when stamping the letters. To make it even easier, we mounted the negative strip of cardstock in our stamp positioner, added the banner pieces into the empty banner slots, and stamped. Next, we removed the stamped banner pieces, replaced them with new ones, and stamped them with a different strip of letters until we had all the letters we needed.
While getting ready to assemble, we cut out the banner ‘string’ and ends using white card stock and cut a squiggly piece of white cardstock using the decorative scissors for the party hats (if you want to see these scissors in action, check out this video).
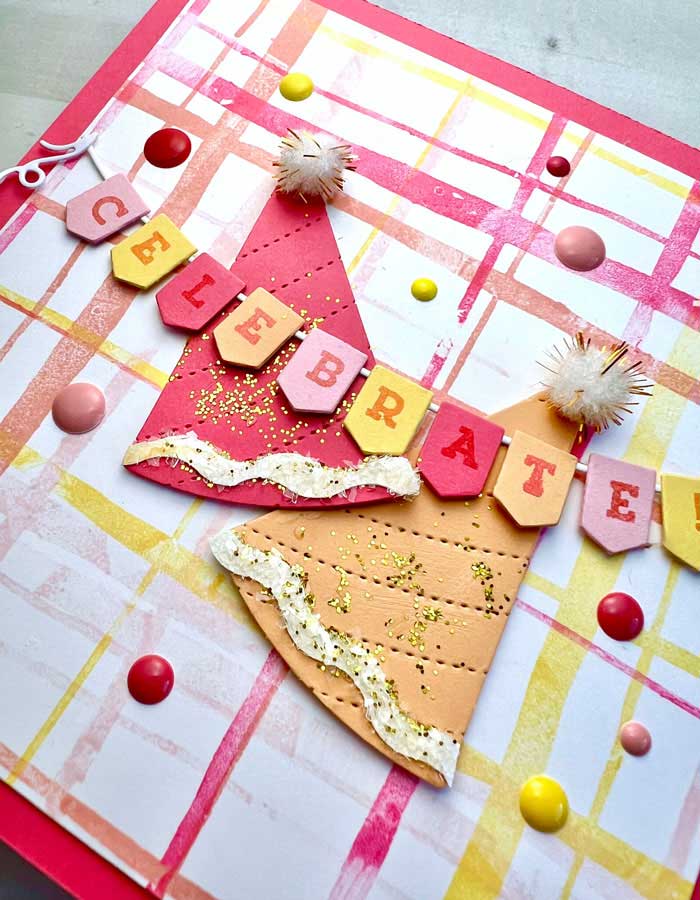
To put everything together, we trimmed the plaid paper and mounted it onto a square piece of matching cardstock, then mounted the party hats that had been decorated with the squiggly strip, a little glitter, and a pompom at the top.
The celebrate banner pieces were mounted onto the banner string, then mounted on top of the party hats. The whole decorate panel was added to a white cardstock card base and a few enamel dots were added to finish our festive card!
We had a blast making this card. We hope you will give it a try! ♥
Goodies Used: