Boo! A Ghostly Halloween House
Hi Creative Friends,
Pretty Pink Posh has a brand new release out and it is super fun!! So, I couldn’t go without sharing a project featuring a card design from the ‘new’ pile of goodies.
The first one I grabbed was the ghostly Halloween House die. I fell in love with it and it is complete with all the makings of a proper haunted house! Then, after I have included all the steps for the making of it, I added a few more projects from the Pretty Pink Posh design staff to get the creative juices flowing!
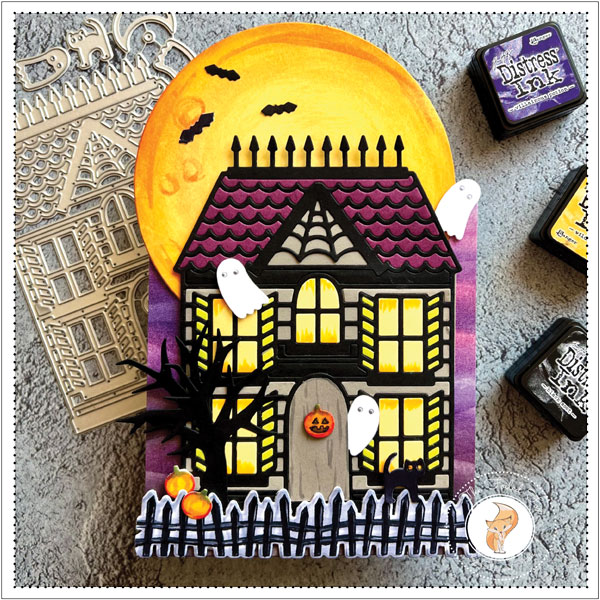
Creating the Haunted House is super easy! The Halloween House die does all the work for you! All I had to do was to gather the colors of colored card stock needed and started die-cutting!
I started with a heavy black cardstock like Licorice Twist and cut out the Haunted House, pushing out all the pieces but making sure to save all the pieces. Then, with a dark grey piece of cardstock, I traced around the house cut-out, then fussy cut it out. This will be my base to mount everything on.
So, the next step was to glue the black cut-out Haunted House (be sure all the pieces were pushed out) onto the base. Then, I cnt out the roof section using Mulberry cardstock. From there, it is a bit like doing a jigsaw puzzle. I just started fitting and gluing in the pieces of the roof.
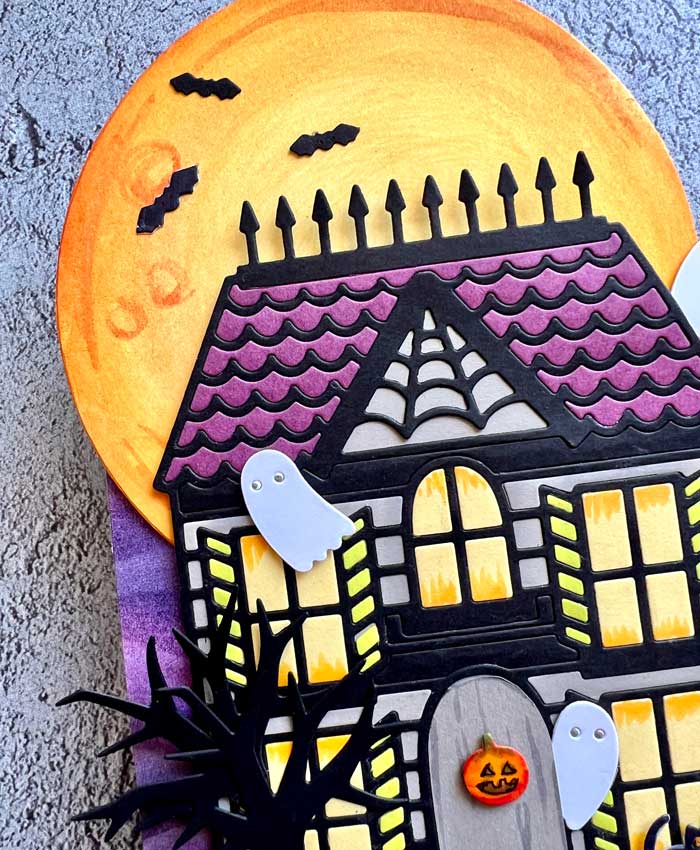
With the roof complete, I continued to cut out all the sections with the appropriate colored cardstock. I used Sticky Note for the windows and Juicy Pear for the shutters. Then, remember I saved the black and grey cardstock pieces so that I could fill in the rest of the house using them.
The house was finished so on to the moon. I cut a 4″ circle from Bristol card stock and blended on a few distress inks. I first used Scattered Straw for my base, then Wild Honey and Crackling Campfire for the edges.
I still needed a card base and something to mount everything on. So, using a white cardstock card base (roughly 4.5″ x 5″ when folded) and the MFT Drifts & Hills stencil, I alternately ink colors and blended on a variety of inks to the front. I used Picked Raspberry, Seedless Preserves, Villainous Potion, and Black Soot. The gentle curves of the stencil create a fun and interesting background.
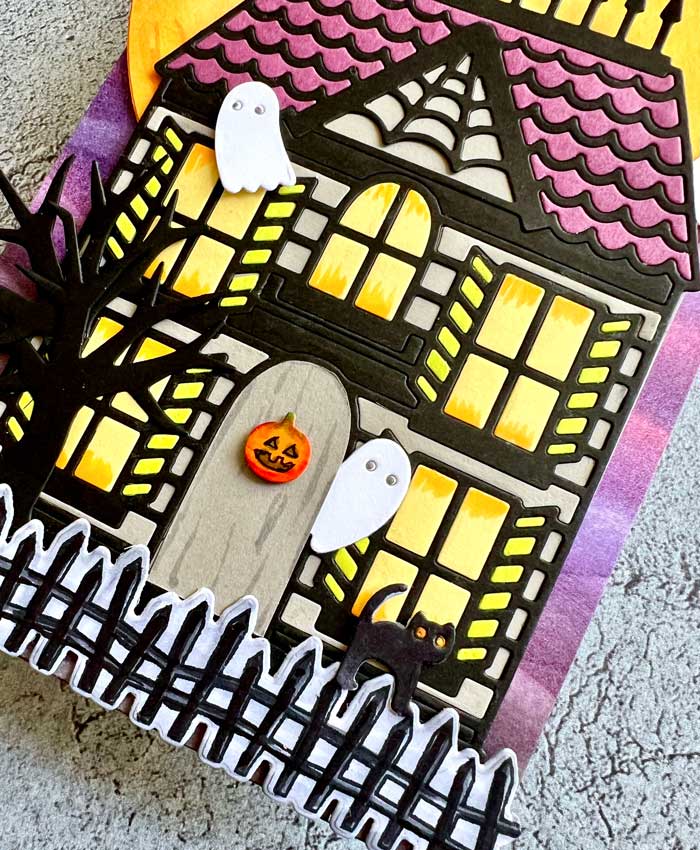
Next, I mounted the moon on the base and the house, backed with foam, to the cardbase. To anchor everything, I stamped and cut out a fence using PPP Halloween Borders, then colored it with a few dark grey markers. The fence was then added to the bottom.
To complete the card, I cut out the black cat, a few ghosts, pumpkins, and bats. They were arranged and mounted here and there.
The final step was to add my black Eerie tree. I actually cut two and trimmed off part of the trunk of one, then layered it behind the remaining complete tree.
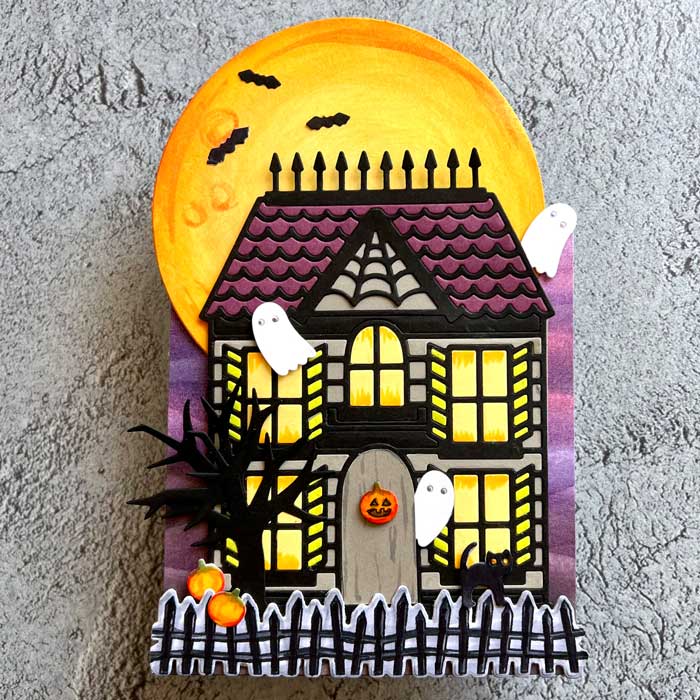
Whew! I was done! I love the results… I hope you like it too! By the way, don’t let all the words it took to describe the steps to make it discourage you. It took way longer to write than make!! ♥
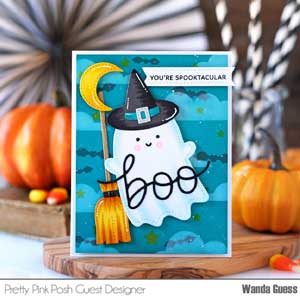
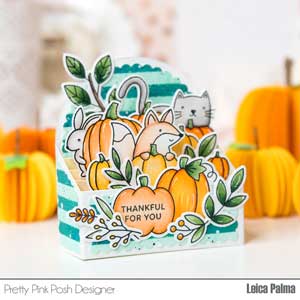
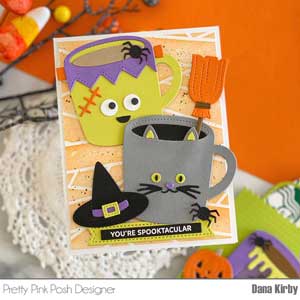
Now, as promised, here are a few awesome projects from the Pretty Pink Posh design staff!

Below is the supply list for the Halloween House project described!

Here is the complete Pretty Pink Posh release in our shop!