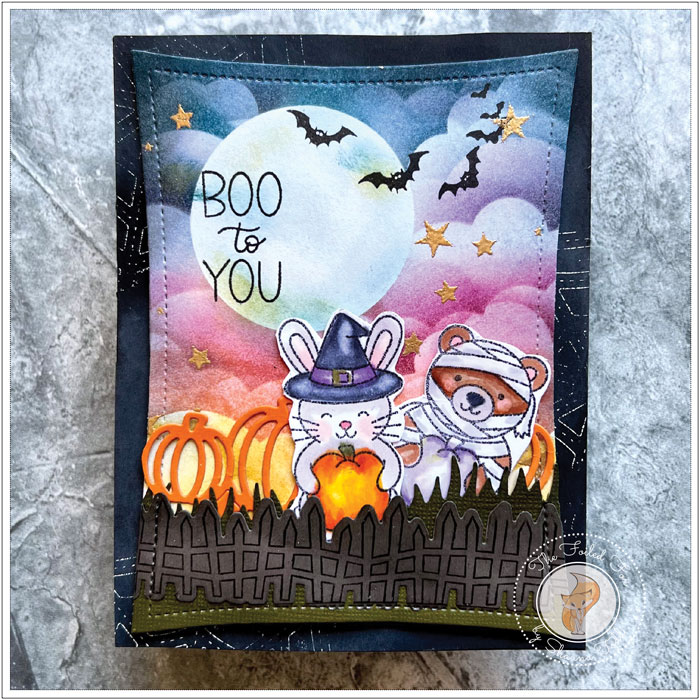
Boo To You
Hi Creative Friends,
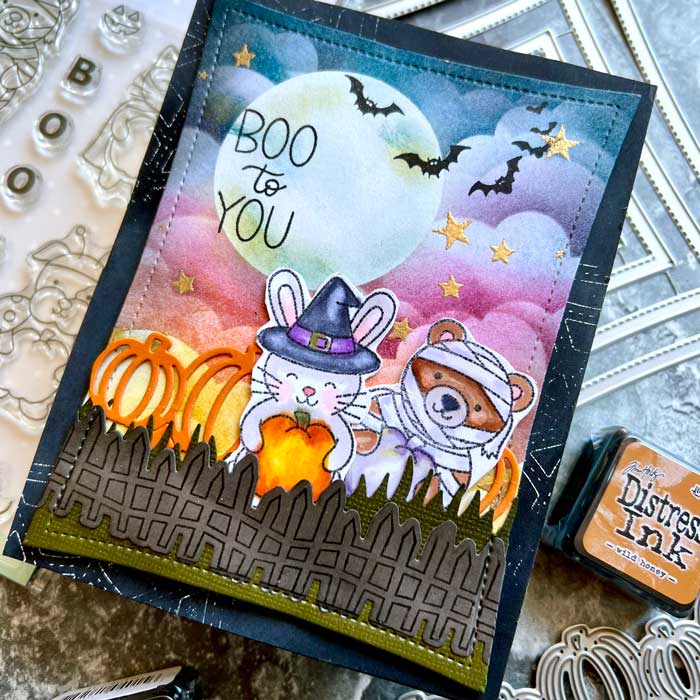
Yippee! There are new Pretty Pink Posh Halloween goodies in our shop. We are showing off a few of the fun stamps, dies, and stencils in today’s projects.

I love making Halloween cards! It is the one time of year when I can use vibrant, crazy colors with complete abandon!
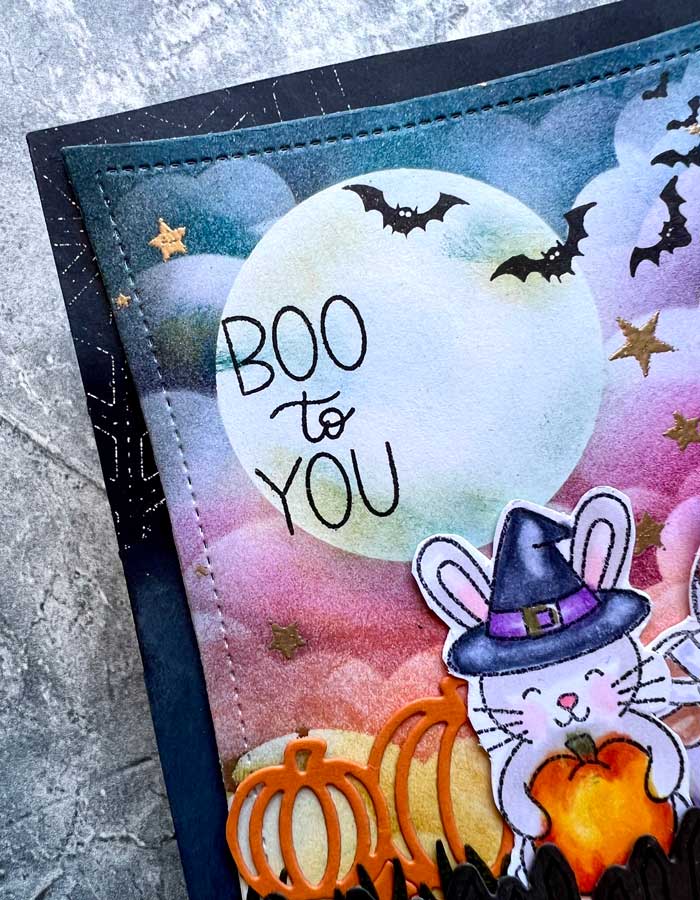
So, with that in mind, I started with a piece of Bristol paper and did some ink blending with a cloud stencil. You can use any cloud stencil you have on hand but I used the MFT Rolling Cloud one. But before I got started, I cut out a circle mask from Stick It masking paper and positioned it on the panel for my moon.
Then, starting at the bottom with the stencil, blending brush, and Wild Honey distress ink, I made a few rows of clouds, then switched to Saltwater Taffy distress ink. Working my way up the panel, the next colors used were Seedless Preserves, then finishing with Uncharted Mariner and a little Black Soot along the corners and edges. The circle mask was removed and a tiny bit of Uncharted Mariner and a tiny dash of Wild Honey were added to the edges of the moon.

To complete the panel, there were three more things left to do. First, using the Starry Background Stencil, I added some stars by blending on Versamark ink through the stencil, then gold heat embossed them. Second, I stamped the Boo To You sentiment (Ghost Friends stamp set) using Versafine Black Onyx (you know I love this ink for a crisp, clean impression). I just had to have bats so my final thing was to stamp (with Versafine Black Onyx ink) a colony of bats (ooh, scary!) using the Penny Black Spooky Fun stamp set (more coming very soon!).
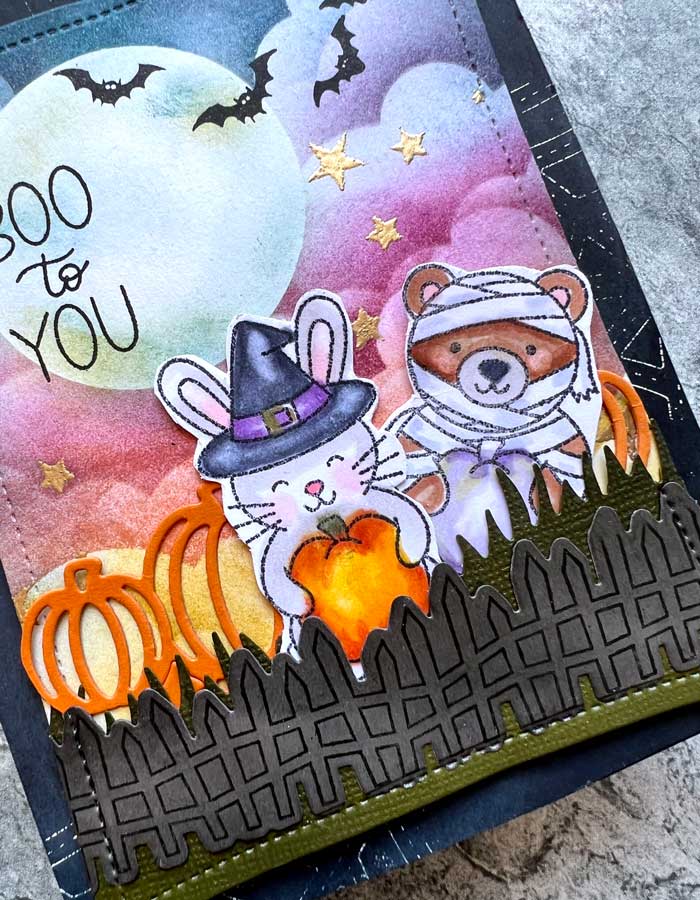
I set the panel aside to dry a minute while I cut a grassy edge out of Ripe Avocado cardstock, then darkened the edges with a little Black Soot. I also cut out, then stamped with Versafine Black Onyx ink a jagged picket fence from the awesome new Pretty Pink Posh Halloween borders stamp and die set and darkened those edges.

Next, I adhered the grass and fence over the cloud panel and cut the whole thing out using the new Wonky Stitched rectangles (see supply list). Now I have a perfectly trimmed adorable panel!
To add to my design, I stamped and colored with Copic markers a couple of critters from the Halloween Critter stamp set, then cut them out using the coordinating die, and placed them in my scene, along with a few pumpkins cut from orange cardstock and the pumpkin border die.
One final touch was to make a background for the scene to be mounted onto. I didn’t want just a plain black background so I stamped with Versamark ink, the Spider Web die (I know, it’s a die, but I am pretending it’s a stamp for now) onto the black panel, then white heat embossed it.

To finish, all I had to do is mount the spider-webbed panel to an A2-sized black card stock card base, then add the critter-filled panel on top.
And there it is… a scary, but fun Halloween card… Boo! ♥


