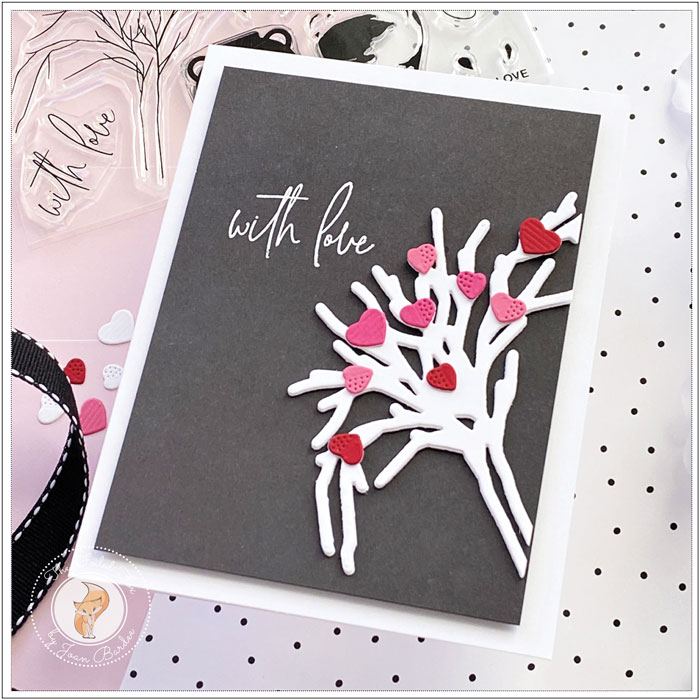
Branches Of Love
Hi Crafty Firends,
It’s a new year and we are starting out with a bang! We are sharing a simply beautiful card design by the very talented, Joan Bardee. We love everything about Joan. She always has fresh, innovative ideas, extending all the way to the awesome name of her blog, Dear Paperlicious.
Today’s project featuring the new Branches of Love stamp and die set by Papertrey Ink, an Ink To Paper collection. Check it out below and be sure to pop off to Joan’s blog too!
Hello! I’m excited to be back sharing a card made with the beautiful Branches of Love stamp and die sets, by Papertrey Ink/Ink to Paper.
A few tips!
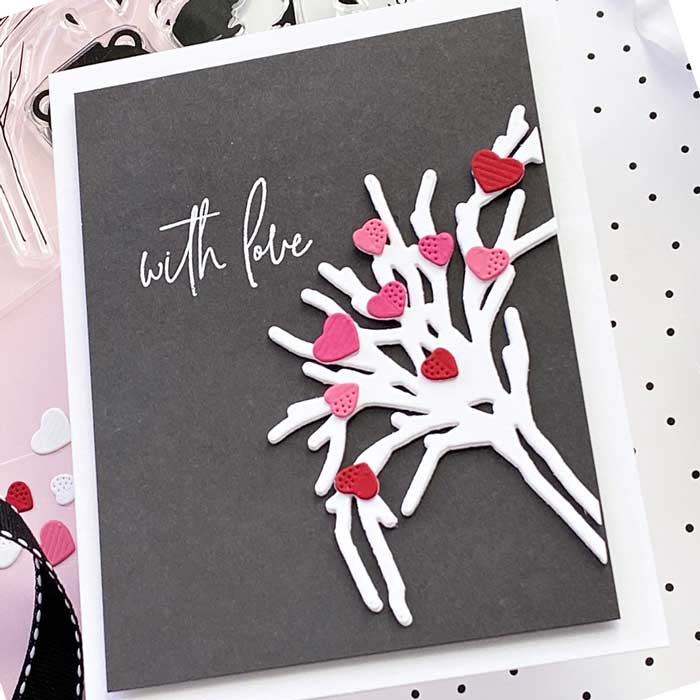
- The stamp set comes with a branch image that fits onto the die cut branches. I wanted a bold graphic look with blocks of solid color, so I did not stamp the branches. However, I tried it out and it worked beautifully. Die cut the branches and place in your MISTI on top of a loop of double-sided low tack tape. Make sure the tape is long enough to extend beyond the edge of the tree so that you can secure the tape with a magnet. Place the stamp on the die cut, lift up, ink, and stamp. I got a good impression first time!
- The contrast between the dark gray cardstock and the white tree with the colorful hearts helps bring this card to life. The gray layer is popped up with foam tape; the branches have 4 layers, and the hearts have 2 layers –all that dimension makes me happy. And, yes, it fits into a standard A2 envelope!
- I never know where to place a sentiment, so I made a mockup of this card with copy paper and figured out where to place the branches and the sentiment before I wasted my good cardstock. (Why did it take 20 years to start doing this??)
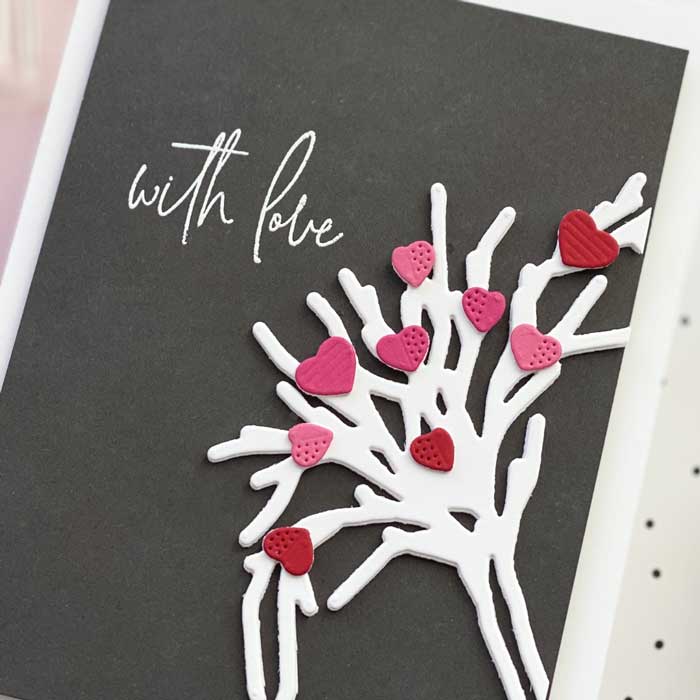
- The four layers of branches are angled against the side of the gray panel to give the card some interest. My paper trimmer doesn’t cut through that many layers of cardstock, so it’s tricky to trim them evenly. I placed one branch at a time on top of the others and hand trimmed with very sharp scissors.
- Made a mistake placing the hearts – did you notice it? I wanted to evenly distribute the colors and placed them on an extra die cut ahead of time, so I would know exactly where each heart should go on each branch. Nevertheless, I ended up putting all 3 Hibiscus Burst hearts together in the middle of the branches. I’m blaming having to stop to cook!
- I’m determined not to lose the tiny stamps and dies that come with so many of my favorite sets. So, I clipped the heart dies as a group – keeping all 4 together.
- I thought about adding shine to the hearts or some embellishments, but I’m glad I didn’t. Sometimes it’s best to just walk away… .
Products Used (the card looks simple, but there’s a lot of product here!):
- Branches of Love stamp set and coordinating dies by Papertrey Ink/Ink to Paper
- PTI Pure Poppy, Hibiscus Burst, Smokey Shadow, and Raspberry Fizz cardstocks
- Hero Arts Unicorn Ink
- Versafine Onyx ink
- Wow Clear Gloss Superfine Embossing Powder
- Scotch Double Sided Foam Mounting Tape (addicted to this stuff)
- Lawn Fawn Glue Tube
- MISTI
- Scor-Buddy Eighths Mini Score Board
- US ArtQuest Goodbye Static
- I Craft Purple Removable Tape
- EK Success Craft Tweezers
- Tim Holtz Non-Stick Micro Serrated Mini Snips 5”
- From my stash: die cut machine, heat gun, white cardstock, bone folder, time, and patience!
Please let me know if you make anything with this set, as I would love to check it out. You can find me on Instagram under Dear Paperlicious or my blog, also Dear Paperlicious.
Learn more about Joan: