Butterfly Bouquet
Hi Creative Friends,
We are having a fabulous time experimenting with the new BetterPress Letterpress system by Spellbinders. We continue to be impressed (no pun intended) with the crisp, deep detail you can get from this simple device! It is simply luxurious and special!
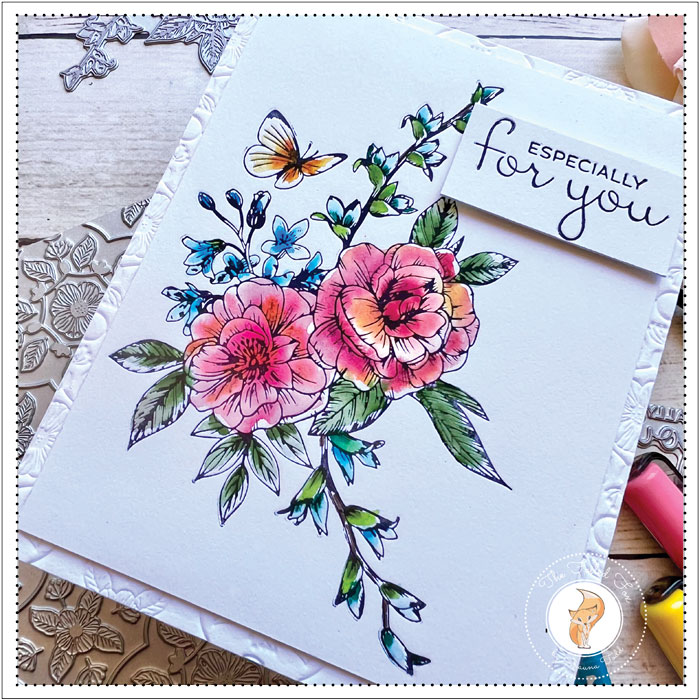
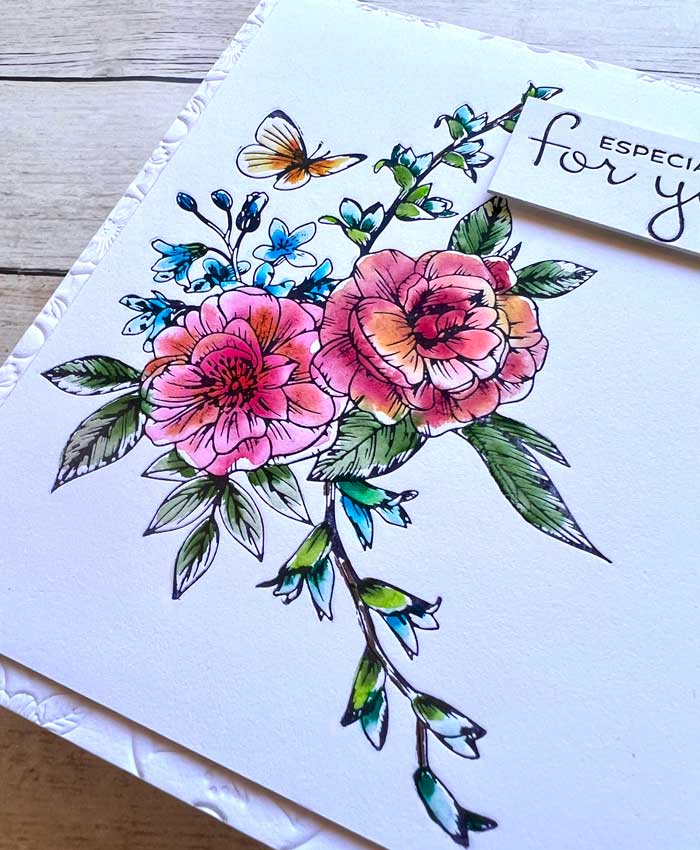
There are so many awesome press plates available already! We used the Butterfly Bouquet and Floral View press plates and black ink, then jumped into watercoloring for this project.
As we mentioned, we are having a blast with this simple new system. We started by making sure we had all three shims under the platen, then mounted the Butterfly Bouquet on the platen. We inked the plate with the Spellbinders BetterPress black ink, mounted the porcelain cotton paper, then ran it through the die-cutting machine. By the way, check out this video to see a full unboxing and instruction.
Now that the image is letterpressed, we started watercoloring. We haven’t brought out our Karin watercolor markers in a while and thought we would give it a try.
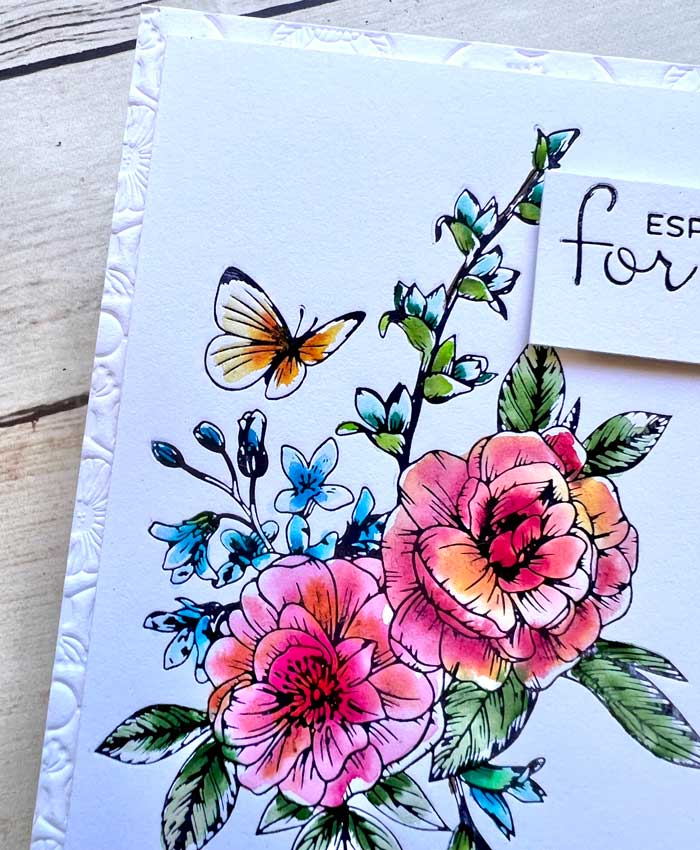
The Karin markers were awesome! We started by applying a layer of water on one of the blossoms, then added a burst of color in the center, then spread the color out with our brush. We used this same method for all the watercoloring. We loved the results and as always, we needed to only use a few markers.
Once all the coloring was done, we letterpressed the sentiment found in the Floral View set. We used black ink, then trimmed it.
Next, using a double-thick piece of letterpress paper that we had on hand (we have more double-thick paper coming soon), we blind letterpressed a 4.5″x5.75″ panel. Hint: In case you haven’t heard the term ‘blind’ in this context before, it simply means mounting the press plate and paper as normal, then running it through the die-cutting machine without using any ink.

With all the pieces done, we began to assemble. You can use a regular cardstock card base or use cotton letterpress paper, whichever works best for you. We love letterpress paper so used that.
From there, we mounted the blind-letterpressed Floral View panel to the front of the card base. The watercolored panel was mounted on top after a foam backing was applied to the back so it would pop up. The sentiment strip was added with a bit of foam tape.
And there we have it, another fun letterpress project under our belt!
We hope you have a chance to try out this wonderful system and its press plates! ♥
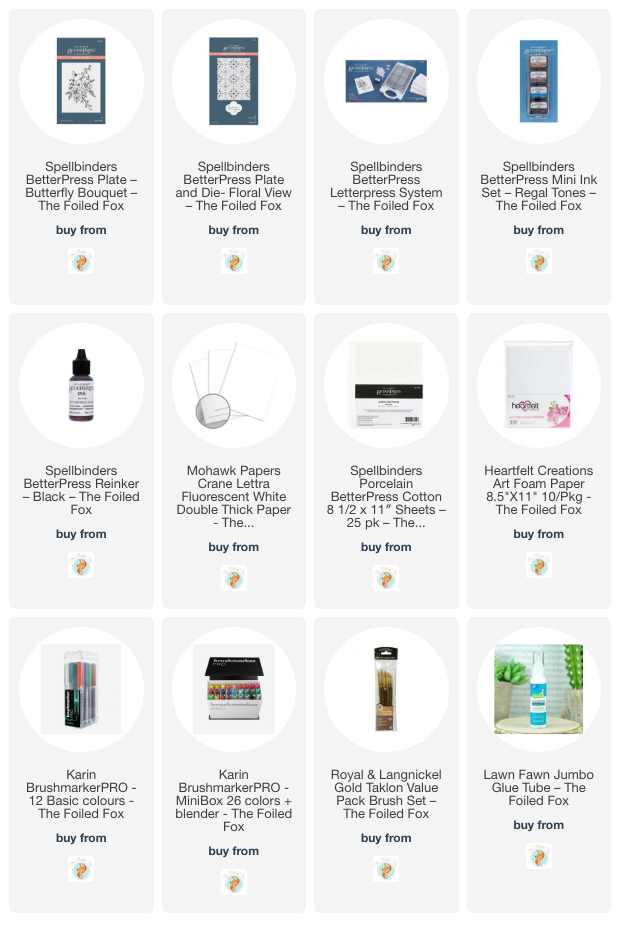
Goodies Used: