Cute As A Bug Christmas
Hi Creative Friends,
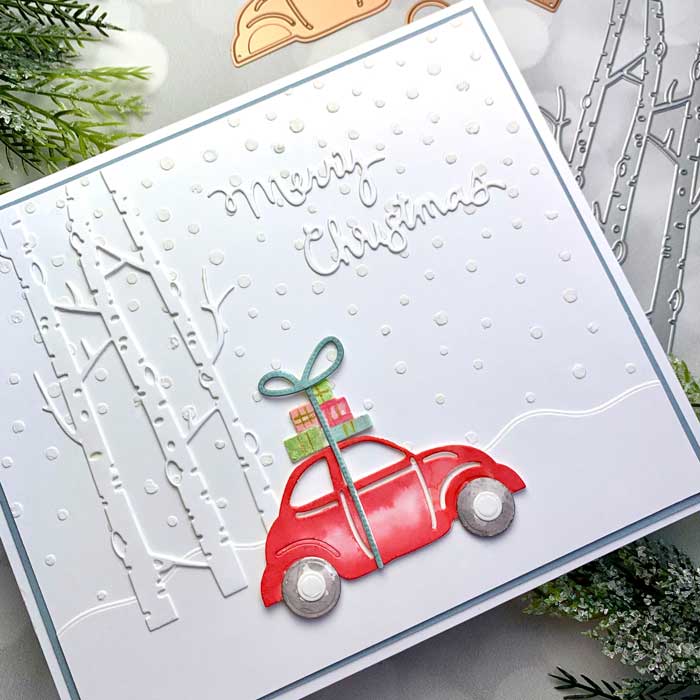
Today I am sharing another cute little red bug-type car in the snow. I am loving the white snowy background and color only on the car and gifts. This is truly a white Christmas!
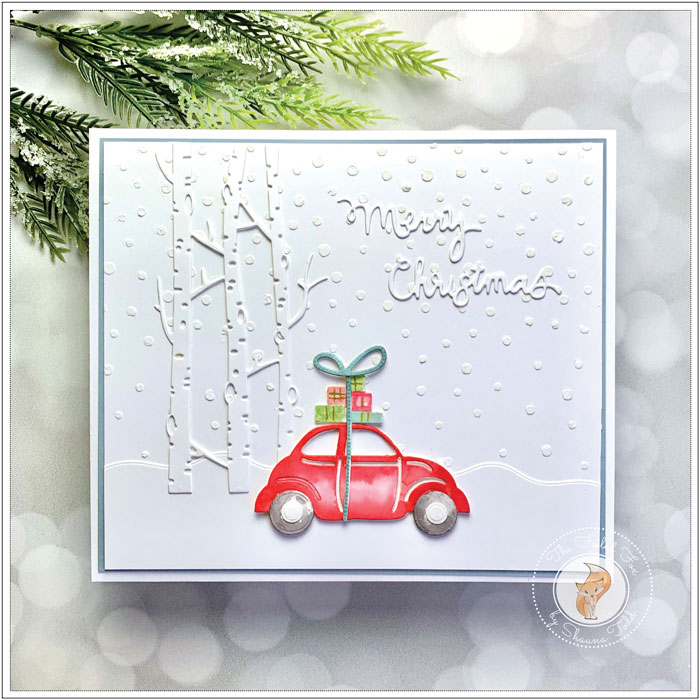
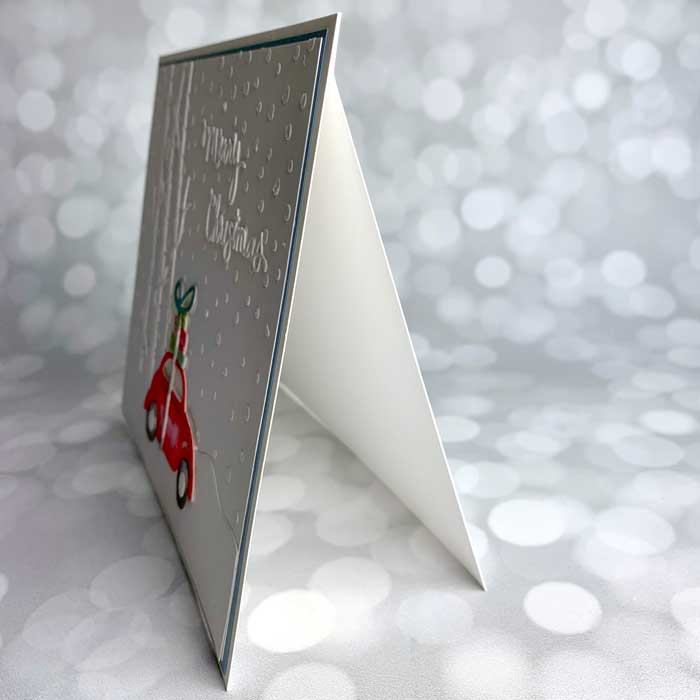
Another thing I am really enjoying is the oversized card. It makes a grand but simple statement.
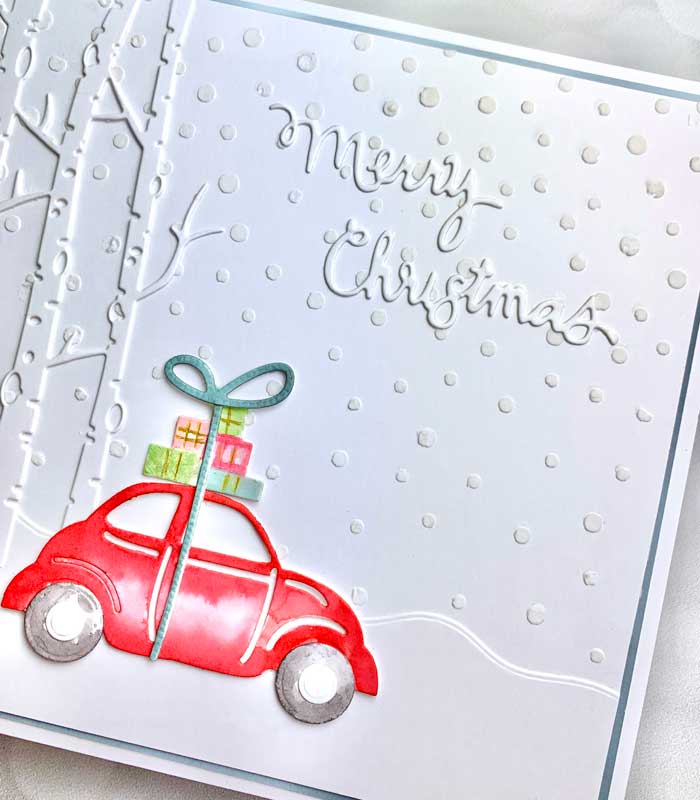
So, I started with a 6″x7″ Neenah white card panel. Using a snow stencil, I laid it over the panel and spread opaque texture paste over top with my palette knife. The stencil I used was the MFT Snowfall but I have listed a few more in the supply list in case you like them more. Since the card panel was large, I had to stencil the snow, let it dry, then move it over and stencil the remaining part of the panel.
While the texture paste was drying, I cut out the birch trees and the Merry Christmas tree from Neenah white card stock, then set them aside. I also cut a strip with a snowbank edge. I used my favorite one for this. It was from the Winter Magic set (see supply list). There are a few snowbanks dies in this set. They are longer than most so they work great for this oversized card, plus each snowbank die has a different profile, but of course, you can use any snowbank you happen to have on hand.
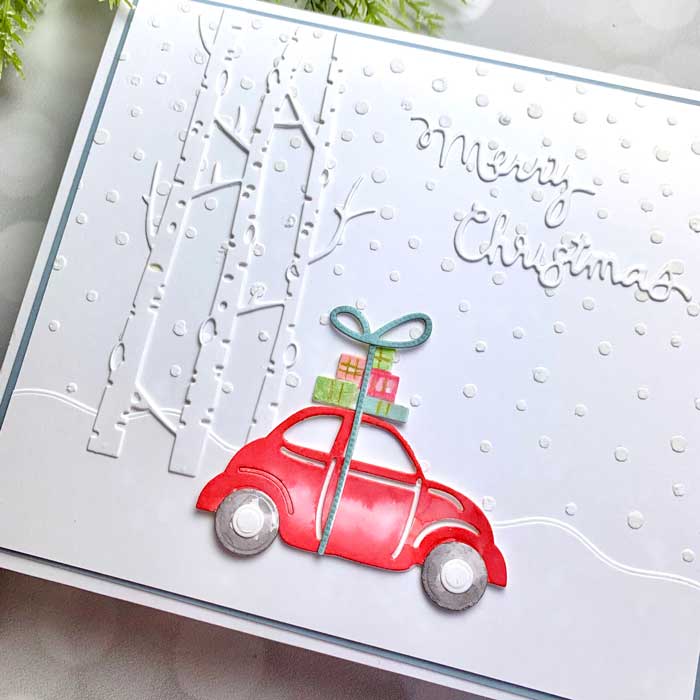
From Bristol paper, I cut out two sets of the car and parts. I used Bristol paper so I could have a white background and still do some light painting. I painted the body of the car with Candied Apple distress ink with a dash of Fired Brick for shading. The wheels were painted with Black Soot.
To color the bundle of packages, I used Papertrey Ink ink cubes. I used Pale Peony, Mint Julep, New Leaf, and Speckled Egg distress ink for the bow and one of the packages. The gifts were trimmed out with a gold pen.
When all was dry, I glued on the snowbank and trees. Next, I glued the second car body to the back of the colored one. This gave a little more thickness and strength, then added the wheels. I did the same thing to the bundle of gifts and the bow.
Now that the car and its parts were done, I glued them onto the panel, along with the Merry Christmas.
The top panel was now complete. To trim it out, I added a slightly larger panel made from Hydrangea cardstock to the back creating a small contrasting border. Then, I cut two even larger white panels, one of which was added to the back of the front.
The second panel was scored and folded 1/2″ from the top. Then, I applied glue to only the 1/2″ tab and adhered it to the back of the card. This created an easel-like back and finished the card design – YAY! ♥
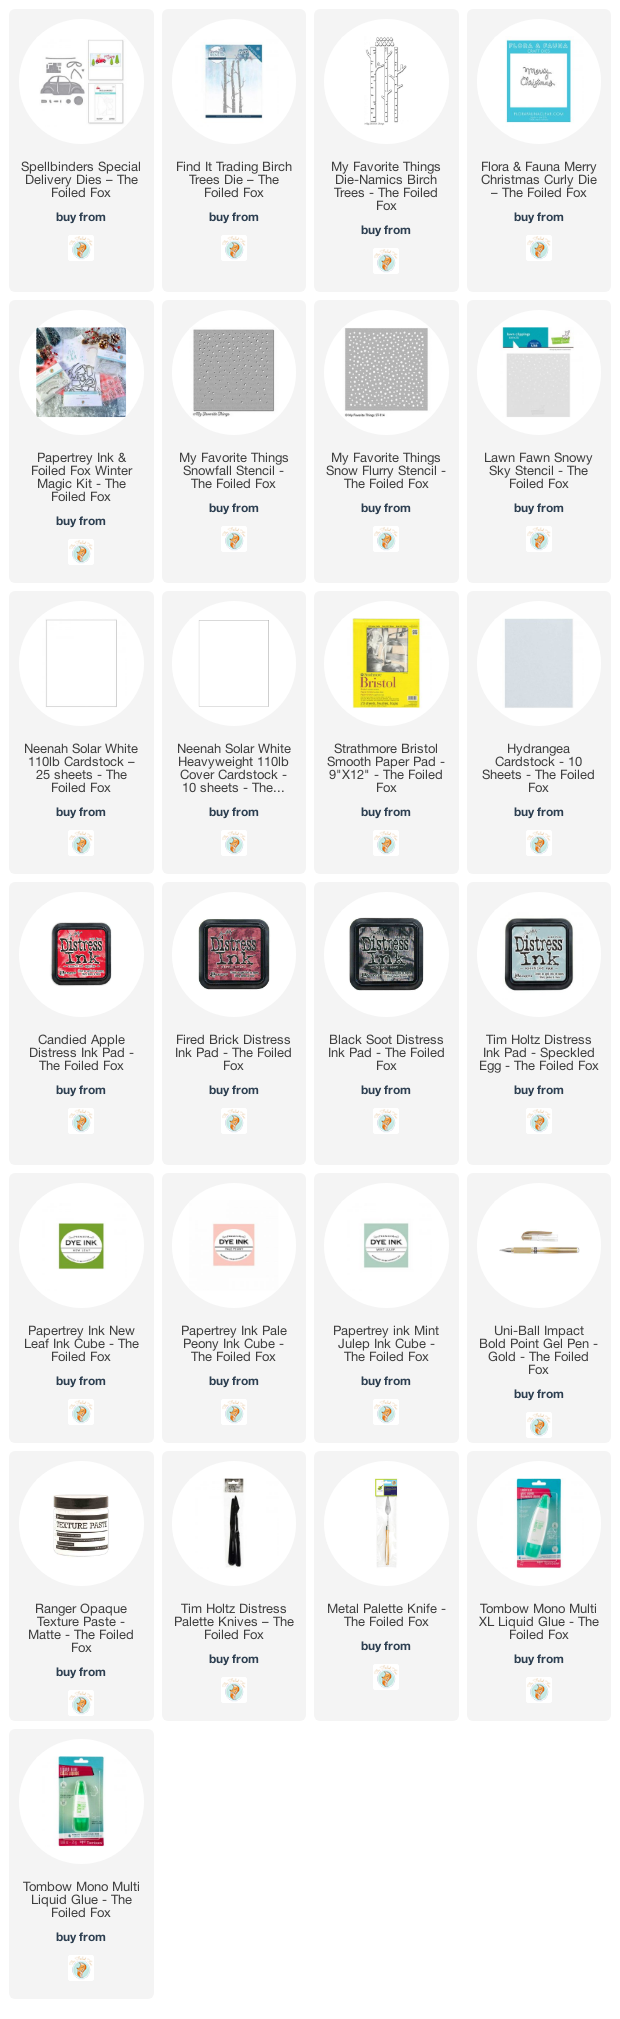
Goodies Used: