Dainty Blooms
Hi Creative Friends,
We hope you all had a terrific holiday and are looking forward to ringing in the new year!
We have a delightful card design featuring dainty little flowers by Spellbinders called Sealed Blooms. They are just so sweet and have wonderful detail!
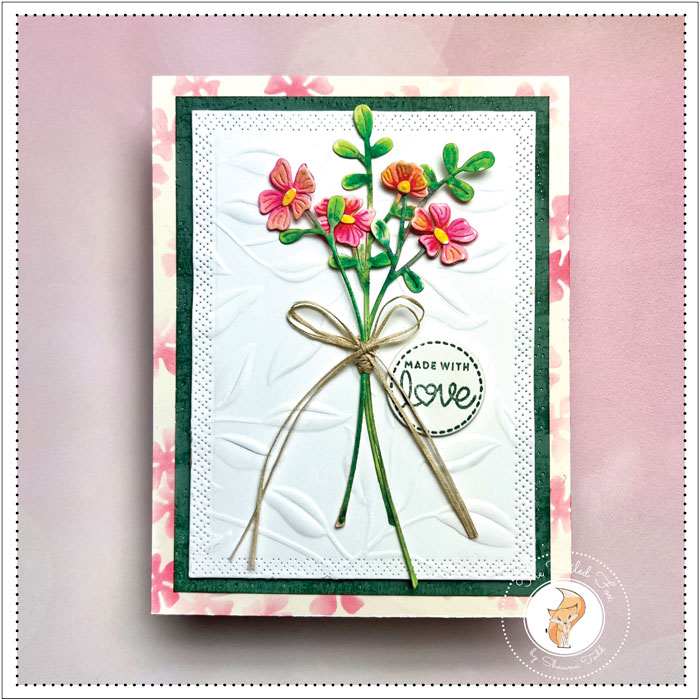
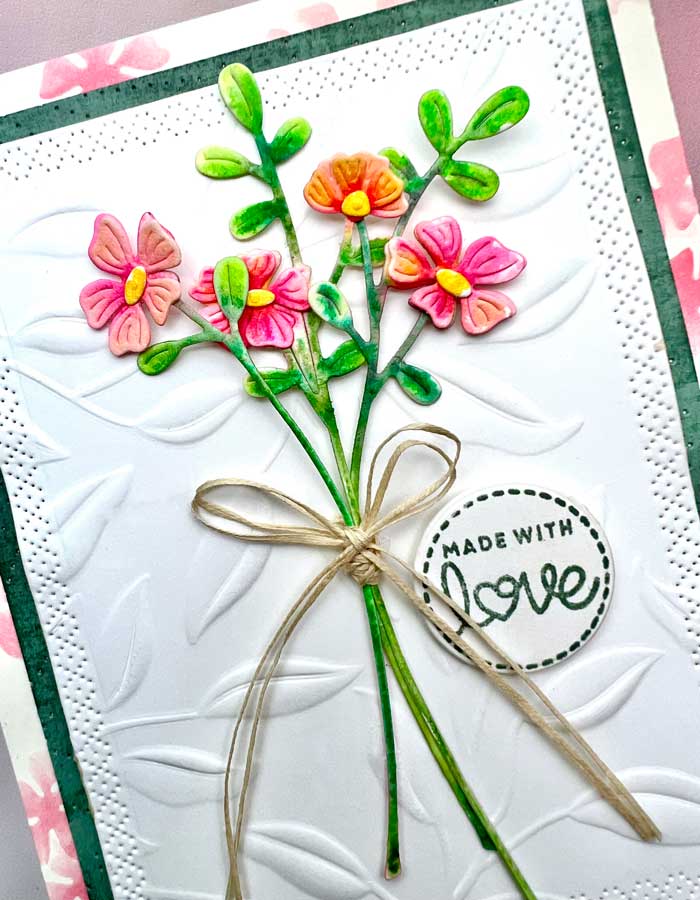
We started with three white cardstock panels. The first panel was embossed using the fabulous Leafy 3D embossing folder by Spellbinders. We were quite impressed with the deep impressions this folder makes.
Then, we cut out a rectangle from all three white panels using Papertrey Ink’s Love To layer: Rectangles. This die was perfect for this as it has a lovely decorative border. They were then stacked and glued together, then set aside.
Next, we cut out the flowers from the Sealed Blooms die set using watercolor paper. The flowers were then spritzed with water and using Karin watercolor markers, we painted them. These markers are fabulous to use and color with. They are bright and vibrant! They are worth giving them a try. But, of course, you can use any watercolors you prefer.
While the flowers were drying, we went on to the next step. We cut an A2 Vintage Cream cardstock panel, then noticed the paper the flowers were cut from left charming little flower outlines. We used this negative area from the flowers to stencil on a few flowers to the panel. We used Worn Lipstick distress ink for this, along with a small blending brush (see supply list below).
For the middle layer of this card design, we used an Ocean Tides cardstock panel and lightly swiped an Ocean Tides ink cube across it for a distressed look, then added the Stitched Florals die and ran it through the die cutting machine. It is a subtle addition, but we really liked it!
We stamped a sentiment using a stamp from the Spellbinders Floral Reflection sentiment stamp set, then cut it out with a small circle die.
Now ready to assemble, we mounted the floral Vintage Cream panel to a white cardstock A2-sized card base. The Ocean Tides panel was next, then the white leafy panels were mounted on top.
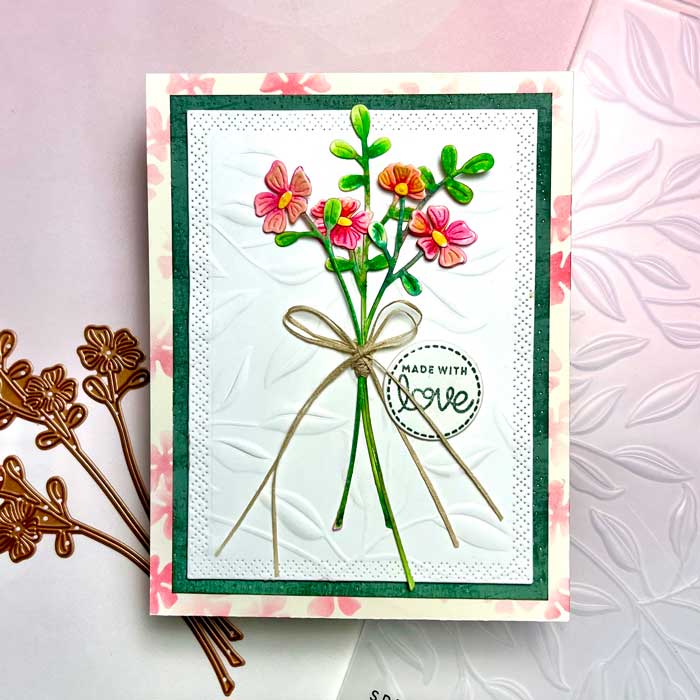
The flowers were gathered, arranged, and tied with twine to create a cute little bunch of flowers. The flowers were then mounted on top of the card base. The separate flower blossoms were mounted on top of the ones with stems for extra dimension, and a twine bow was added. For the final touch, our sentiment circle was added with a foam square.
And there we have it, a sweet card with a sweet sentiment! ♥
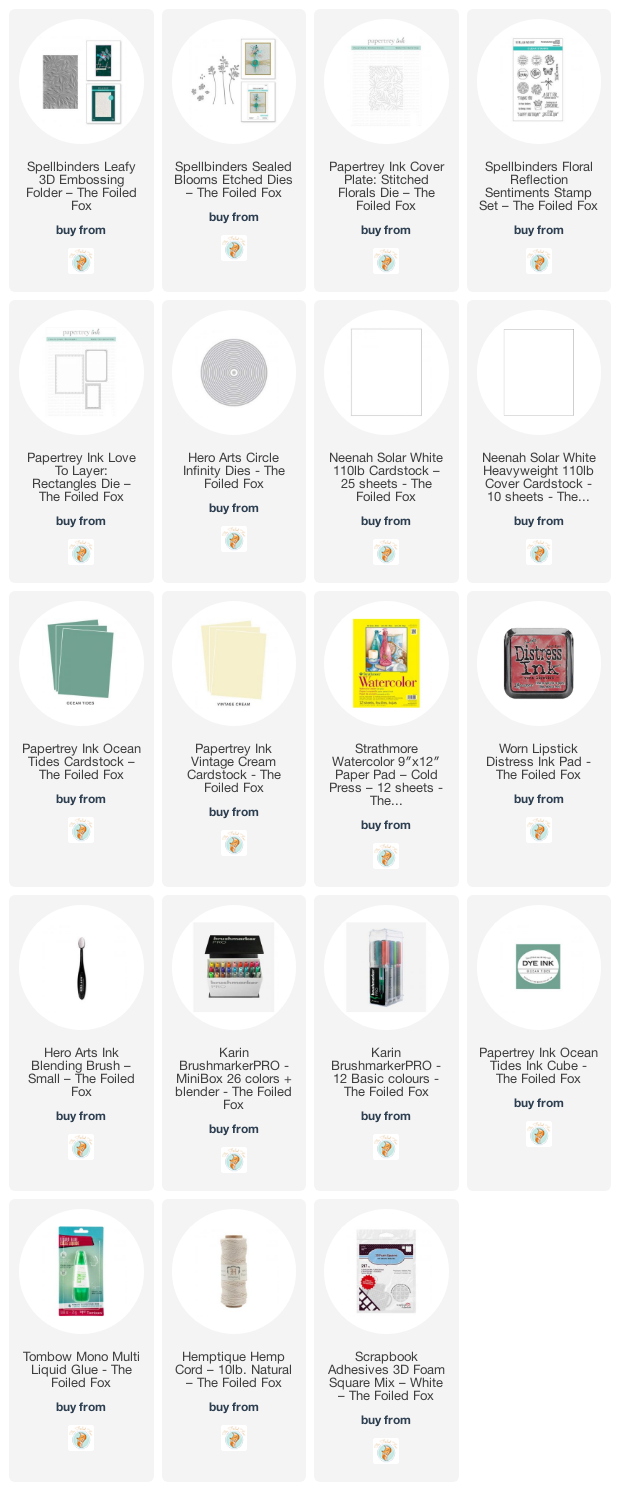
Goodies Used: