Daisies In Bloom
Hi Creative Friends,
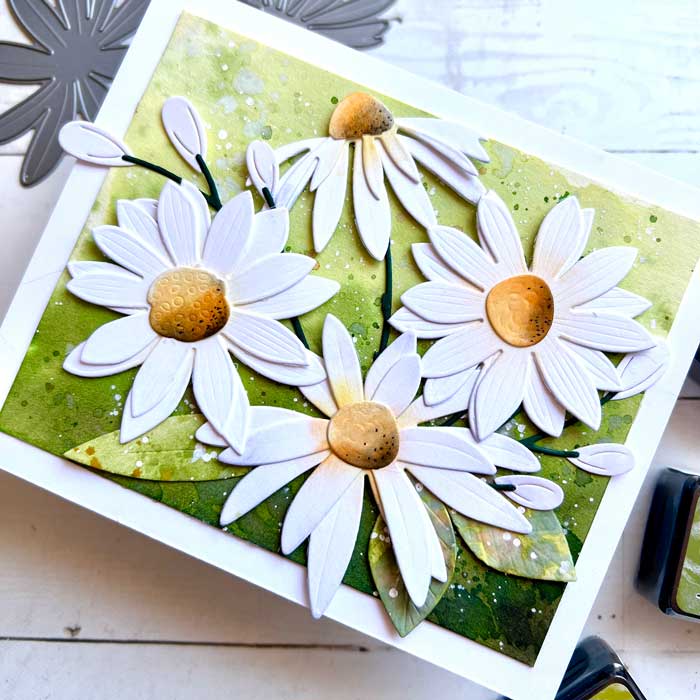
I have had daisies on the brain lately. They are so cheery and now that summer is on its way, it is a good time to enjoy this delightful flower. To create my little patch of daisies I used a few terrific die sets from Papertrey Ink. They are the Into The Blooms and Into The Blooms II. These two sets are what started it all with Papertrey Ink’s awesome Into The Blooms series.
Before I get started, I want to remind you that if you are aching for a particular stamp or dies, or any other craft supply, don’t miss out on the savings. Our Spring sale ends tonight at midnight so grab your favorites! By the way, all the info and coupon code is below.
So, to jump in… I started with a watercolor paper panel. I used hot-pressed but cold-pressed watercolor paper will work well too. I used the wet-on-wet method by brushing on clear, clean water, then adding Crushed Olive and Peeled Paint distress ink. I continued adding color until I had a good saturation of color. To create a slight bit of shading and drama, I added Rustic Wilderness (I love this green!) and a little of Forest Moss, especially near the bottom and the right side. The only thing the panel needed was a few splatters of Rustic Wilderness and Wild Honey. and white bleed proof ink… another one of my faves.
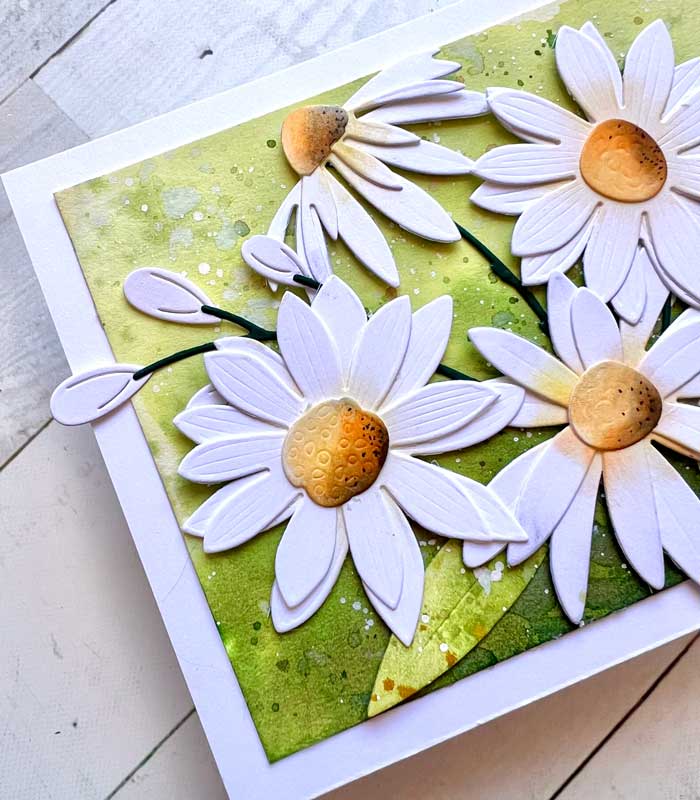
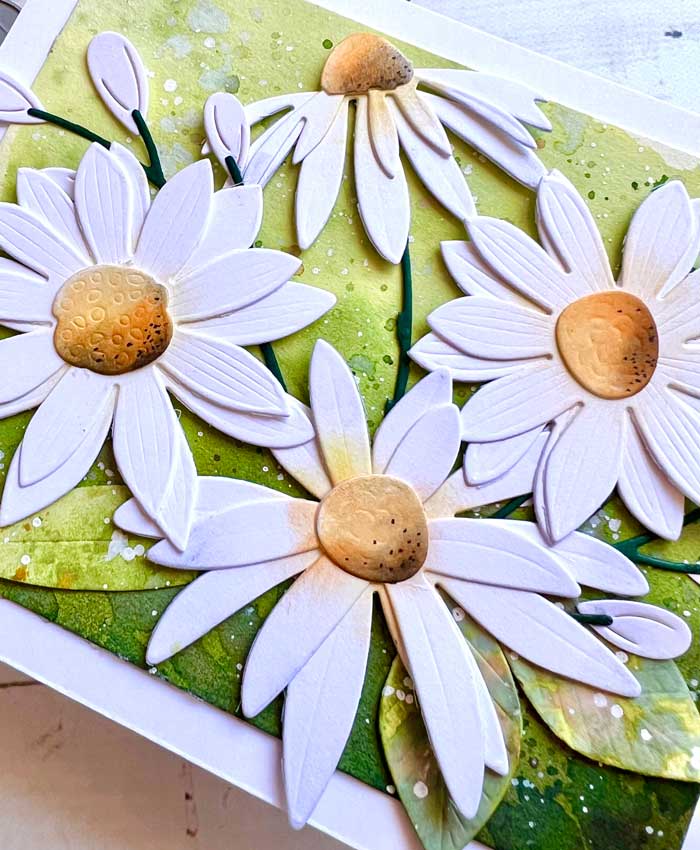
With the background panel done and set aside to dry, I turned my attention to the flowers. These were simple to make! Using white Bristol paper, I cut out numerous flowers, plus their centers from the two Into The Blooms sets. I very lightly colored the centers of the petals with Scattered Straw and a dash of Wild Honey distress inks. For the centers, I used Wild Honey, Brushed Corduroy, and Black Soot distress ink. When done, I assembled the flowers and glued them only in the center.
I also cut a few leaves from the sets and colored them with Crushed Olive and Peeled Paint, then generously splattered on Rustic Wilderness, Wild Honey, and some white ink.
The last piece I needed before assembling was a couple of sprigs of buds. For this, I grabbed the Be Bold Blooms by Spellbinders and cut out white Bristol paper buds and Noble Fir cardstock stems, then glued them together.
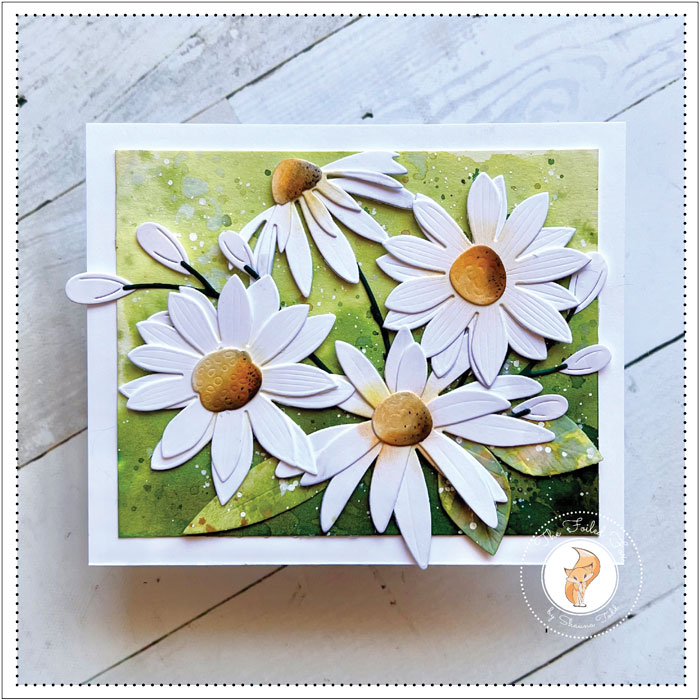
For the grand assembly, I started with an A2-sized white card stock card base. I also cut an A2 white card panel. From there, I mounted the white panel to the front of the card base, trimmed back the watercolor panel I had created earlier, and mounted it to the card panel.
Next, I arranged the flowers and buds and attached them to the front of the panel with glue and foam squares.
I toyed with adding a sentiment and I think a sentiment would work swimmingly! But, in the end, I just couldn’t bear to cover up any of the flowers so I left the sentiment off.
I hope you enjoyed my project today. And, if you did, you will give it a whirl. It was loads of fun and I think a super cheery card to send! ♥

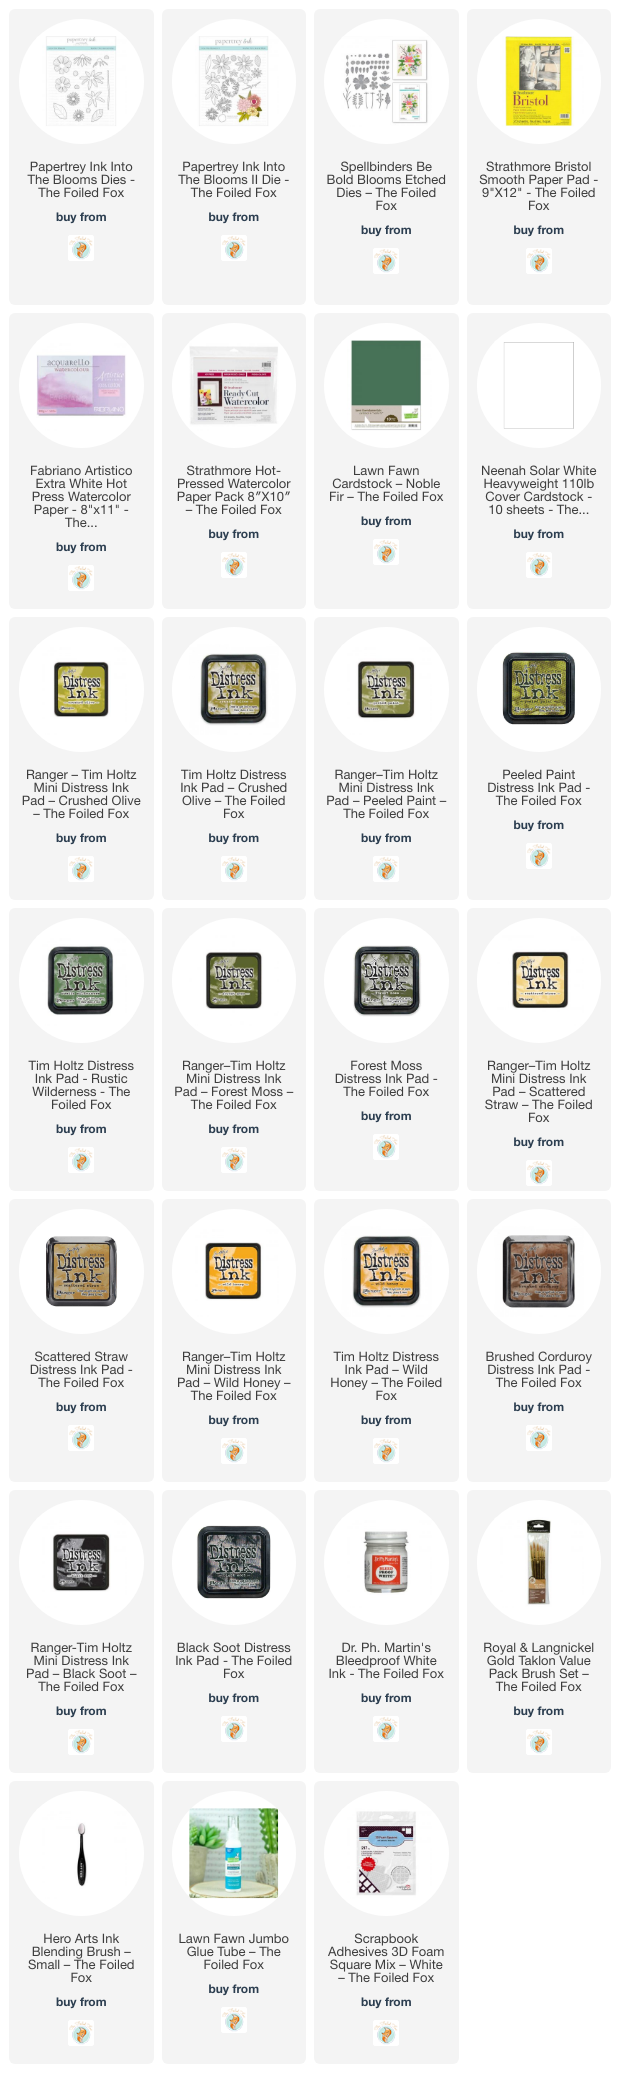
Goodies Used: