Dancing Peacock
Hi Crafting Friends,
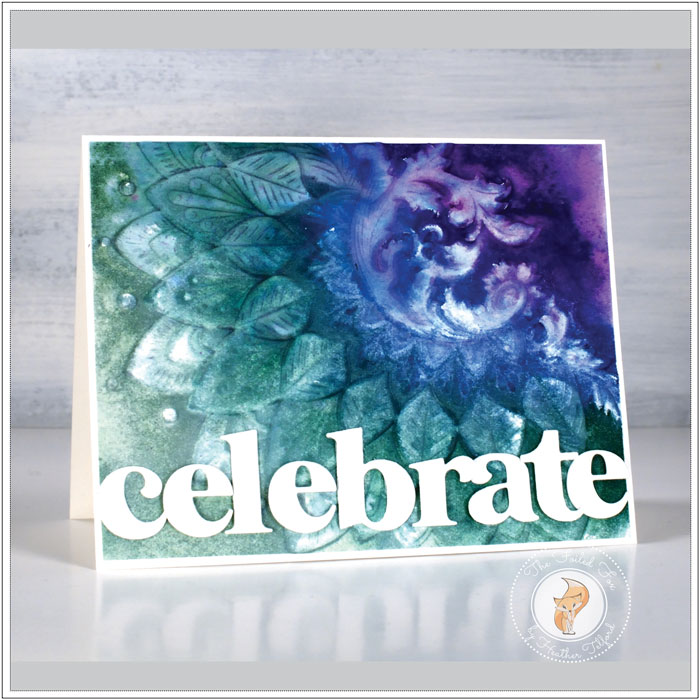
We have the pleasure of sharing a beautiful card design by Heather Telford and announcing the winner of our giveaway (more on that later). For the card, Heather is using a new 3D embossing folder by Altenew called Dancing Peacock to create a stunning design.
Learn more about Heather and the giveaway later in this post!
Have you noticed all the elaborate and intricate embossing folders around these days? As I browse through the beautiful cards on the interwebs I keep seeing new embossing folders featured. Sometimes they are used as backgrounds and sometimes they are the main event.
The card I’m sharing today features the very fancy 3D dancing peacock folder from Altenew. I have only a few of the 3D folders and they are something special! Whether you emboss a plain piece of cardstock or add color as I did they show so much depth and detail.
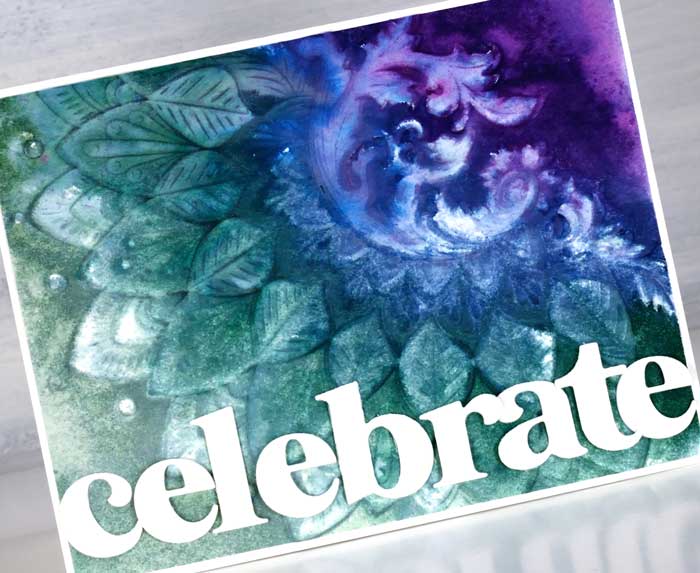
I wanted the water-based inks to blend and fill the embossed pattern so I knew I would be adding not only ink but extra water to the paper when running it through the machine. I chose to use hot-pressed watercolor paper so it could take the water and ink blending without buckling or breaking. I swiped some Enchanted Evening, Royal Velvet, Pinefeather, and Ocean Tides Papertrey ink cubes on the indented side of the embossing folder and spritzed water over the top (on my first try I inked the raised side but created the opposite of what I was after!) I placed the hot-pressed watercolor paper inside the folder and ran it through the machine. The inks spread and blended beautifully but there were a few white or pale areas I touched up with a paintbrush.
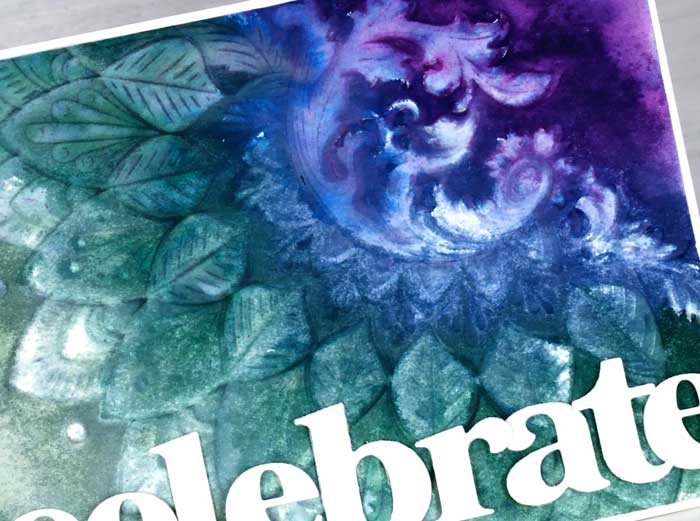
The paper was a bit warped and wet after going through the machine so I let it dry while I cut some letters for a simple sentiment. I used the Pinkfresh Studio Heather lowercase die set to cut the word ‘celebrate’ and kept only the inside letters (no outlines) to fit across the card front. Once the embossed panel was dry I fitted it back into the embossing folder and ran it through the machine again to make the pattern more prominent. With such a large non-symmetrical pattern it was easy to fit the panel in precisely the same position for the second run-through.
I trimmed the panel so it would show a border once attached to the card base then arranged the letters across the bottom of the card using the Wendy Vecchi Make Art Stay-tion to keep everything lined up. It was a squeeze to get all the letters in so I glued some letters directly to the panel then popped the others up on tape with a small overlap.
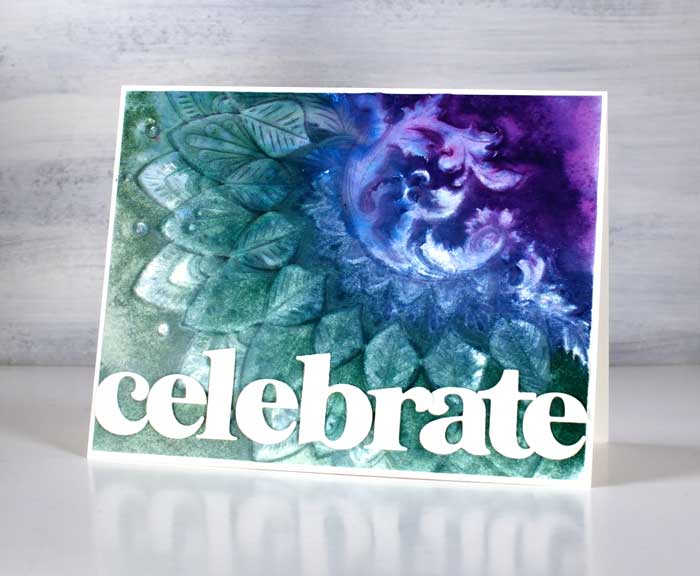
This embossing folder is so elegant and fancy I am hoping to work out how to incorporate it on some page corners in my art journal. Thank you for dropping by today, let me know in the comments if you have some favorite techniques for using embossing folders.
More about Heather:

Our Giveaway winner is:

Jo Anna, please check your email for details. If you don’t find it in your inbox, please check your SPAM folder. They sometimes like to hide in there.
Goodies Used:
Sorry, the comment form is closed at this time.

May 7, 2021
Patt H.
I love this gorgeous card, Heather! The colors are oh so bright & beautiful!! What an awesome embossing folder!