Darling Bold Blooms with a watercolor look
Hi Crafty Friends,
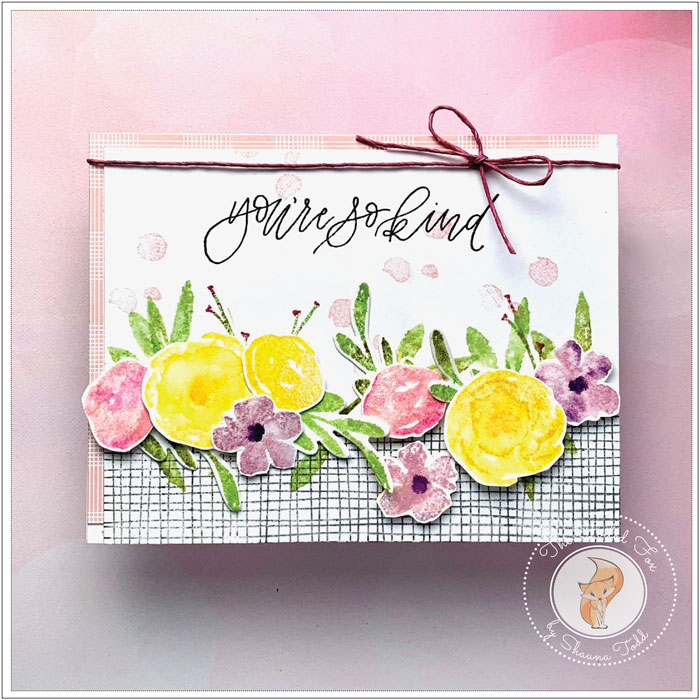
I am back with a floral-y card design using the darling Bold Blooms stamp and die set by Papertrey Ink – Ink To Paper. These delightful blooms are perfect for a watercolor type flower.
Since I barely had an idea of how I wanted this card look, I thought it best to first work on the key elements. So, I started with a Bristol paper panel and masked off a section of the bottom with a piece of Post-it tape. I did tear it beforehand to create an even edge, then stamped one of my very favorite background stamps, Loosely Woven using Papertrey Ink’s Weathervane gray ink cube.
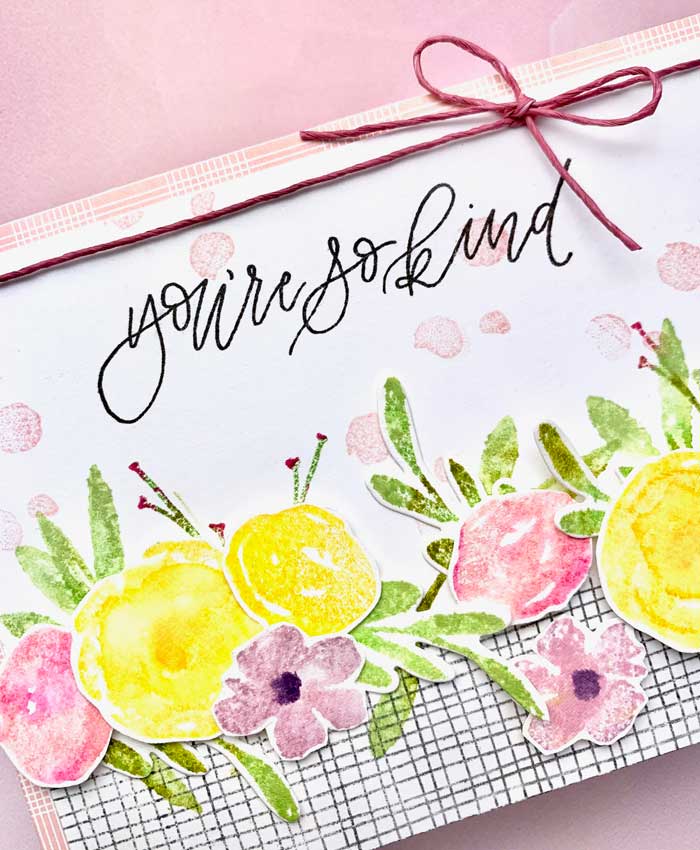
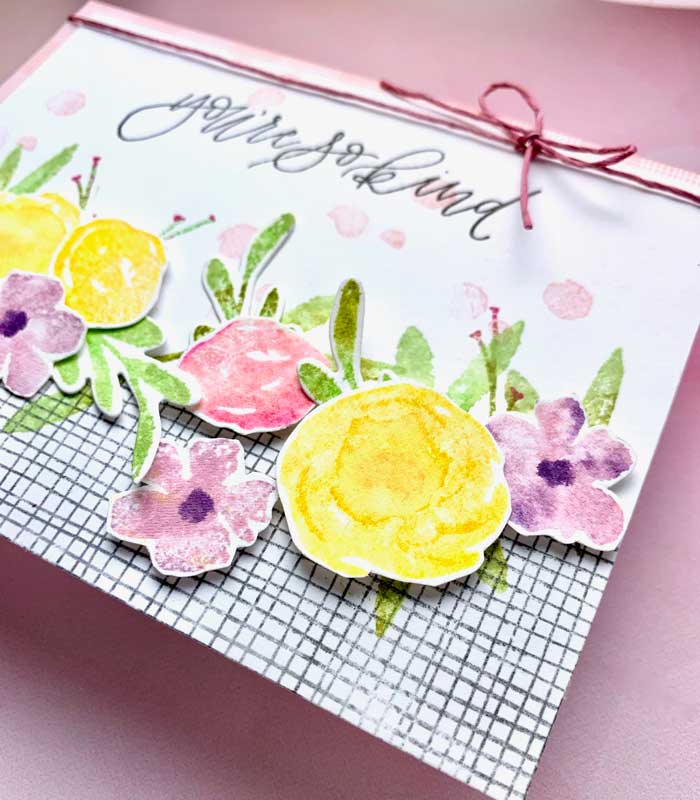
Next, I jumped into making the flowers. I used a piece of hot-pressed watercolor paper for all the flowers and leaves since I was going for that watercolor-y look. To achieve that, I stamped a few blossoms with Harvest Gold, adding a touch of Bright Buttercup here and there, spritzed it lightly with water and stamped. The center was stamped with Summer Sunrise. Then, a few flowers with Lavender Moon and Winter Wisteria with a Plum Pudding center and finally a few with Pale Peony and Raspberry Fizz. Each time inking the stamp with a few colors, then spritzing lightly with water before stamping. The leaves were done the same way, using New Leaf, Spring Moss, and Ripe Avocado. I just love this technique – it makes me feel like I can actually watercolor 🙂! Once all the flowers and leaves were stamped, they were cut out using the matching dies.
With the leaves and flowers complete, I started temporarily arranging them on the Bristol paper panel to get an idea of placement and where I should stamp small leaves and tiny twiggy buds directly on the Bristol panel. I used the same leaf ink color with a touch of Raspberry Fizz for the buds when stamping the extra leaves on the panel.
There is an awesome three-dot stamp in this stamp set. I used this to lightly stamp, using Sweet Blush ink, a few sets of dots above the leaves. To me, this kicks it up a notch!
I was ready to start to put all these pieces together. Using a slightly smaller piece of Sweet Blush Bitty Big Plaid paper, I mounted it left justified on a white card base. The stamped front panel was then mounted right justified, creating an off-set look. Before I mounted the flowers, I chucked the card base in my stamp positioner and stamped “You’re so kind” sentiment with Weathervane ink.
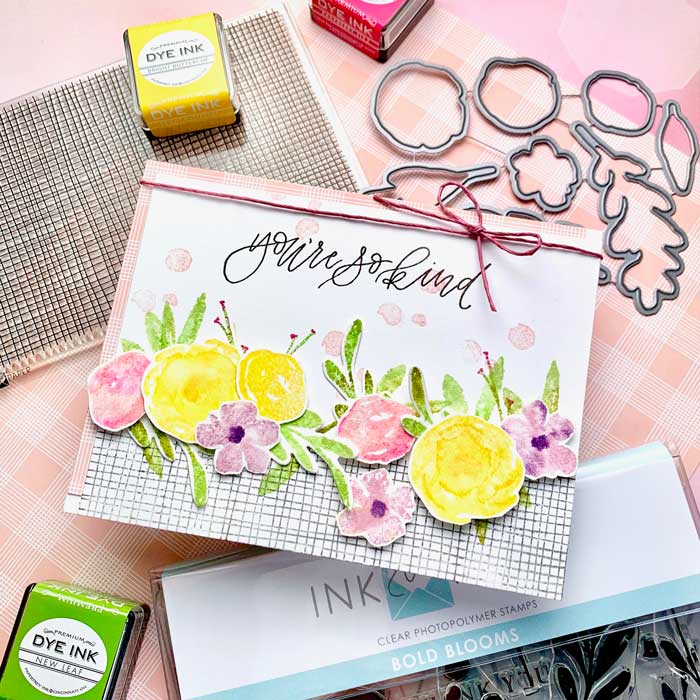
The only thing left was to arrange and mount the flowers and leaves with some foam tape and tie a string around the top with a bow. ♥
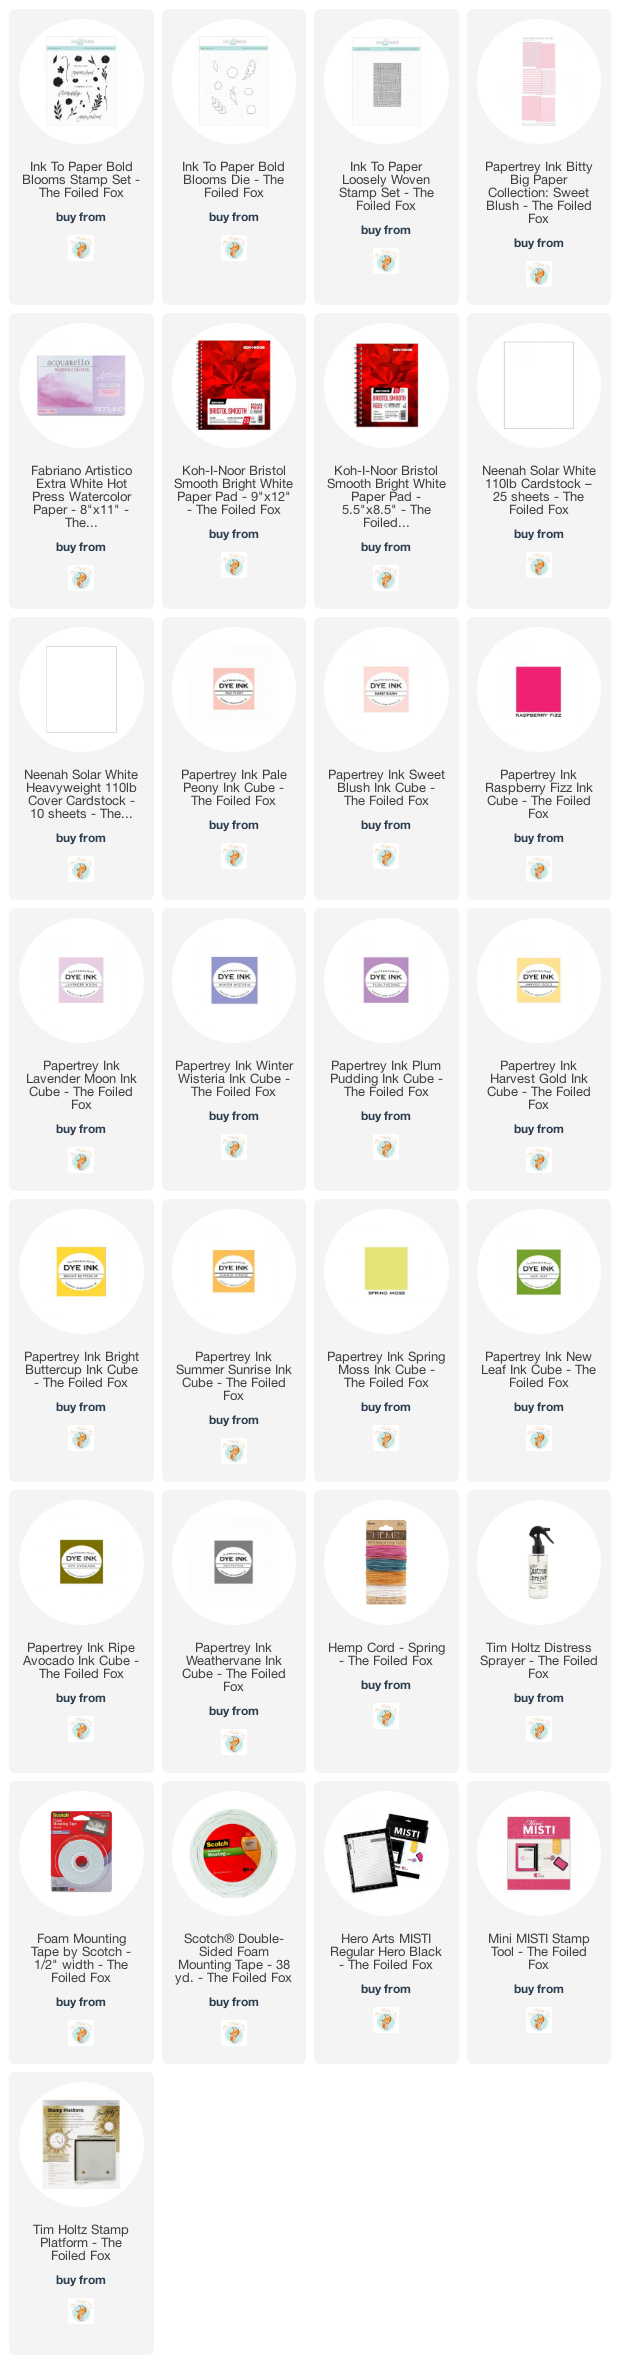
Goodies Used: