English Garden Blooms
Hi Creative Friends,
I have been captivated by the stunning display of flowers you can so easily make with the new Spellbinders Be Bold Blooms. They remind me so much of the beautiful array of flowers you see in English gardens. So, it only follows that I had to make a card featuring these lovely blooms.

This card ended up having a bunch of layers. I didn’t start out with this thought, it just evolved. But now that the card is done, I am able to outline the steps and layers for you so you don’t have to take the rather circuitous path I took.
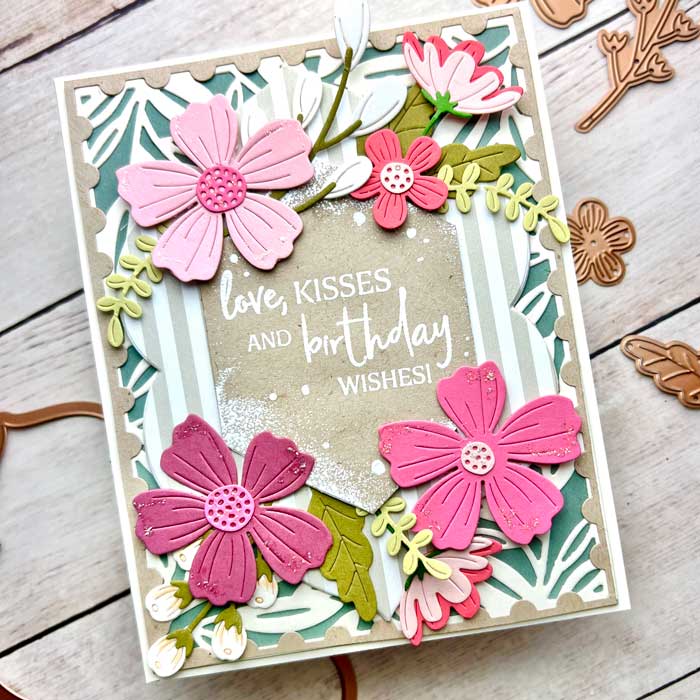
So, let’s start with a basic A2 panel made from Ocean Tide cardstock. Then, I cut out a border using a Vintage Cream cardstock and the Papertrey Ink On The Border Leaves and glued it to the top of the Ocean Tides panel.
Next, I cut out a fancy panel using a piece of Ocean Tides Bitty Big striped paper and one of the Essential Floral Reflections dies by Spellbinders. The striped paper was a little flimsy, so I backed it with a piece of foam (added bonus: it will pop it up a bit too!). When done, this panel was added to the top of the card front.

For the flowers, I selected a variety of scraps of colored cardstock from my stash and cut out all the flowers and leaves. This actually went quickly since I wasn’t doing any ink blending at all.
With all the floral pieces cut, I layered and assembled the flowers and buds, then started to arrange them. Honestly, I think this took the longest time since I just couldn’t decide on the arrangement -ugh!
But, once I got the arrangement down, I cut a mini hexagonal panel from Kraft card stock. To make it easy on myself I used the Penny Black Hexagon frames to make the panel but it is pretty easy to cut free-hand if you like. I chose a sentiment from the Penny Black Good Wishes sentiment set (I love this one!) and stamped it onto the hexagonal panel using Versamark ink, then white heat embossed it. To make the panel a little more interesting, I smooched a bit of Versmark ink on the edges, sprinkled on white embossing powder, then brushed most of it off before heat-setting it.
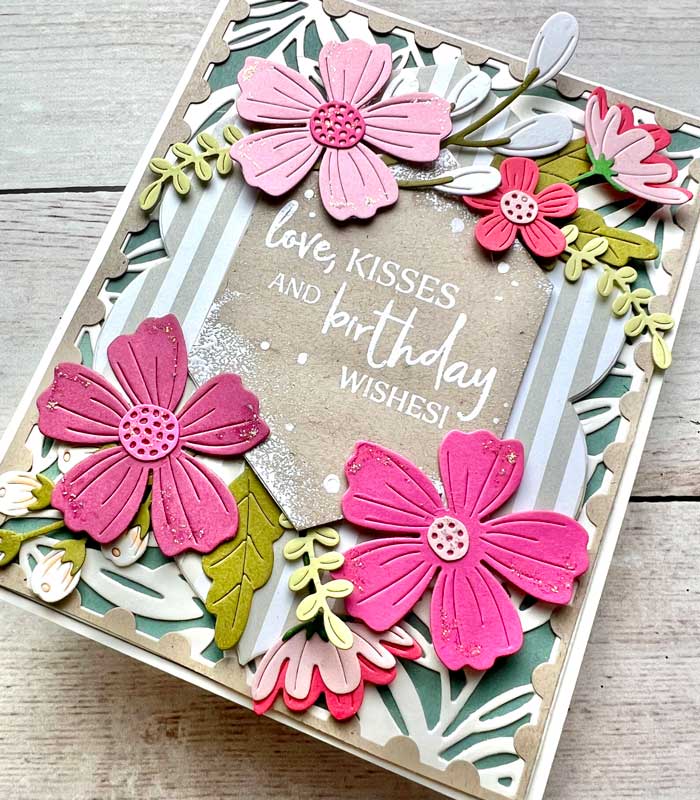
With the sentiment panel done, I adhered it to the top with some foam squares and glue, then added the flowers and leaves, tucking them in here and there.
At this point, I could have stopped, added my card base, and called the card finished. But, I was on a roll so I added a slightly larger Vintage Cream panel behind the finished card front, then adhered the whole thing to a card base.
The few last touches were to add a few droplets of Bleedproof ink to the sentiment panel, a smattering of stickles for a little sparkle and added a tiny border made of Kraft paper around the edges. None of these additions was totally necessary but they did add a subtle touch. By the way, if you are wondering where the tiny border came from, it was what was left over after cutting a Postal Frame border from an A2 Kraft cardstock panel :).
One more birthday card is ready to go – YAY!
I hope you enjoyed this paper adventure. I hope to see you next time! ♥
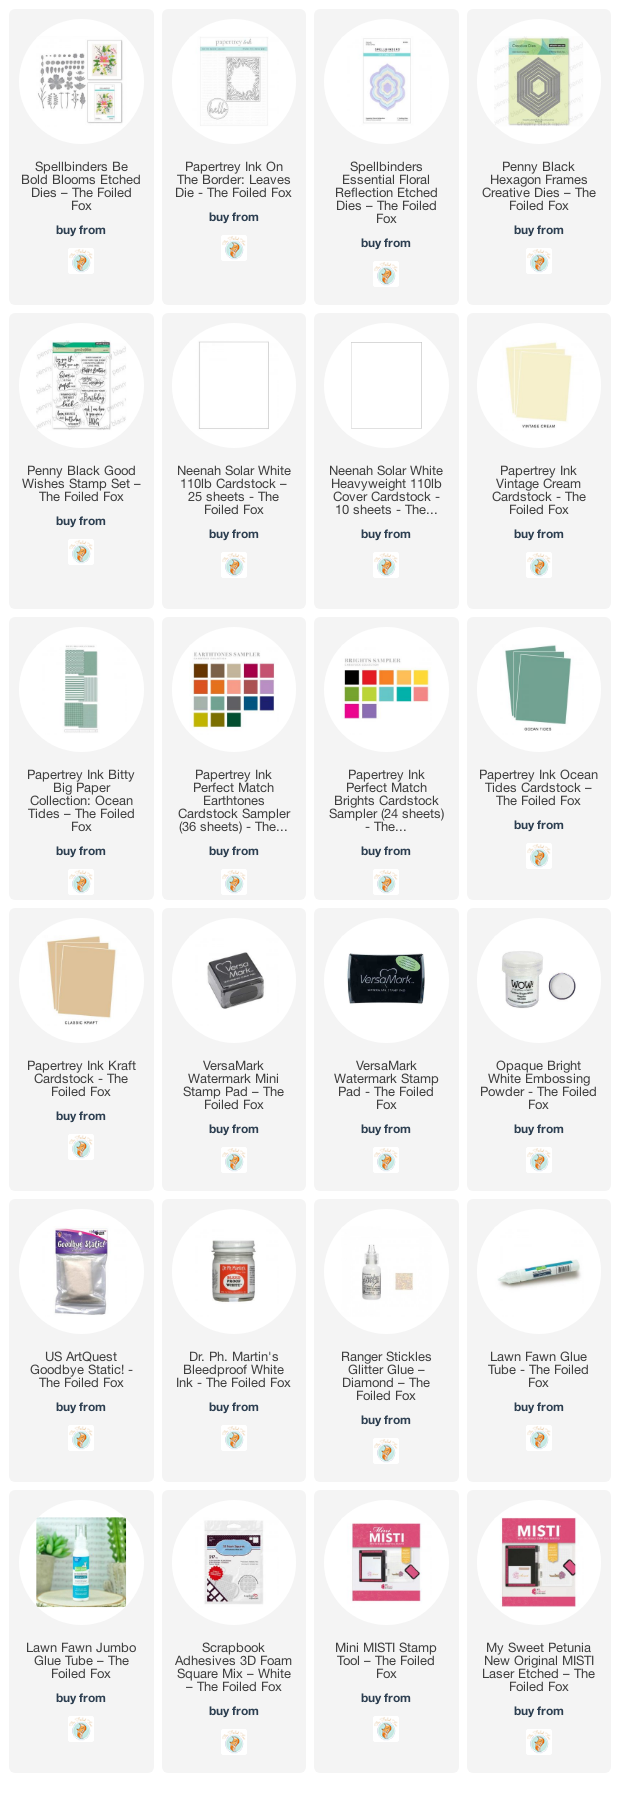
Goodies Used: