Fall Harvest Basket
Hi Creative Friends,
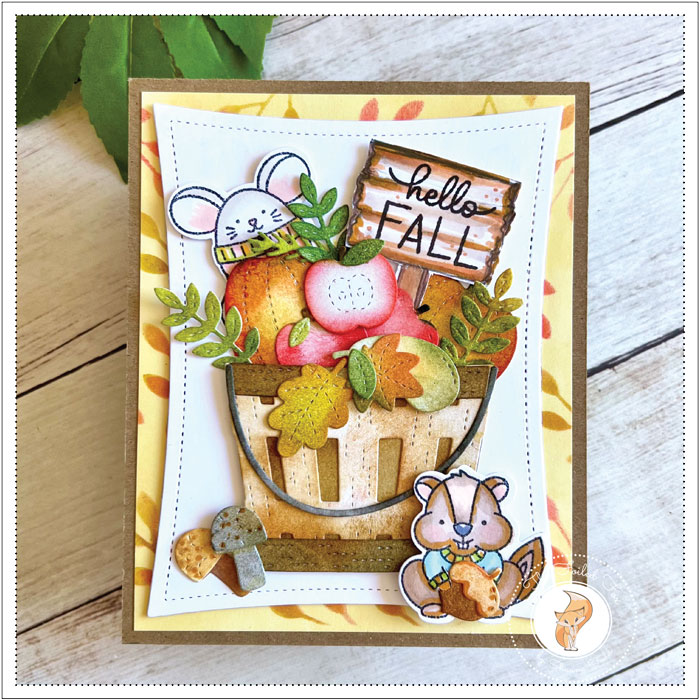
Happy Saturday to you! This is always a wonderful time of year. The temperature is usually cooler and the scent of Fall is in the air. To help keep you get in the spirit here is a cute card design. We used the adorable Cozy Fall Critters and of course the Fall Basket from Pretty Pink Posh!
The steps are below but before we jump into that, we are having a FLASH SALE today. Grab all your favorite goodies and enjoy 15% off. Use code 15TREAT22.
I started with the background. Using the Falling Branches stencil, an A2 Bristol paper panel, and a blending tool, I first blended on Antique Linen over the whole panel. Then, the stencil was placed on top and I used Saltwater Taffy, Wild Honey, and Crushed Olive distress inks to apply the design.
Next, I cut out a Wonky Stitched Rectangle (the big one) from white cardstock though I did toy with the idea of using the next size smaller so I could see more of the lovely background. At the same time, I made a Kraft cardstock card base that was slightly larger than my A2 stencil panel. With the basics done, I set these pieces aside and moved on to the basket and goodies.
The Fall Basket die set has all the pieces you need to make a Fall basket and to make it extra fun, it also has all the dies to make yummy things to stuff into it. I started by cutting it out all the pieces from Bristol paper then ink blended the pieces. Here is a list of the distress inks I used to color them.
- Basket – Vintage Photo for the back piece and Rusty Hinge and a tinge of Vintage Photo lightly added to the top piece. The wire handle was colored with Black Soot
- Pumpkins – Squeezed Lemonade first, then Wild Honey, Ripe Persimmon, Crackling Campfire, and Candied Apple with a touch of Rustic Wildness for the stems
- Apples – Saltwater Taffy, Candied Apple, and Barn Door
- Gourd – Antique Linen, Crushed Olive, and a touch of Rustic Wilderness
- Fern-like leaves – Crushed Olive and Rustic Wilderness
- Fall leaves – Crushed Olive, Rustic Wilderness, Wild Honey, and Ripe Persimmon
- Acorns and Mushrooms – Rusty Hinge, Vintage Photo, and Pumice stone
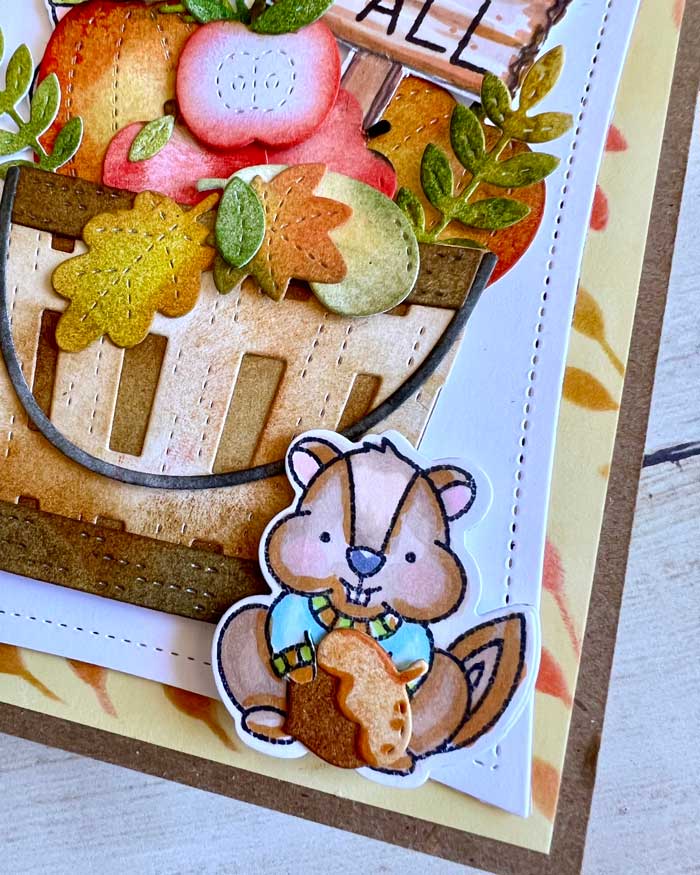
With all the basket goodies done, I moved on to the critters. I chose the adorable mouse and chipmunk from the Cozy Fall Critters set and stamped them onto a piece of white cardstock. They were colored with a variety of Copic alcohol markers and then cut out with the coordinating dies.
All the pieces were all done so it was time to assemble. I started by applying the stenciled background to the Kraft card base. The white Wonky Stitched panel was foam backed and then added on top. From there, the basket was assembled with glue, foam squares were applied to the back and then the whole basket was placed on top.
All the fruits and vegetables were arranged and glued in place. A few had foam squares added to the back to pop them up and the green foliage was tucked here and there.
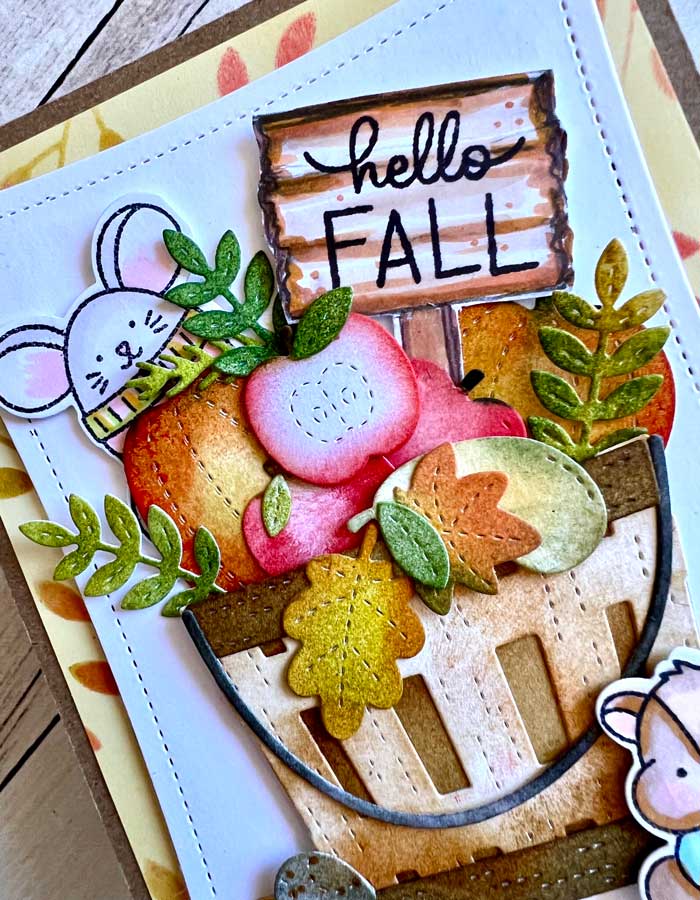
The critters were next. They were popped up with foam squares and placed. As little mice do, the mouse was just peeking out of the basket.
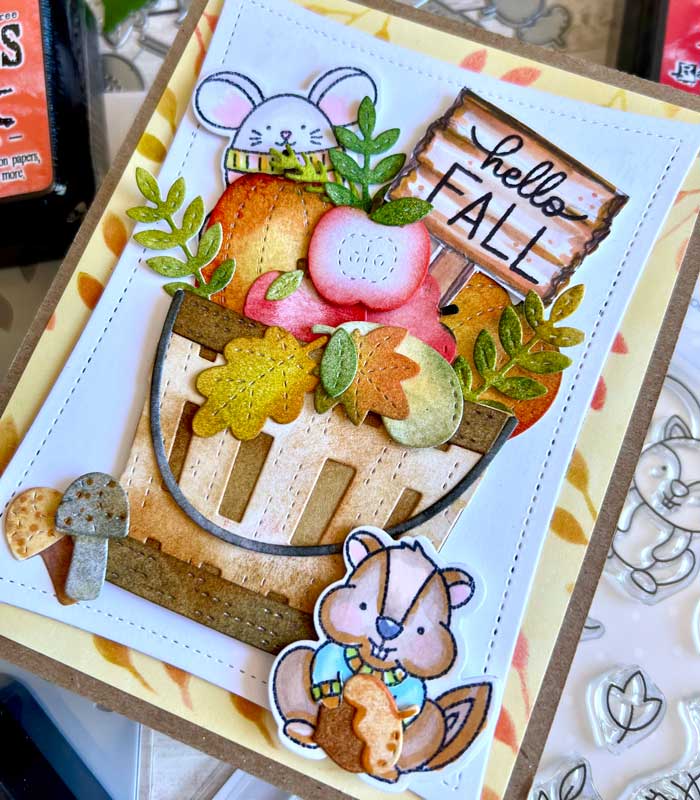
The only thing left was a sentiment. I drew a simple rectangle with a post with my pencil for a wood sign. Then stamped the sentiment from the Cozy Fall Critters set using a very dark gray ink, Smokey Shadow (see supply list). I used a light and dark brown Copic marker to draw a few lines to make it look more wood-like, then stuffed it into the basket to complete the card.
And there you have it… a festive and cute Autumn card. I hope it will bring a smile to my recipient’s face! ♥
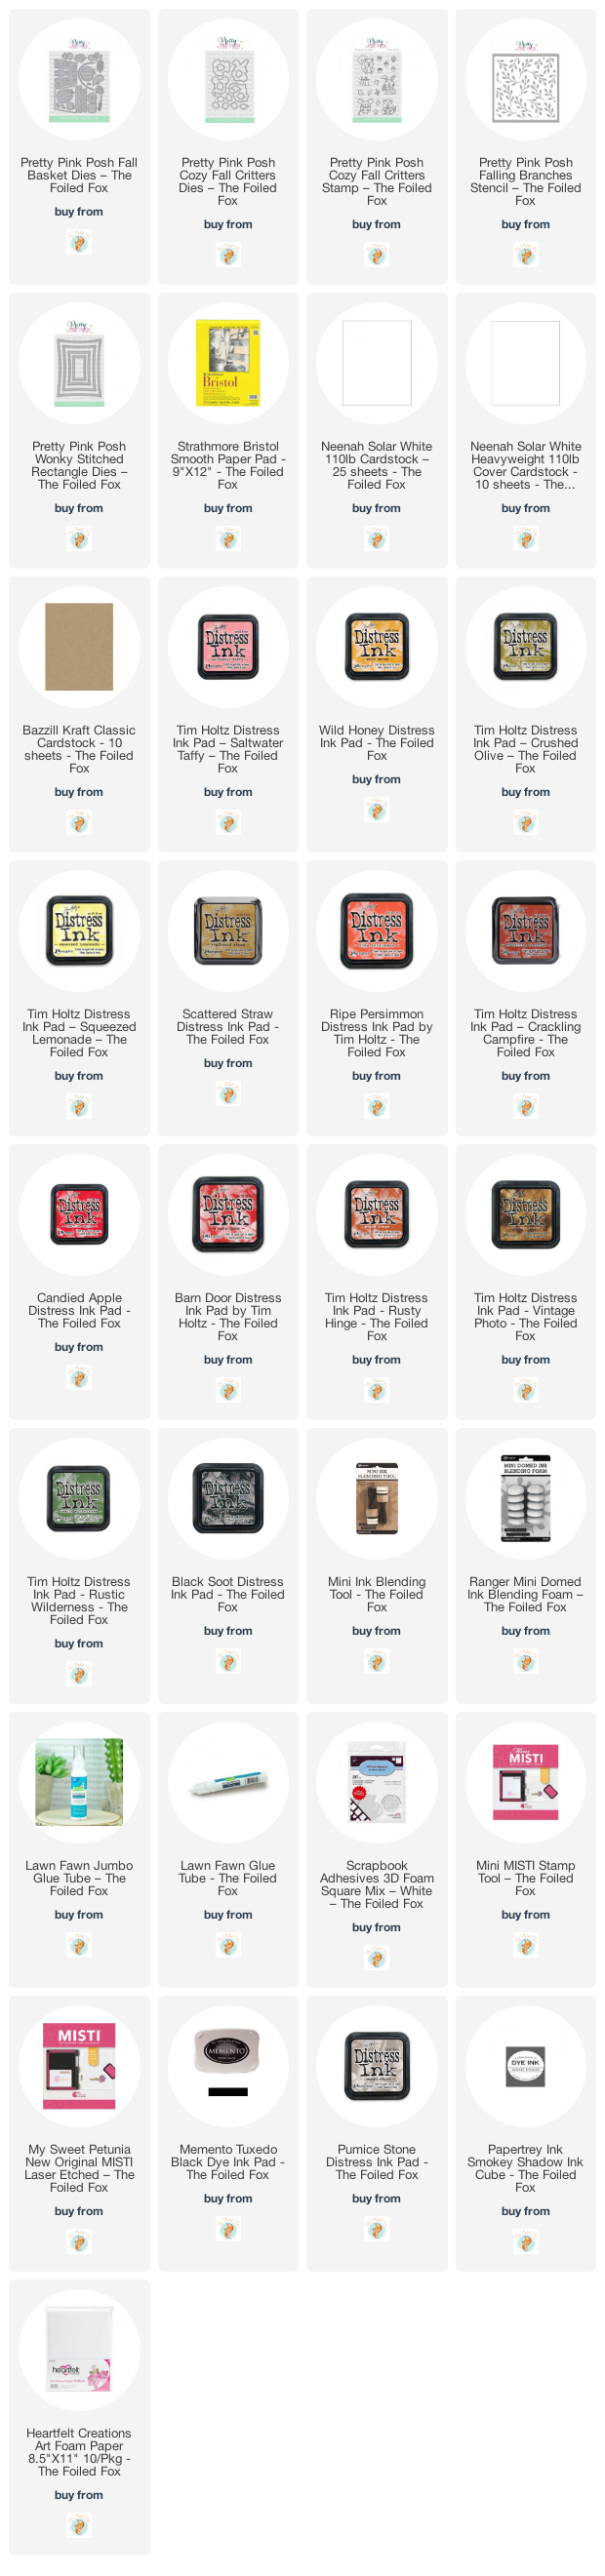
Goodies Used: