Fancy Roses
Hi Creative Friends,
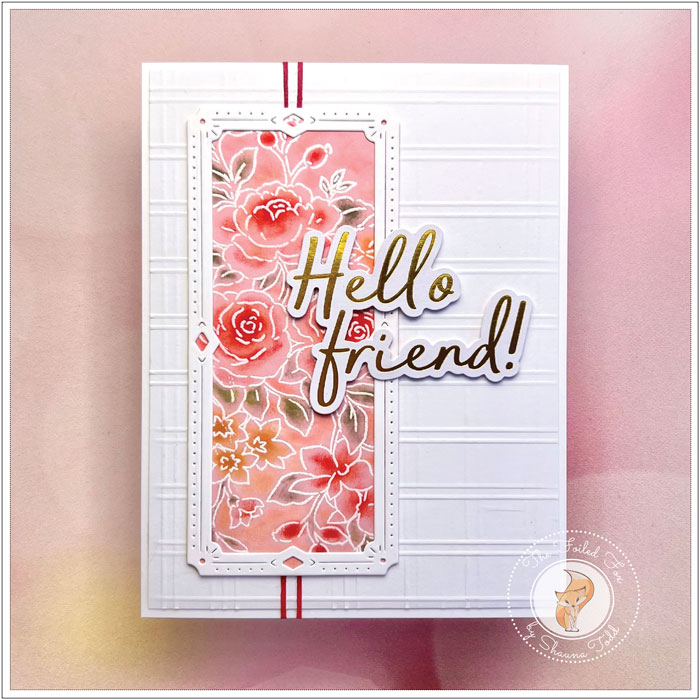
Pinkfresh Studios has some of the prettiest flower stamp sets. I have used one of their newest ones called Fancy Rose Bunch. The set has a stamp, die, and stencils to help you create your design. For my card design today, I chose a little different look and incorporated a charming decorative mini slim die of theirs that I fell in love with!
I started with a piece of pink cardstock and placed it in my stamp positioner and mounted the stamp on the door. I prepped my paper with anti-static powder, then inked the stamp with Versamark ink and stamped it onto the paper. The stamp positioner came in handy since I needed to reink, then stamp a few times to get a clean impression. Next, I removed the cardstock panel, sprinkled it with white embossing powder, tapped it off, and heat embossed it.
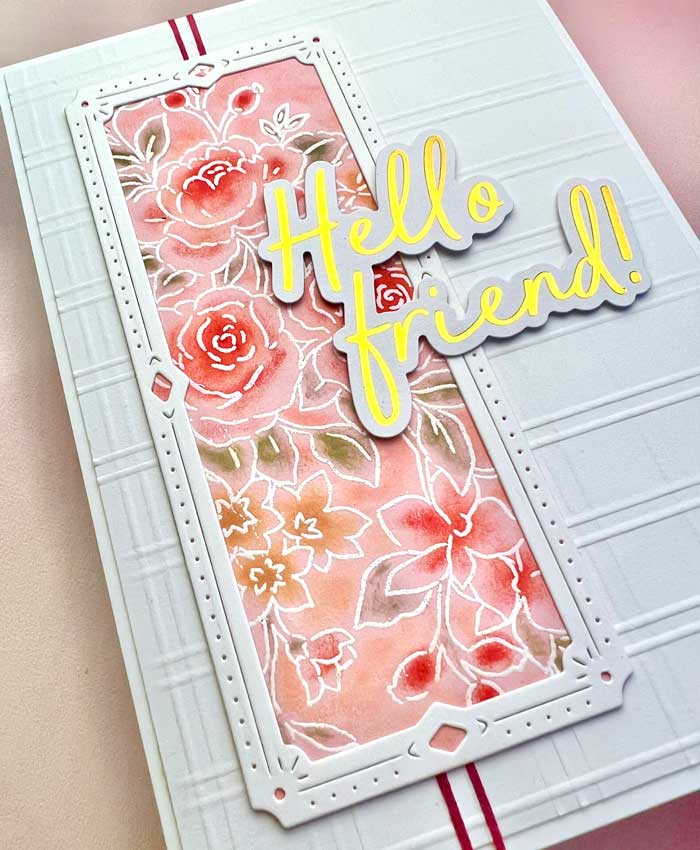
The panel was now ready to color. Using the stencils, I lightly added color with a blending brush. I used Pinkfresh Studio inks, namely Coral Reef and Passion Fruit for the roses and Peach Fuzz for the smaller flowers. The leaves were colored with Rocky Slope (see supply list below).
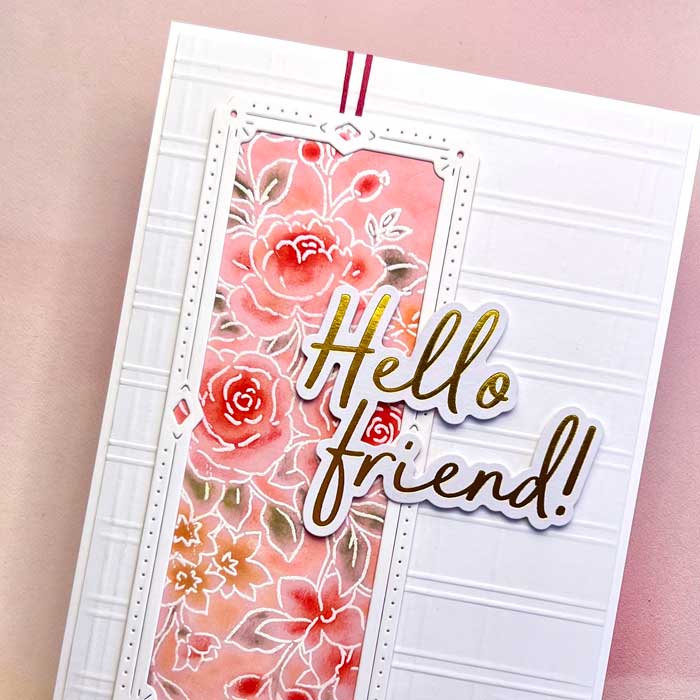
With the flower panel done, I was ready for the next step… only trouble was I didn’t quite know where I wanted to go from here. Then I remembered the wonderful Essential Mini Slimline frames. The set contains two beautiful, ornate frames. I cut one from white cardstock, then trimmed the floral panel to fit inside.
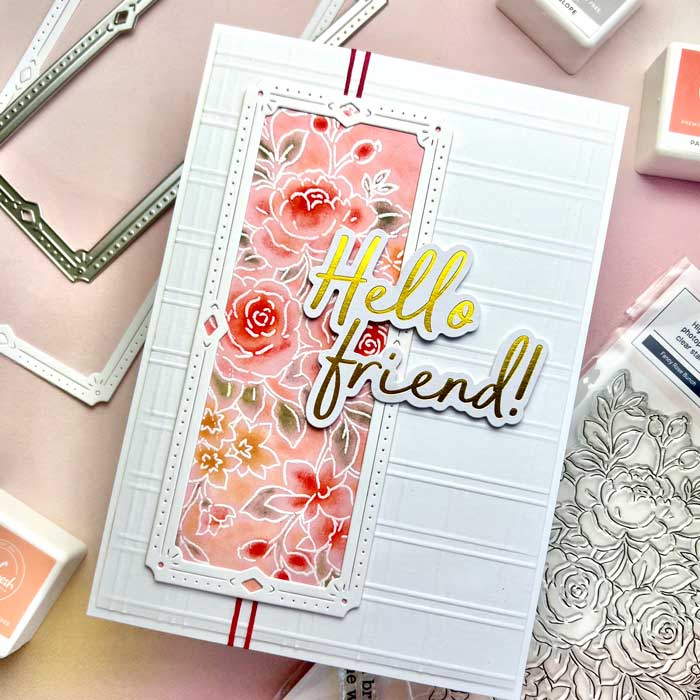
Now I needed a suitable background. I didn’t have a proper-sized die to emboss or cut a pattern, so I created my own by using a scoreboard and a mini slimline-sized white cardstock panel. Starting at one edge, I scored two lines, skipped 3, and scored on the 4 line. I repeated the pattern across the panel, then rotated it and added lines using the same pattern. When I was finished I had a decorative square patterned panel.
Next, I mounted the scored panel onto a slightly larger white card panel and then wrapped a pink cord a few times around the panel, from top to bottom. This entire assembly was then mounted onto a white card base, and the floral panel and frame were next.
For the sentiment, I used one from their sentiment pack. This pack is chocked full of awesome gold foiled sentiments. All you have to do is pick one out and mount it. It certainly makes quick work out of added a sentiment!
This completes the project for today. I hope you enjoyed it … see you next time! ♥
Goodies Used:
Sorry, the comment form is closed at this time.

August 9, 2022
Jan
Beautiful card!
Thanks.
August 9, 2022
Shauna Todd
Thank you so much!